(Technology Preview) Place Table - Advanced Setting
| Setting | Description | ||||||||||||
|---|---|---|---|---|---|---|---|---|---|---|---|---|---|
| Empty table | Lets you place an empty table. | ||||||||||||
| From report | Lets you place a table from a report definition. | ||||||||||||
| From file | Lets you place a table using the data in an excel workbook or .csv file. | ||||||||||||
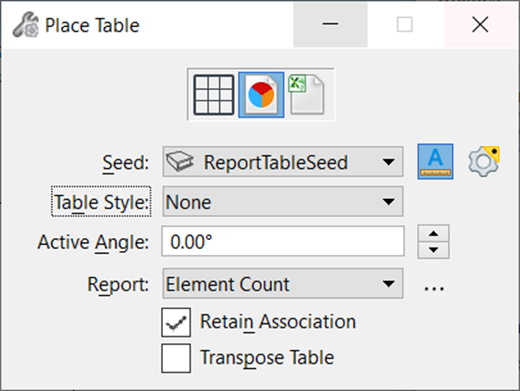
| Seed | Lets you select a seed for the table. If you select to place a table from a Microsoft Excel file, you get an option "From Excel" in this drop-down list. If you select it, MicroStation attempts to preserve the formatting such as colors, borders, text direction, text justification, fonts, font styles, font sizes, row/column/cell sizes, and cell margins. | ||||||||||||
| Annotation Scale |
Sets the Annotation Scale
Lock.
When this lock is on, the annotation scale is applied to the table and text
within the table.
By default, the annotation scale is taken from the model's Annotation Scale setting. You can change it only in the model's properties in the Properties dialog. The exception is when the model's Propagate Annotation Scale property is off. In that case, the annotation scale can be controlled independently for each element via its properties. |
||||||||||||
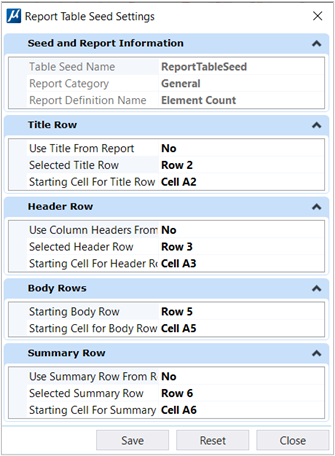
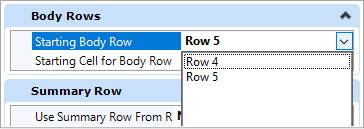
| Advanced | The Advanced setting in the Place Table tool lets
you predefine the layout and titles of headers and columns in the table. The
values in the table can be edited once placed. Currently it is only possible to
use a table seed stored in the seed file’s
Default model.
|
||||||||||||
| Text Style | (Available only when
Seed is set to
None) Sets the active text style from a list
of all available text styles. Clicking
Browse
 opens the Text
Styles dialog in which you can create and modify text styles. opens the Text
Styles dialog in which you can create and modify text styles.
|
||||||||||||
| Active Angle | Sets the angle, in degrees, at which table is placed. | ||||||||||||
| Row Count | Sets the number of rows in the table. | ||||||||||||
| Column Count | Sets the number of columns in the table. | ||||||||||||
| Report | (Available only when
From report is selected) Places the selected
report as a table. Clicking
Browse
 opens the
Reports dialog in which you can create and manage reports and report
definitions. opens the
Reports dialog in which you can create and manage reports and report
definitions.
|
||||||||||||
| File Name | (Available only when
From file is selected) Lets you select a
file from which you want to place a table. Click
Browse
 to open the
File Open dialog and select the desired file from which the table is to be
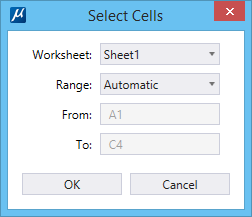
placed. If you select a Microsoft Excel workbook, then the Select Cells dialog
opens, in which you can select the worksheet and cell range. to open the
File Open dialog and select the desired file from which the table is to be
placed. If you select a Microsoft Excel workbook, then the Select Cells dialog
opens, in which you can select the worksheet and cell range.
The Select Cells dialog has the following options:
|
||||||||||||
| Worksheet | (Available only when you select an excel workbook in the File Name setting) Lists the worksheets in the selected excel workbook. | ||||||||||||
| Range | (Available only when you select an excel workbook in the File Name setting) Displays the cell range of the file that will be placed as a table. | ||||||||||||
| Contains Title Row | (Available only when From file is selected) If on, places the first row as a title row. | ||||||||||||
| Contains Header Row | (Available only when From file is selected) If on, places the second row as a header row. | ||||||||||||
| Retain Association | (Available only when From report or From file is selected) If on, the association with the report or external file from which the table is placed is retained. In such a case, if there are any changes in the report definition or the file, you can refresh the table to get the changes. | ||||||||||||
| Transpose Table | If on, allows you to transpose the Columns and Rows in a horizontal or vertical layout. |


