P. To create a drawing group
To create groups (physical members) for inclined members such as bracing, truss chords, portals, etc., use the following procedure.
Steel AutoDrafter will identify physical members automatically for vertical and horizontal members.
-
Right-click on a member and select
Cut Section @<grid or
plane>
.
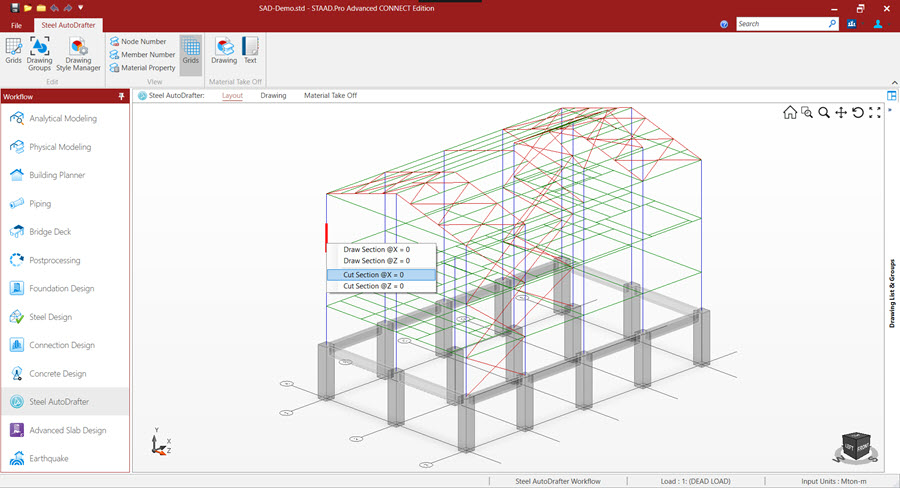 The Section View dialog opens.
 -
Select the group type tool corresponding to the group of members
you want to create:
Tool Description 
Top chord - can include purlins 
Bottom chord 
Portal - can include purlins at a specified spacing 
Bracing 
Inclined Column The mouse pointer changes to a selection box. - Optional:
For Portal and Top Chord groups, select the
Purlin Section shape and section size to use
and then click
 OK.
Note: Purlins are not part of the analysis but this allows you to add these to the drawings for accuracy.
OK.
Note: Purlins are not part of the analysis but this allows you to add these to the drawings for accuracy. -
Click the
Draw tool.

The Drawing Settings dialog opens. -
Either:
- click
 Draw to generate the drawing
- click
 Add to Drawing List to add this drawing to
the Drawing List tab
Add to Drawing List to add this drawing to
the Drawing List tab
- click
Tip: To delete a group, right-click on the group name in either the Section View dialog or in the Drawing Groups tab of the Drawing List & Groups panel and then select Delete from the pop-up menu.