To add custom text to the view window and,
subsequently, pictures taken for reports, use the following procedure.
The text can serve
as comments or titles to pictures and result diagrams. The added text can be
plotted too.
-
Select the
Insert Text tool in the
Display group on the
Utilities ribbon tab.
The mouse pointer changes to the text cursor
(

).
-
Click in the view window where you want to insert the text.
The
Write Text to Insert dialog opens.
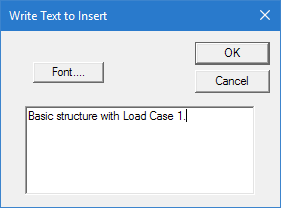
- Optional:
Click
Font to set the type display.
-
Type the text into the text field and then click
OK.
-
Either:
- Repeat steps 2
through 4 to insert additional text items.
- Repeat step 1 to
turn off the insert text tool.
- Optional:
To modify previously inserted text:
-
Select the
Text Cursor tool in the Selection group on
the
Geometry,
Results, or
Member Design ribbon tabs.
-
Double-click on the text you want to modify.
An edit dialog opens with the existing text.
-
Make changes and then click
OK.
-
Click-and-hold the left mouse button on the text to move it to
another location in the view window.
- Optional:
To delete previously inserted text:
-
Select the
Text Cursor tool in the Selection group on
the
Geometry,
Results, or
Member Design ribbon tabs.
-
Click on the text you want to delete.
-
Press Delete.