Applying Constraints
Constraints are the restrictions applied to the degree of freedom of a free object. Applying specific types of constraints to elements enables you to conveniently and successfully model a complex geometry.
Constraint tools let you fix various dimensions that control the location and/or orientation of elements on a profile, and also let you fix geometric components relative to each other, so that they remain correctly located even if the underlying geometry or feature is modified.
- Dimensional -
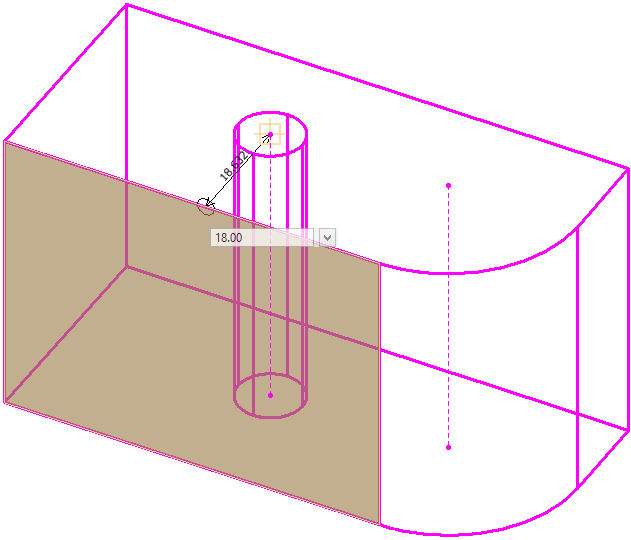
Dimensional Constraints define the exact dimensions of a construction. The
dimensional constraining tools let you fix the different dimension of a profile
while you can convert them to 3D models honoring your desired dimensions. Also,
they let you control the inter-planar dimensions between different components
of your built 3D elements.
Using the dimensional 2D constraints tools, you can constrain Length of an Element, Distance between two points, Angle between two line segments, distance between three or more coplanar line segment - making them equal, area of a closed profile, and perimeter of a profile.
You can also create a new variable or a new expression to use while applying or editing 2D dimensional constraints. You can do this by selecting New Variable or New Expression in the drop-down menu that opens while applying the constraint.Using the dimensional 3D constraint tools, you can constrain the distances between the various components (vertices, edges, and faces) of two 3D elements.
These operations provide you with great potential of controlling the dimensions in your design and hence let you achieve your intent of modeling complex geometries eventually.
- Geometric -
Geometric Constraints are non-numerical relationships between the parts of
geometric figures which controls the shape of the profile.
Using the geometric constraining tools, you can constrain the different components of an element to be parallel, perpendicular, coincident, concentric, tangent, fixed and equal. These constraints can be applied either to a 2D profile before building it to 3D element, or to the completed 3D elements.
Note: Unlike 2D Constraints, 3D constraints application will not deform a geometry, instead it will transform it. For example, if you apply coincident 3D constrain to a line, which is between two solids, to join the vertex of these two solids, the constraint application will try to relocate the participating geometries to satisfy the coincident constraint but will not change the original length of the line.