New in ProjectWise Deliverables Management CONNECT Edition Update 7
- ProjectWise Web integration, lets you add ProjectWise documents to transmittals from the portal
- Issue Resolution Service integration enhancements
- Downloading marked up PDFs in incoming submittals
- Sending an attachment back with your rejection of an RFI response
- Using custom work area properties in transmittal cover letters
ProjectWise Web integration, lets you add ProjectWise documents to transmittals from the portal
You can now add ProjectWise documents to a transmittal from the ProjectWise Deliverables Management portal (previously you could only add local documents to a transmittal from the portal).
To be able to add ProjectWise documents, the work area you want to add documents from must first be added as a work area connection in the ProjectWise Web portal of the same ProjectWise project where you are using ProjectWise Deliverables Management. Once the work area connection exists in ProjectWise Web, ProjectWise Deliverables Management portal users can start adding documents from that work area connection to their transmittal drafts.
See:
Issue Resolution Service integration enhancements
When adding issues to PDFs in your incoming submittals through the PDF Markup Service, you can now select which issue form you want to use, depending on which form contains the properties you need to properly fill out the issue. (In previous releases, there was only one form to use for creating issues, and the administrator was not able to change the fields of this form or create additional forms.)

By going to the Issue Resolution Service or Forms Manager of the same project, the administrator can now:
- Edit the default 'Submittal Issue' form (change the status from Approved to Draft, edit the form, then change status back to Approved)
- Make copies of the default 'Submittal Issue' form
- Create new forms based on the 'Submittal Issue' type
When you are managing forms, you might see two versions of the default 'Submittal Issue' form, depending on whether or not your users have already created issues using the previous, un-editable version of the default 'Submittal Issue' form:
- Submittal Issue - This is the new version of the form that your users can use, and that you can edit as needed (by changing the status to Draft, editing the form, then changing the status back to Approved)
- Submittal Issue (Obsolete) - This is the old version of the form, which you will only see if your users had already created issues using this version of the form, before the new version of the form became available. This version of the form will be marked as Obsolete and its status will be Archived. This form cannot be deleted, since issues have already been created with it.
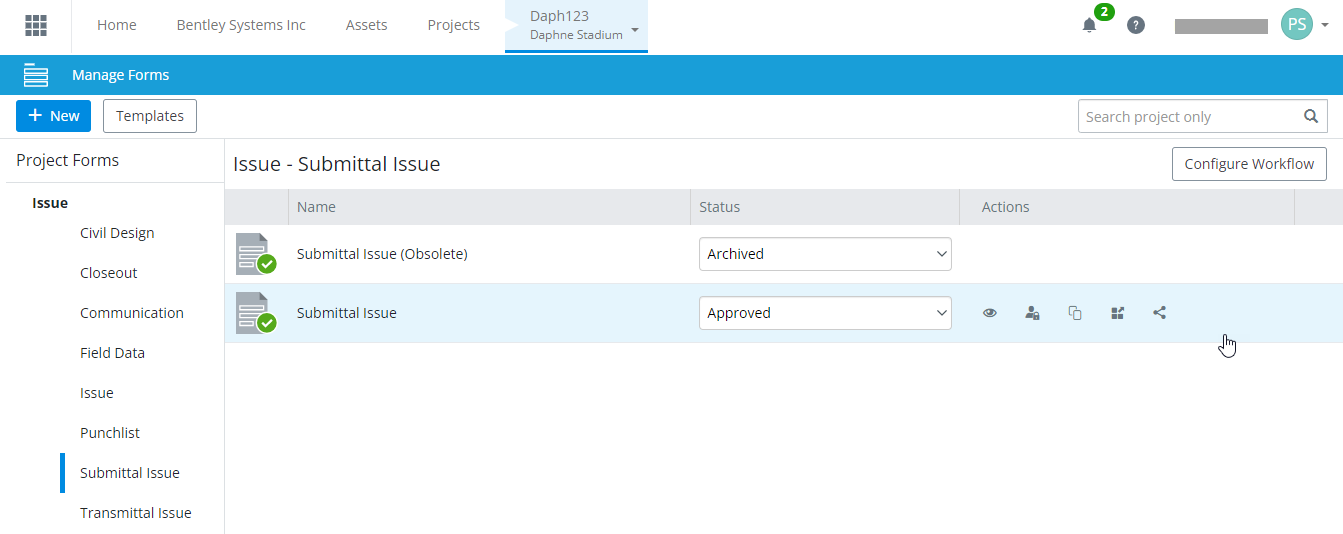
If your users never used the old, un-editable version of the Submittal Issue form, then you will only see one version of the form in the list - Submittal Issue (the old form is replaced by the new form of the same name, whose status is Approved).
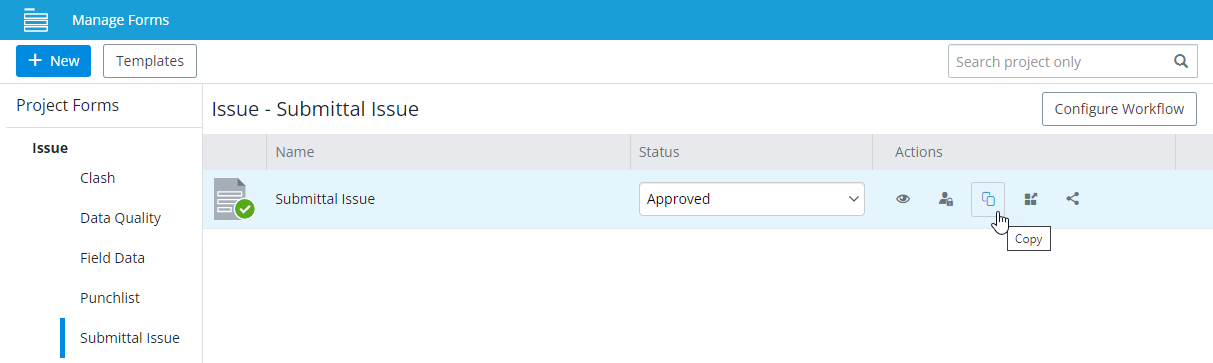
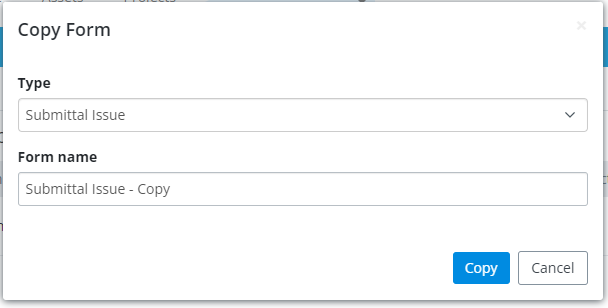
To make a copy of an existing submittal issue form:
- Click the Copy button in the Actions column next to the form you want to make a copy of.
- In the Copy Form dialog, set Type to Submittal Issue, enter a name for the form in the Form name field, and click Copy.
To create a new submittal issue form:

Downloading marked up PDFs in incoming submittals
You can now download marked up PDFs from incoming submittals.
There are two ways that you can download marked up PDFs:
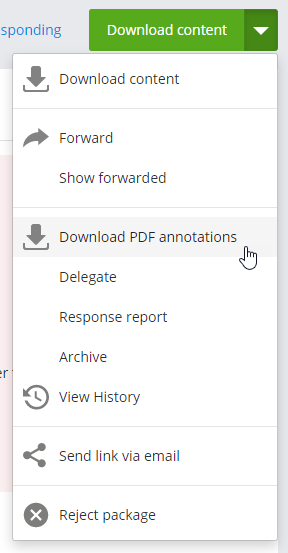
- Open an incoming submittal
and select
Download PDF annotations:
A ZIP file that contains only the marked up PDFs in this submittal will be downloaded. PDFs in the submittal that have not been marked up will not be included in the ZIP file.
or
- Select one or more submittals from the list of incoming submittals and then select Download PDF annotations:
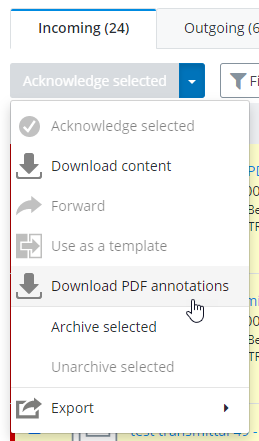
A ZIP file for each of the selected submittals that contains marked up PDFs will be downloaded. PDFs that have not been marked up will not be included in the ZIP files. If a selected submittal does not contain any marked up PDFs, then no ZIP file will be downloaded for that submittal.
Sending an attachment back with your rejection of an RFI response
If you need to reject the incoming response for your outgoing RFI, you can now attach a document to send back along with your rejection of the response.

Using custom work area properties in transmittal cover letters
You can now use custom work area properties in transmittal cover letters. You will need to download your cover letter template and insert the custom work area properties that you want to appear in the cover letter. Once you upload the edited cover letter template and then issue a transmittal, all of the variables in the template (including your custom work area property variables) will be replaced with the real values when the cover letter is generated.
When inserting variables into the cover letter template, use this format:
{$ProjectAttribute.GetValue(customworkareapropertyname)$}
For example:
{$ProjectAttribute.GetValue(Project Name)$}