Creating a Standard Work Frame
To create a standard work frame:
-
Select
 (Work Frame).
-
Select the origin for your work frame:
Click to set two positions along the X axis.
or
Right click or press <Enter> twice to attach the work frame to the UCS origin.
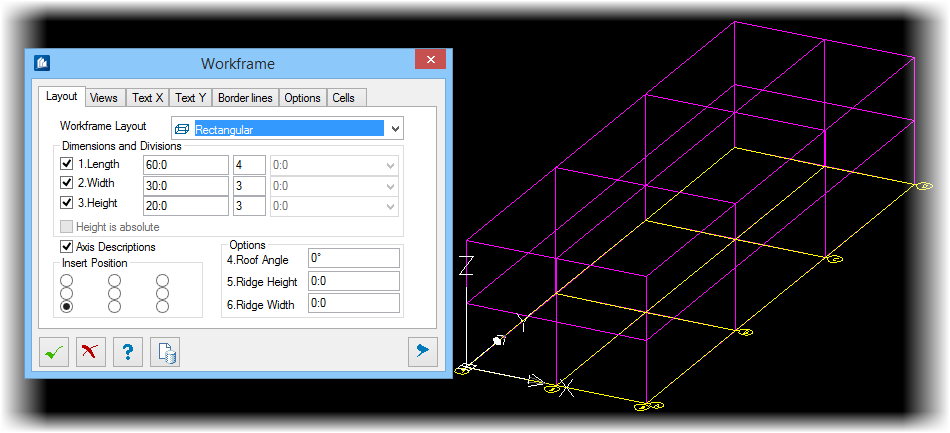
The Workframe opens with a basic work frame based on the last settings for the dialog.
Note: When the Length, Width, or Height are checked, your grids are spaced uniformly. To specify non-uniform spacing, un-check the option next to the desired dimension direction, then use the fields on the far right to specify grid spacings (see Modifying the Grid Spacing of Your Work Frame). - Select .
- Specify the total required length, and number of axes for each of the three dimensions (Length, Width, or Height) in the value fields provided.
-
Based on your needs, use the additional tabs in the WorkFrame
dialog to modify work frame settings and automatically create concrete
elements.
The Work Frame automatically updates as you make changes.
-
When you are finished, click
OK
 .
.