Importing Schedule Information for Schedule Simulation
Importing the schedule
Before you can view a schedule using schedule simulation, you must first import schedule data and link elements to tasks. Bentley Navigator CONNECT Edition can open schedules created in Microsoft Project and Primavera P6 once they have been exported to .xml format. If you would like to create your own schedule, you can also import schedules in .xlsx format. When you open the schedule simulation screen for the first time, the Manage Schedules dialog box automatically displays. If you have already imported a schedule and you would like to import a different schedule, you can open the Manage Schedules dialog box by selecting Import Schedule data from the Administration Tools group in the Task-based Tools zone in the upper right.

From the Manage Schedules dialog box, import a schedule by selecting the "+" button and selecting your schedule. The schedule displays in the dialog box. If you have imported the schedule before, the date the schedule was last imported displays below the schedule name. You can remove the schedule from the More Options icon.
When you have imported the schedule, the schedule displays in the scheduler pane on the bottom edge.
Linking Elements to Tasks
After you import the new schedule, you need to link elements to tasks. You can link elements to tasks either manually or by using autolinking.

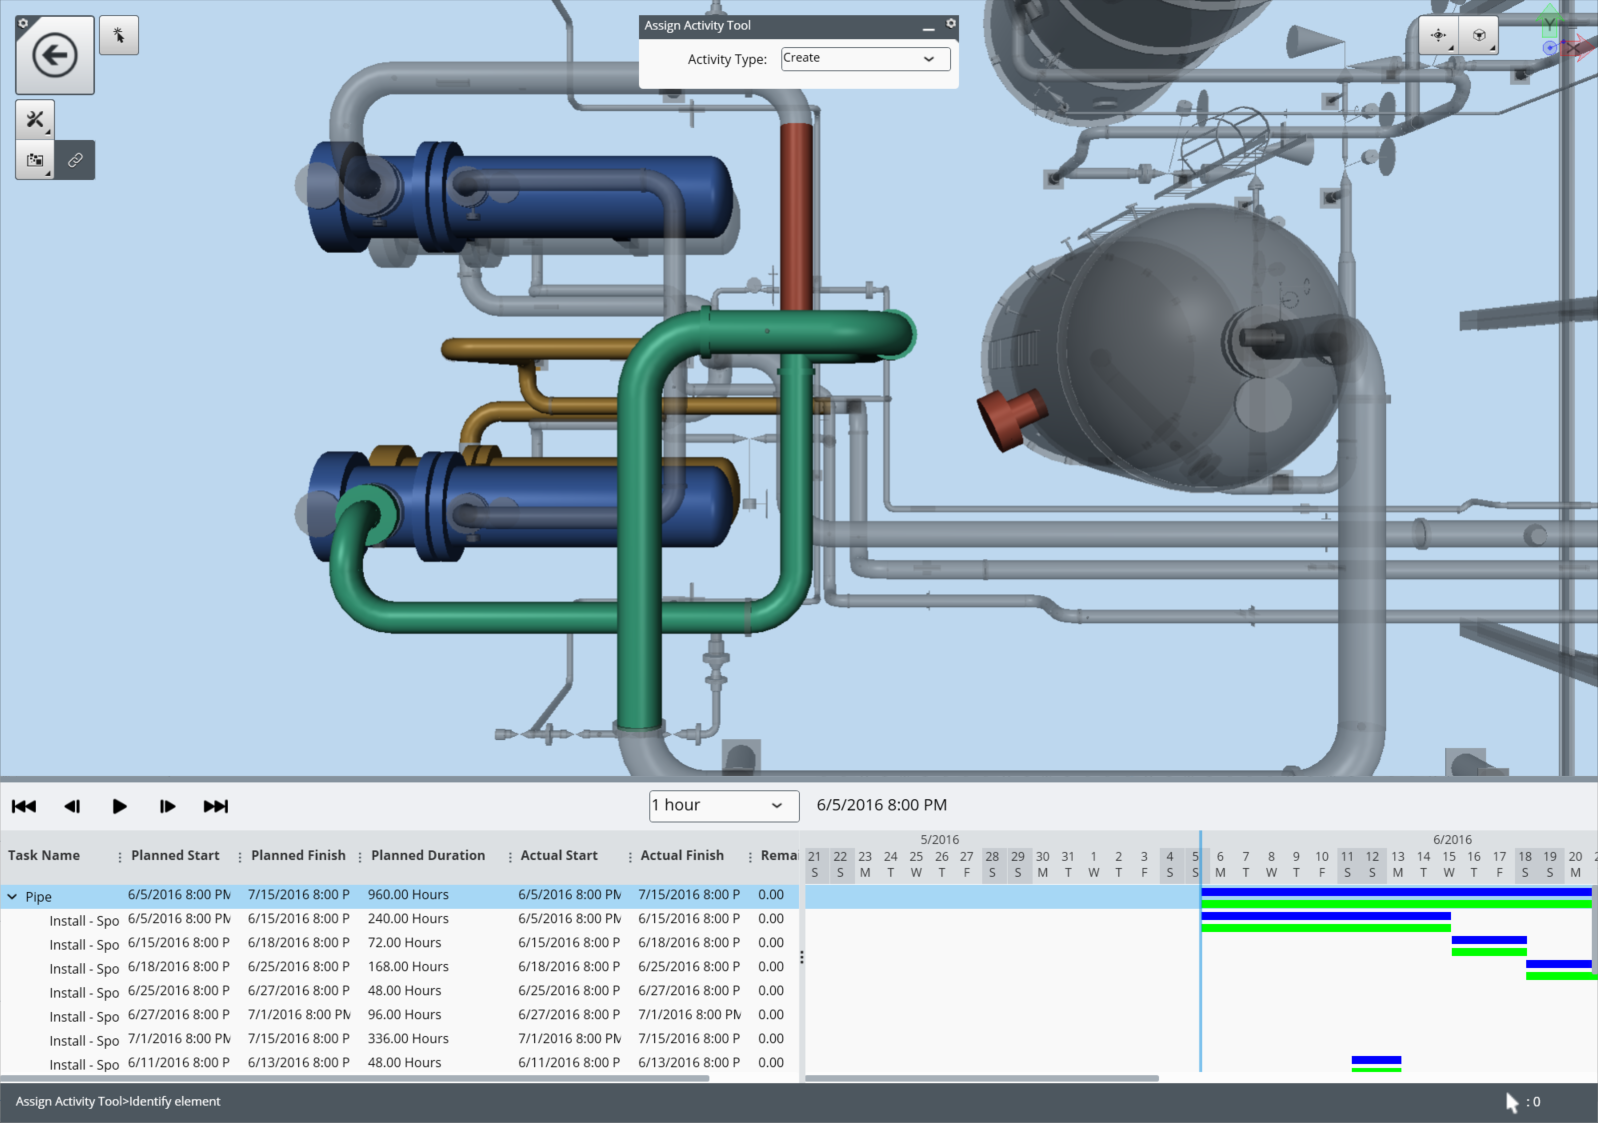
Activity Types
- Create: Elements that are affected by "Create" tasks are displayed as transparent when the task starts. As the task progresses, the element becomes less transparent until it is fully solid by the completion of the task.
- Destroy: Elements that are affected by "Destroy" tasks are displayed as solid when the task starts. As the task progresses, the element becomes more transparent until it stops displaying at the completion of the task.
- Maintain: Elements that are affected by "Maintain" tasks display before, during, and after the task. The elements are highlighted while the task occurs.
- Temporary: Elements that are affected by "Temporary" tasks do not display until the task occurs. When the task starts, the elements display. As the task progresses, these elements are highlighted. When the task is completed, the elements stop displaying.
Autolinking
To use autolinking, select Auto Match Rules from the
Linking Tools group from the Task-based Tools zone in the upper right. The
Schedule Linking Rules dialog box opens. Select the + to add an autolinking
rule. From the Rule Editor dialog box, type a name and select a template. The
template information displays in the Rule description box. Select the
underlined values to open a dialog where you can edit the rule to fit your
schedule. For each underlined value, select the appropriate choices from the
dropdowns and enter the appropriate value in the textbox. Select Apply. When
you have completed editing the rule, select Ok from the Rule Editor dialog box.
From the Rules window, select the checkboxes for the rules you would like to
process. Select the Process all selected rules against graphical elements
button.
 Select Ok from the Automatching dialog box and select Close
from the Rules window. The elements are now linked to the appropriate tasks.
Select Ok from the Automatching dialog box and select Close
from the Rules window. The elements are now linked to the appropriate tasks.
