Creating Datasources and Communities
After you set up the database and install AssetWise Information Integrity Server (previously "AssetWise Core Server"), you can create a datasource and a community in AssetWise System Management Console, which gets installed automatically when you install AssetWise Information Integrity Server.
- A datasource provides the connection between the AssetWise Information Integrity Server and the database.
- A community is a link to a specific datasource on a specific AssetWise Information Integrity Server.
First you create the datasource, then you create a community that points to that datasource on that server. Once configured, AssetWise users will then log in to their community through whichever AssetWise client they are using.
To Create a Datasource
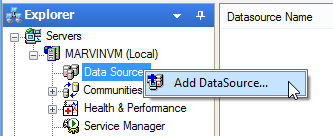
- In the Explorer pane, under the Servers node, expand your server.
- Right-click the Data Sources node and select Add DataSource.
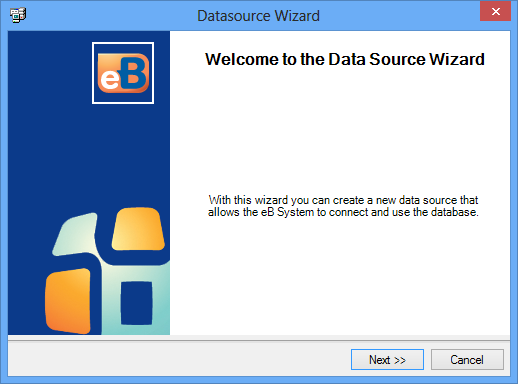
- When Datasource Wizard opens, click Next.
-
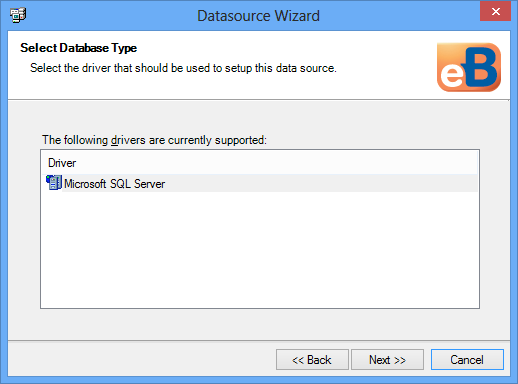
On the
Select Database Type page, select the driver
(Microsoft SQL Server or
Oracle) that matches your database and click
Next.
The pages that open next depend on which driver you selected.
-
Do one of the following:
If you selected the SQL Server driver:
- On the Select Server page, in the Database Server field, enter the name of or select the computer on which SQL Server is installed (or select (Local) if SQL Server is installed on this computer) and click Next.
- On the Login Information page, enter the user name and password of the database account used to log in to the selected SQL Server instance, or if database account is a Windows account select Use Windows Authentication, and click Next.
- On the Select Database page, select the database you created for AssetWise and click Next.
or
-
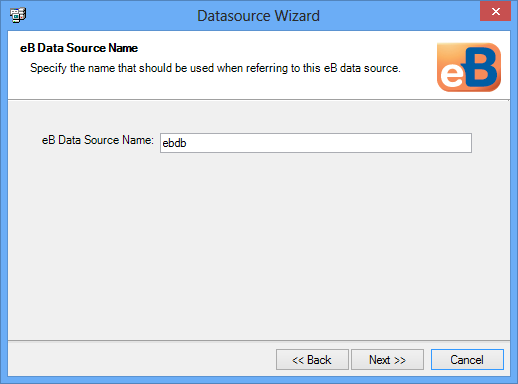
On the
eB Data Source Name page, enter a name for the
new
eB datasource and click
Next.
The name of the selected database is automatically supplied as the default name for the datasource. You can keep these names the same, or you can enter a new name for the datasource.
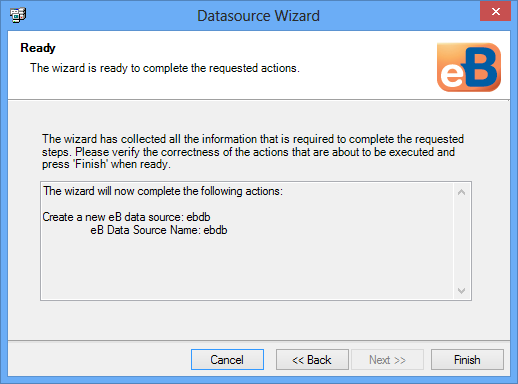
- On the Ready page, click Finish.
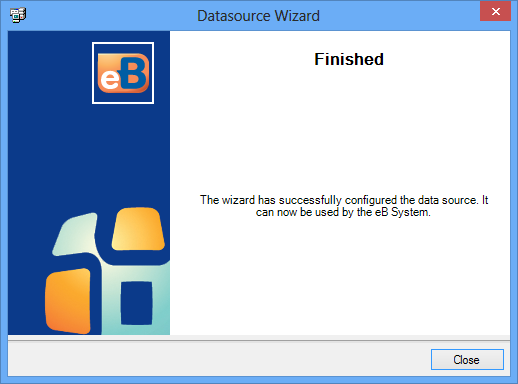
- On the Finished page, click Close.
-
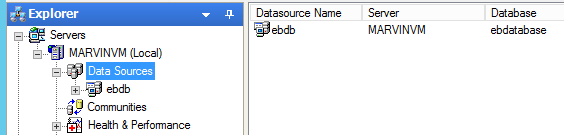
Select the new datasource.
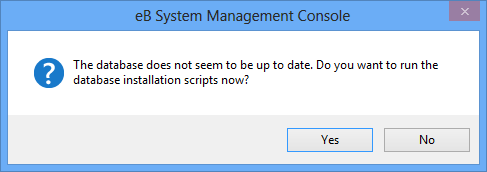
A dialog opens to inform you that the database used by this datasource needs to be updated.
-
Click
Yes.
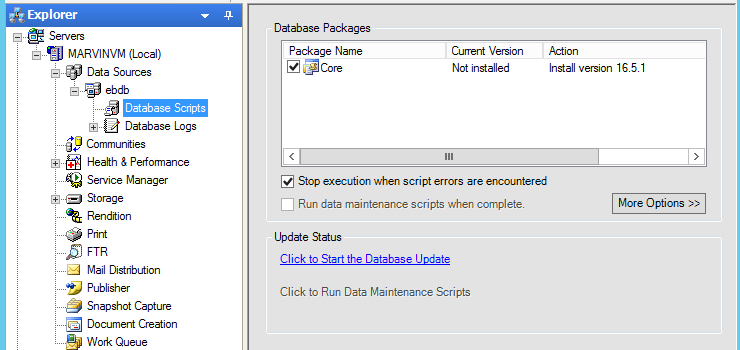
The datasource expands in the Explorer pane with the Database Scripts item already selected.
In the content pane, the Core database package is already selected.
- In the content pane, in the Update Status section, click the link, Click to Start the Database Update.
- When the database update is complete, click OK.
 on the toolbar to verify the
connection to the database. If the system fails to connect to the datasource,
double-check that you are using the correct server name, database name, user
name and password. If not, return to step 1 of this procedure and redo this
process.
on the toolbar to verify the
connection to the database. If the system fails to connect to the datasource,
double-check that you are using the correct server name, database name, user
name and password. If not, return to step 1 of this procedure and redo this
process.
To Create a Community
-
In the Explorer pane, expand .
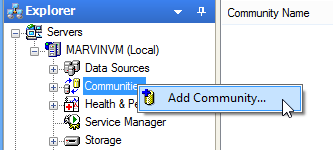
- Right-click the Communities node and select Add Community.
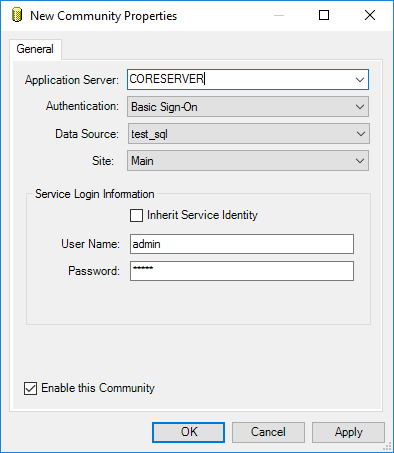
- From the Application Server list, enter or select the name of the computer on which AssetWise Information Integrity Server is installed.
-
From the
Authentication list, select either
Basic Sign-on or
Basic Sign-On (Over Web).
Note: While the list contains all possible authentication modes, only Basic Sign-On or Basic Sign-On (Over Web) are valid options in a new community. Once the community is configured and additional user accounts are added, you can come back and modify the community's properties and change the type of authentication this community will use to communicate with services.
- From the Datasource list, select the name of a datasource running on the server selected in the Application Server field.
-
In the
Service Login Information section, enter the
credentials of the default
AssetWise administrator account
(ADMIN /
ADMIN).
Note: Clear the Inherit Service Identity option when creating a new community, as it does not apply to communities using Basic Sign-On or Basic Sign-On (Over Web). Once the community is configured, you can come back and modify this community's properties and turn this option on if you want to allow services to use their own login information, which is defined in the individual service properties.
-
Click
OK.
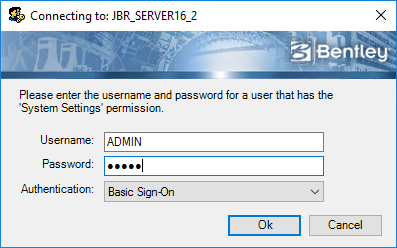
The Admin Password Change dialog opens for you to log in to the selected datasource.
-
Enter a new password for the
AssetWise
ADMIN user, and then click
OK.
The new community is added under the Communities node.
Important: Change the password for the default administrator account in AssetWise Director. After changing this password, you will need to return to AssetWise System Management Console, change the saved password for this community, and restart Service Manager. See To Update the Saved Password for a Community in AssetWise System Management Console.You can now expand the community in the Explorer pane and configure it as needed.
- Active Directory - see Synchronizing a Community with Active Directory
- Audit Trail - see Setting Up Audit Trail for a Community
- Database Events - this node is primarily used for customizations - see Assigning Event Handlers to Database Events
- Engines - this node is primarily used for customizations - see Adding Custom Engines to the Community
- FTR - see Configuring the FTR Service
- ProjectWise - this node only gets configured if you are using the AssetWise ALIM ProjectWise Connector. For more information, see the AssetWise Implementation Guide.
- Repository Groups - see Establishing Repository Groups for a Community
- Printing - see Configuring the Print Service
- Queues - see Monitoring Job Queues in Your Community
To Update the Saved Password for a Community in AssetWise System Management Console
-
Open
AssetWise System Management Console
().
-
In the Explorer pane, expand and select the Communities node.
- In the Communities list, right-click your community and select Properties.
- Change the saved password and click OK.
- In the Explorer pane, select the Service Manager node and restart Service Manager.
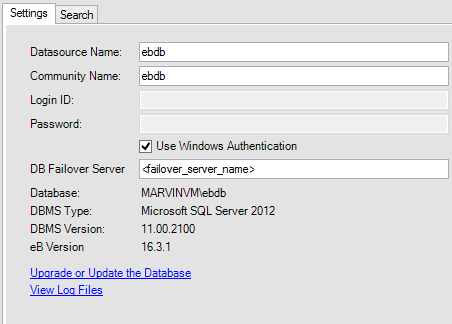
To Specify a Database Failover Server for SQL Server Database Mirroring
AssetWise supports SQL Server database mirroring, where there is a principle database (the production database) running on a principle database server, and a mirror database (a copy of the principle database) running on a mirror database server. If you want to use SQL Server database mirroring with AssetWise, you need to specify (in the datasource settings in AssetWise System Management Console) the name of the mirror database server. This lets AssetWise know which database server to use as the failover server in case the principle database server shuts down.
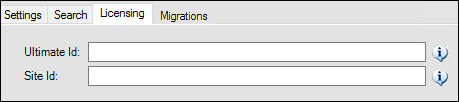
To Specify Licensing Identifiers for a Datasource
- Ultimate Id: This setting is the identifier of the Organization that this database belongs to, and who will be billed
- Site Id: This setting is the ID of the Organization or Account that usage will be recorded against, for licensing purposes.
Follow these steps to specify the licensing identifers:
- In AssetWise System Management Console, open the Explorer pane.
- Expand the Servers node in the tree, and then locate your server name, then expand its Data Sources node, and then select your datasource.
- In the Content pane, select the Licensing tab. For example,
- Enter the Ultimate Id and Site Id, and then click Save.
- Restart the Service Manager.
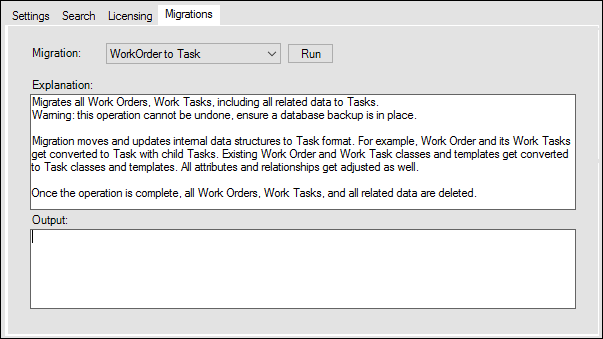
To Migrate Work Orders to Tasks
- Tasks can be exposed within other applications, such as the Task inbox in PlantSight for example, and,
- The data model behind the Task object is more flexible, and the long term plan is to move all users to Tasks. Although Work Orders will continue to be supported, further enhancements to workflow capabilities will be applied to Tasks only.
The migration process converts all Work Orders, Work Tasks, and all related data such as classes, templates, attributes, relationships, and all audit details except for: Securities – "FromState" and "ToState", and WorkOrders – "Left" and "Right"), into Tasks, and then the Work Orders and Work Tasks are automatically deleted. Your migration's status appears in the Output box.
Follow these steps to migrate Work Order data into Tasks.
- In the Explorer tree, navigate to and select the datasource for which you want to migrate work orders into tasks.
- Select the Migrations tab.
- In the Migration list, ensure that WorkOrder to Task is selected.
-
Click
Run.The migration begins.
If the migration encounters an issue, a
confirmation dialog box appears. For example,
The final status of the migration appears in the Output box.
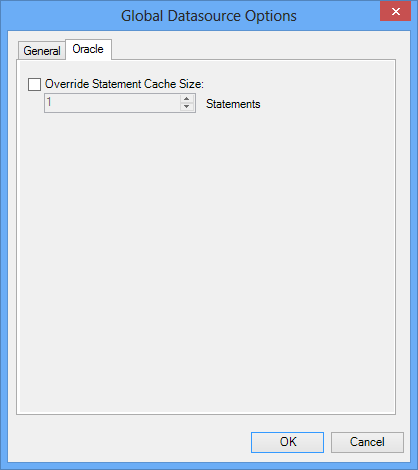
Setting Global Datasource Options
There are some global datasource options that you can apply to all datasources of a particular server.
To access these options, do the following:
- In the Explorer pane, expand .
- Select the Data Sources node, then from the DataSources menu select Options.
The Global Datasource Options dialog opens.
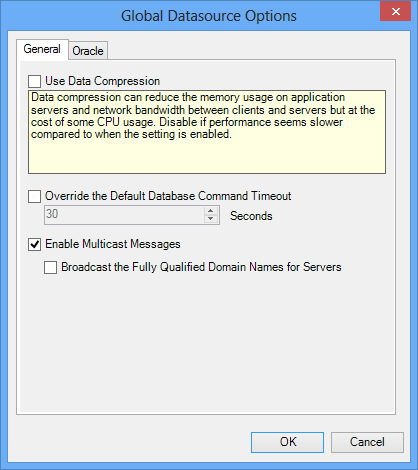
General Tab
| Setting | Description |
|---|---|
| Use Data Compression | Data compression is used to improve performance over networks with high latency / low bandwidth connections by compressing the data that is being sent to or retrieved from the database. The data is then decompressed when it reaches its destination. Performance improvements will be most noticeable with large amounts of data across high latency / low bandwidth connections. This setting is off by default. |
| Override the Default Database Command Timeout | By default, any database transaction/query has 30 seconds to complete, after which it times out. Use this setting to change the default value to either shorter or longer than 30 seconds. For example, you might make it longer if you frequently get time outs from the database. |
| Enable Multicast Messages | Used to wake up queues and signal other changes over a network. Some messages respond based on the name of the server, so some networks might require fully qualified domain names in order to be broadcast. |