To Create and Edit Comments from a Workflow
This topic describes how to add comments to an active review task from a workflow.
Comments may also be added directly from a document. For more information, see To Add Comments to a Document.
Follow these steps to add and edit comments from a workflow.
-
Open the workflow for which you want to create comments, by doing
one of the following:
From a task notification email, click the link to the task or document.
or
Search for the workflow. For more information, see Search.
or
Selecting the workflow from your Basket.
or
Select the workflow from Work Exchange. For more information, see To View the Workflow From a Task.
- Select the Tasks tab, and then select a review task from the list.
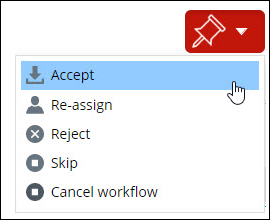
- Accept the task by doing one of the following:
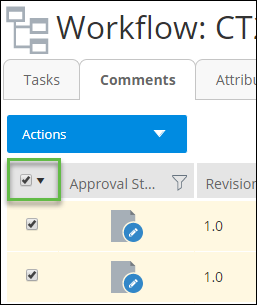
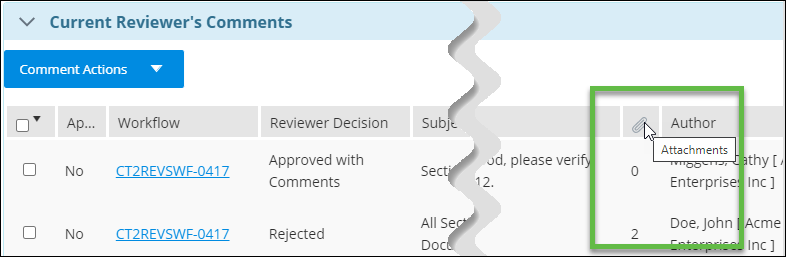
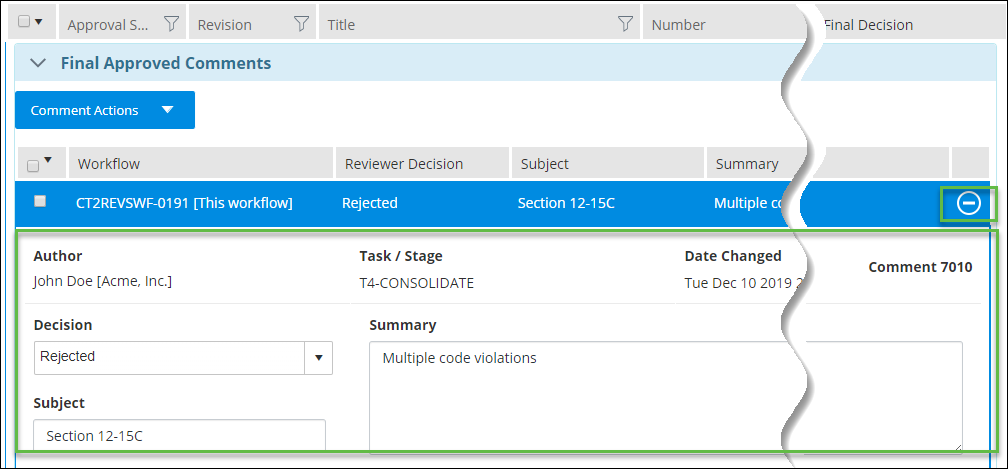
- Select the Comments tab. This tab lists all of the comments for the workflow.
- Select each document for which you want to create comments.
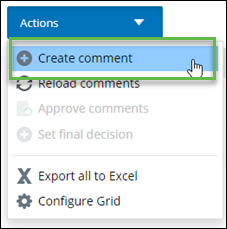
- From the Actions menu, select Create comment.
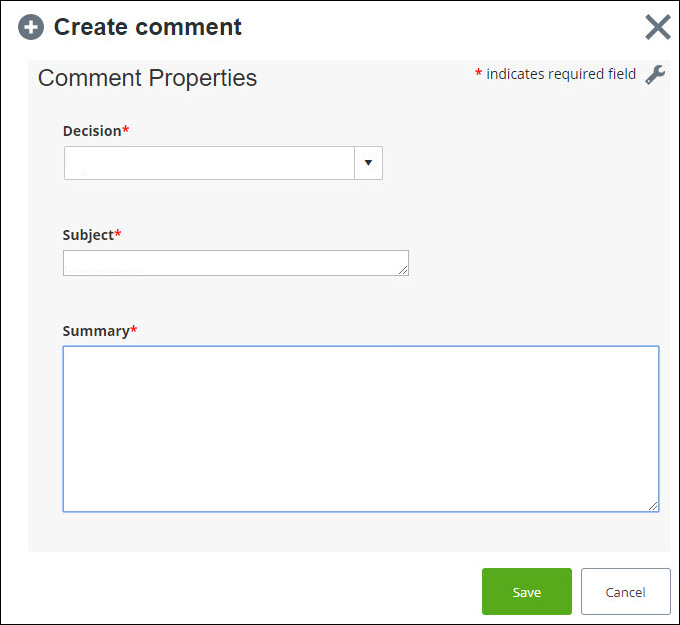
- Select a Decision from the list, such as "Rejected", "Approved", or "Approved with Comments".
- Enter a Subject for the comment.
- Enter a Summary in the box.
- When you are finished, click Save. The Comments column is updated with the appropriate comment decision status icon and a number representing the count of comments with that status. For example,
-
To edit an existing comment,
-
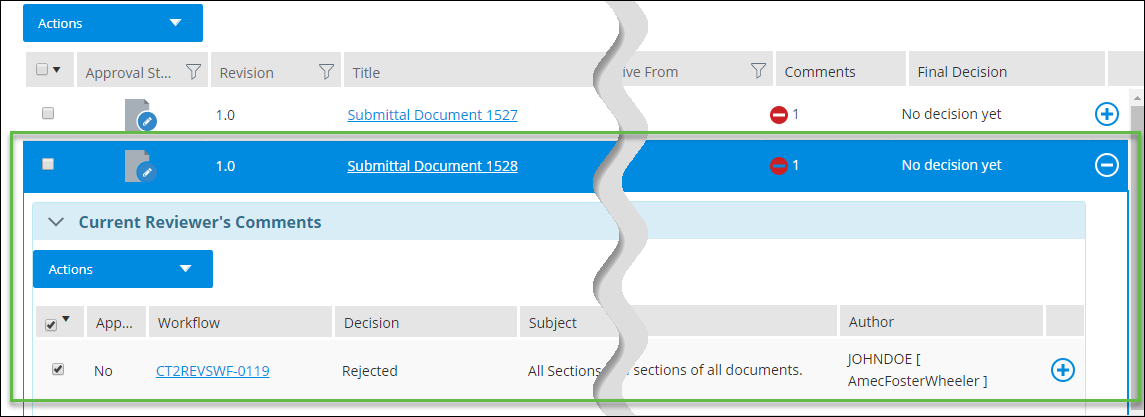
Expand the document row within the Comments grid by clicking
 .
The icon changes to
.
The icon changes to
 , and the document row expands the
Current Reviewer's Comments section to
reveal the individual comments. For example,
, and the document row expands the
Current Reviewer's Comments section to
reveal the individual comments. For example,
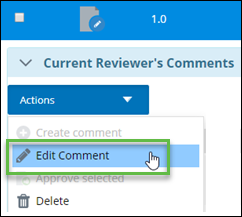
- Select the comment that you want to edit.
- From the Current Reviewer's Comments Actions menu, select Edit Comment. The Edit Comment dialog appears, and allows you to update the Decision, Subject, and/or the Summary.
-
When you are finished, click
Save (
 ).
).
-
Expand the document row within the Comments grid by clicking
- When you are finished, do one of the following:
- You can add files to the comment to support the rationale for the comment. For more information about adding files, see Comment File Attachments.
- When you are finished, click Complete.