Form
There are 3 types of forms that can be created:
- Use the Generate form tool: every mapped property will be added to the form, using the appropriate component type based on the property type (Number, Text…). You can then move the different fields or edit each component based on your needs.
- Manually create the form: To add fields to a form, drag and drop component from the left into the desired location within the form
To assist you in the form creation process, component placeholders are displayed when creating a new form. You can Copy or Move the placeholders to design the form using the Copy and Move tools:

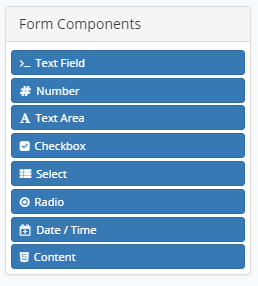
Component Types
| Component | Description |
| Text Field | Used for short and general text input. |
| Number | Used for number input type. |
| Text Area | Same as the Text Field component. The difference is that it will be a multi-line input field that allows for longer text. |
| Check Box | This is a boolean value input filed. It will be either be on or off. |
| Select | Display a list of values in a drop-down list. Users can select one of the values. |
| Radio | Presents a list of options from which only one can be chosen. |
| Date / Time | Used to input date and time. |
| Content | Allows the addition of various content to the form such as text, lists, images, tables and more. |
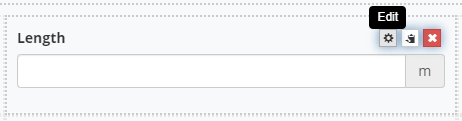
Edit a Form Component
Once a component is added to the form, hover over the component and click the gear icon.
You will then be presented with a settings form for the component. The settings for a form component are different for each component type.
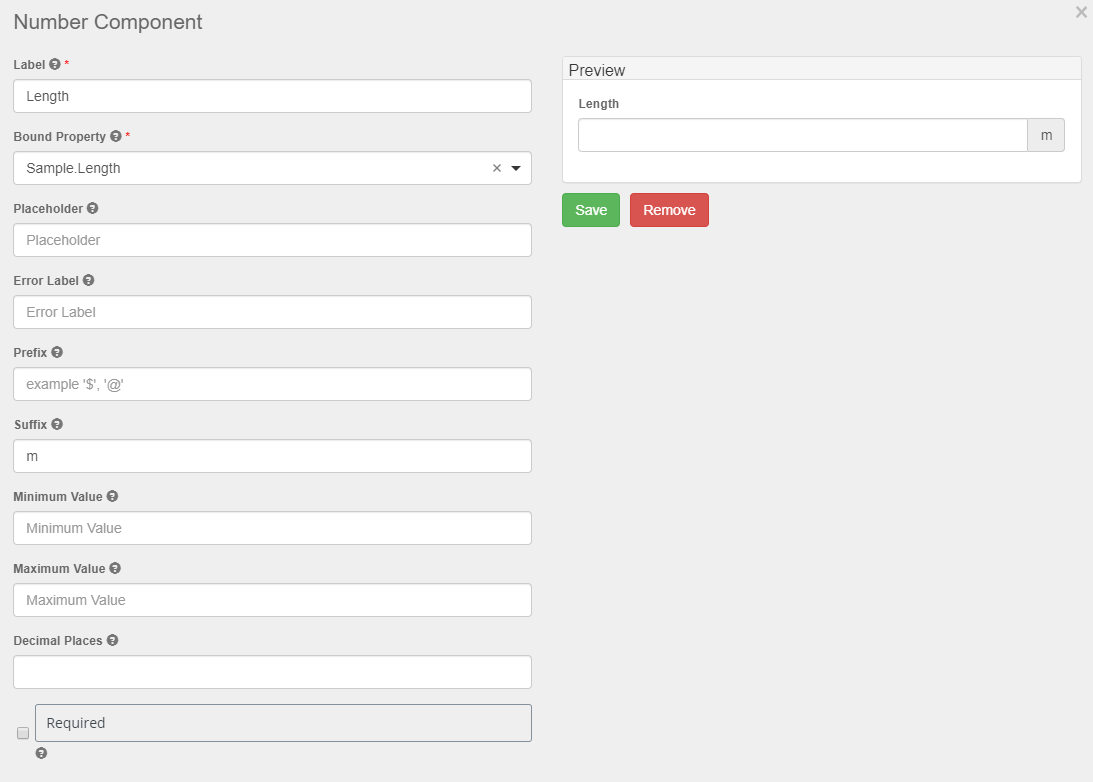
Bound Property: Each component of a form must be linked to a property. This is how you determine which property in your gINT project will be updated with the collected information.
Copy a Component
Once a component is added to the form, hover over the component and click the clipboard icon. This will copy the component to the clipboard.
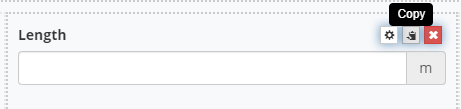
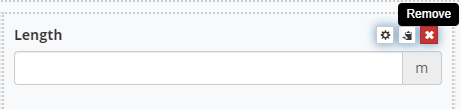
Remove a Component
Once a component is added to the form, hover over the component and click the 'X' icon. This will delete the component from the form.