Apply Wall Pressure Loads
To apply pressure loads to walls, use the following procedure.
Pressures are always applied orthogonal to the plane of the wall.
- Select the Elevation tool and then click on a wall. The wall is displayed in the Elevation Mode.
-
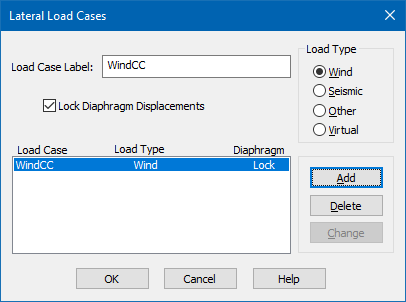
Create a lateral load case:
- Select . The Lateral Load Cases dialog open.
- Type a Load Case Label and select the Load Type.
- (Optional)
Check the option to
Lock Diaphragm Displacements for this load
case.
When this option is selected, the diaphragm will not displace in the RAM Frame analysis when the load case is analyzed. The purpose of this option is to isolate out-of-plane behavior from in-plane behavior. For example, the wind pressure producing out-of-plane bending in a wall is often a components and cladding load that is not necessary to be considered for the main lateral force resisting system. By preventing the diaphragm from displacing, the engineer can model the components and cladding wind pressures on all walls in a single load case and no in-plane forces will be produced in the 3D analysis. This option is ineffective for a flexible diaphragm.
- Click Add.
- (Optional) Repeat steps 1a through 1d to add additional lateral load cases as needed.
- Click OK.
-
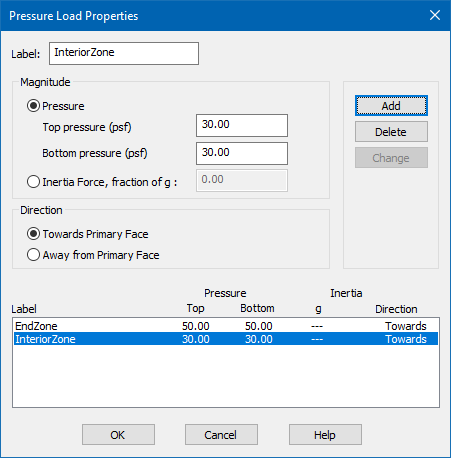
Add wall pressure:
- Select . The Pressure Load Properties dialog opens.
- Type the load Label.
-
Select to apply the pressure magnitude as either a
Pressure or
Inertia Force and then type the associated
magnitude values.
Pressure can be defined explicitly as top and bottom pressures (linearly varying between top and bottom based on elevation) or as an inertia force based on the wall weight and fraction of gravity to consider.
-
Select the
Direction with respect to the primary wall
face.
In elevation mode, you are looking at the wall primary face. The direction towards is into the screen.
-
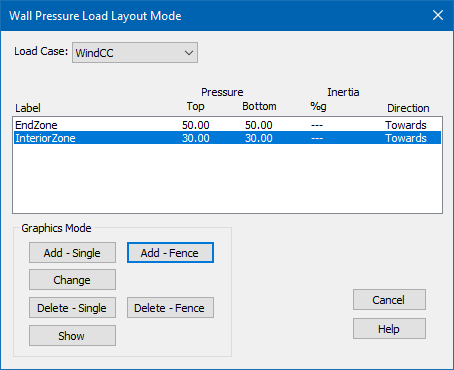
Apply the wall pressure:
- Select . The Wall Pressure Load Layout Mode dialog opens.
- Select the Load Case from the drop-down list.
- Select the wall pressure load from the table.
- Select either Add - Single or Add - Fence to apply this to the walls in the elevation mode.
-
Click
Show to display the currently assigned
pressure loads.
Hatching and labels with the assignments will be displayed.
Note: Wall openings have a distribution property to determine how to handle the portion of the wall pressure that exists over the opening. The pressure can be distributed to the vertical or horizontal sides of the opening, or completely ignored. Openings are created and changed in elevation mode in RAM Modeler.