You can check out
documents so that you can work on them locally, or send them to other users to
work on. When you are done making changes to a checked out document, you can
check it back in. Checking out a document downloads a copy of the document, and
also locks the document so that no other user can check out (or export) the
document until you check it in or free it. (Managed exports are done from
ProjectWise Explorer.)
You can check out or
download items by going to the folder they exist in, or from the results of a
search.
Note: Currently, you can only check
out standalone documents (documents that have no references) from
ProjectWise Web; in a future update you
will also be able to check out master documents.
Note: Depending on the
permissions set on a document, you may or may not be able to check out that
document.
Checking Out a
Document
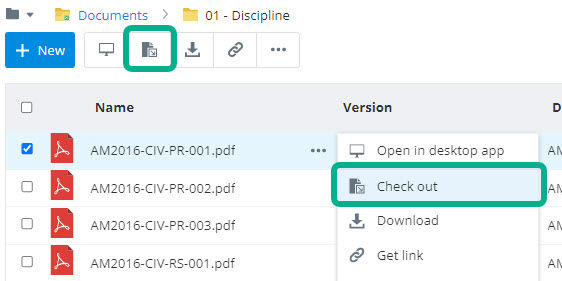
- Click the check box next
to a checked in document and from the action menu select
Check Out.
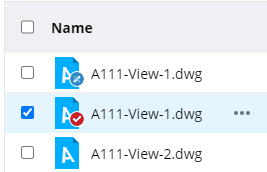
The file is checked out and downloaded to your local
computer. The document's icon now displays a check mark for you, and other
users will see a lock icon.
Note: The icon will
not change for
ProjectWise Web View users; users in
ProjectWise Web View can only open
documents as read-only, therefore there is no reason to show them if the
document they are opening is checked out or locked.
Checking In a
Checked Out Document
Use this option when you want to replace the server copy
of the document with your local copy of the document, and check in the
document.
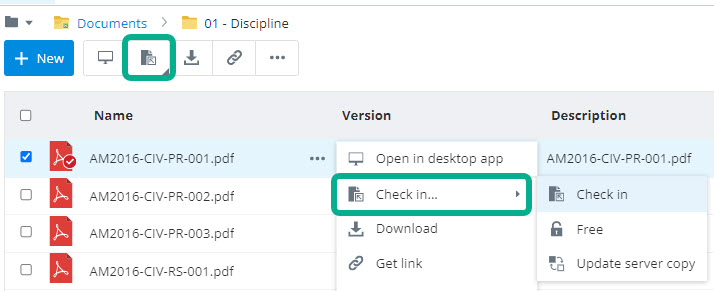
- Click the check box next
to a checked out document and from the action menu select
Check In.
- When the local file
selection dialog opens, browse to and select the file you want to check in and
click
Open.
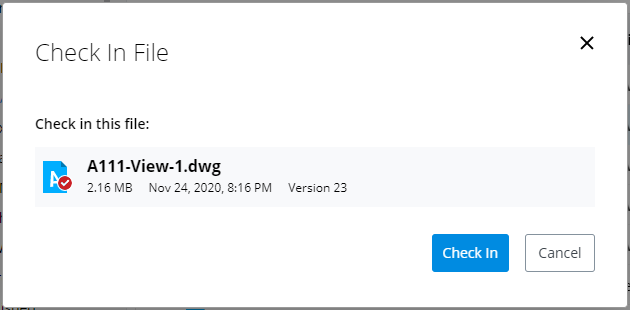
- When the
Check In File window opens, click
Check In.
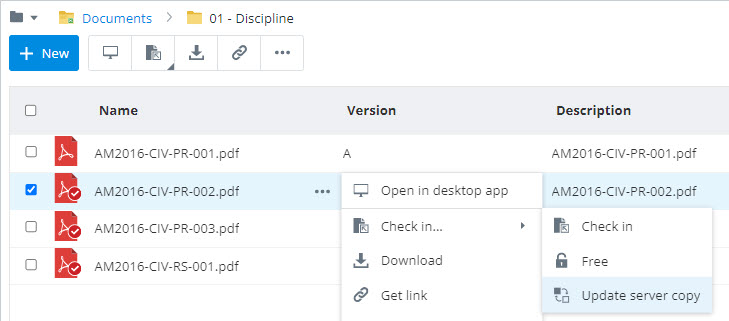
Updating the Server
Copy of a Checked Out Document
Use this option when you want to replace the server copy
of the document with your local copy of the document, and keep the document
checked out to you. This lets you make your changes available to other users
while continuing to work on the document.
- Click the check box next
to a checked out document and from the action menu select
Update Server Copy.
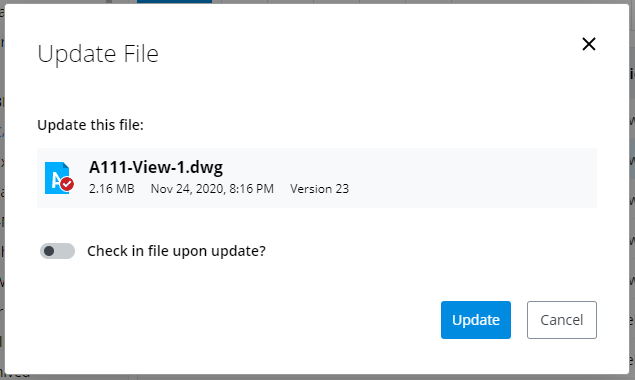
- When the local file
selection dialog opens, browse to and select the file you want to update and
click
Open.
- When the
Update File window opens, click
Update.
Note: The only reason for
turning on
Check in file upon update in this window is if
you decide you would rather check in the document instead of just updating the
server copy.
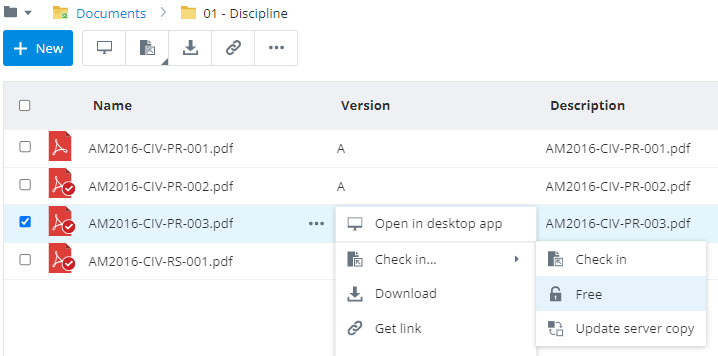
Freeing a Checked
Out or Locked Document
You can free a document you have checked out when you want
to undo a check out and discard any local changes you may have made.
If you are an administrator, you can free a document that
is locked by another user.
- Click the check box next
to a checked out document and from the action menu select
Free File.