To Create New and Update Existing Logical Sets and Link Sets
- Open the Scan for Reference Files and Link Sets wizard and click Next.
-
On the
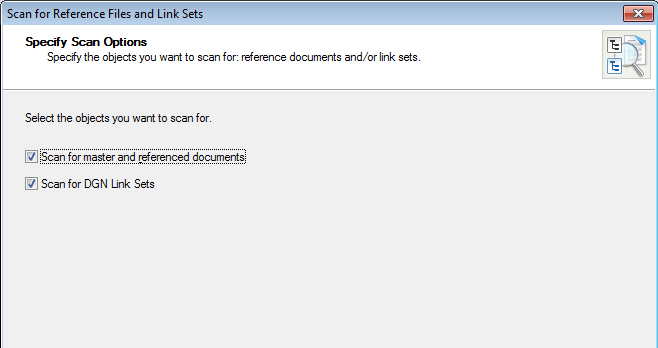
Specify Scan Options page:
Leave both options selected to scan for both logical sets and link sets, then click Next.
or
Turn off the type of scan you do NOT want to perform, then click Next.
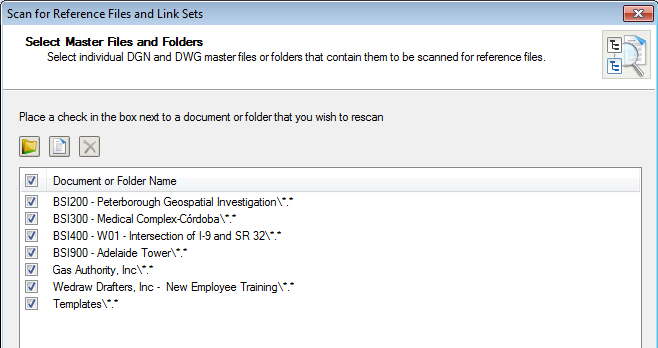
The Select Master Files and Folders page opens, which lets you select the work areas, folders, and individual documents you want to scan for the presence of master documents and/or link set documents.
If you opened the wizard by selecting , then this page is empty by default. If you opened the wizard by selecting one or more documents then selecting , or by selecting one or more folders and/or work areas then selecting , the selected items are automatically listed on this page and their check boxes are on.
Note: By default, each work area, folder, and/or document added to the list is automatically set to be rescanned (the check box next to the item is on). This means that all documents will be scanned, creating new sets when necessary and updating any existing logical and/or link sets that are found. When you turn off the check box next to an item, then any existing logical and/or link sets within that work area, folder, or document will be bypassed, and only documents that are not already identified as master documents and/or link set documents will be scanned. If this is the first time you are scanning particular work areas, folders, or documents, you do not need to re-scan them (you can turn the check box off). -
On the
Select Master Files and Folders page:
- Click the Select Folder icon to add work areas or folders to scan.
- Click the Select Document icon to add individual documents to scan.
- Turn off the check box next to any item you do not want re-scanned.
- When finished, click Next.
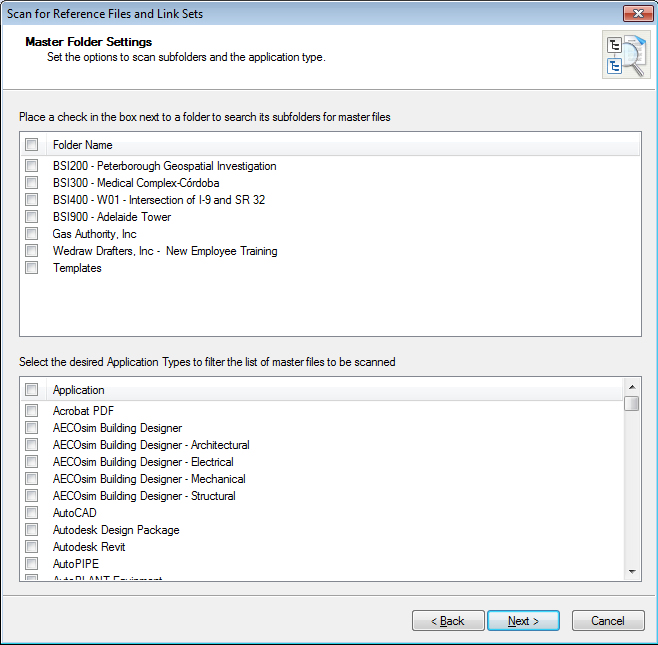
The Master Folder Settings page opens, which lets you select whether or not to scan the subfolders and sub-work areas of the selected folder or work area. By default, each folder or work area in the list is not set to have their subfolders and sub-work areas scanned (the check box next to the item is off).
On this page you can also restrict the scan to only include documents associated to selected application(s).
-
On the
Master Folder Settings page:
- (Optional) Turn on the check box next to any folder or work area if you want their subfolders/sub-work areas to be scanned.
- (Optional) To only scan the folders and work areas listed for documents associated to certain applications, select one or more applications from the Application list.
- When finished, click Next.
The Reference File Priority Search Options page opens, which lets you select the folders and work areas to scan for reference documents and/or linked documents. By default, each folder or work area added to the list is automatically set to have their subfolders and sub-work areas scanned.
- On the Reference File Priority Search Options page:
-
On the
Reference File Priority Search Options page:
- Click the Select Folder icon to add the folders or work areas you want to scan for reference documents and/or linked documents.
- (Optional) Turn off the check box next to any folder or work area if you do not want their subfolders or sub-work areas to be scanned.
- (Optional) The search will be performed in the order that the folders and work areas are listed, top item first, bottom item last. To move folders and work areas up or down in the search order, select the folder or work area in the list and click either the up or down arrow buttons.
- When finished, click Next.
The Reference File Proximity Search Options page opens, which lets you define a proximity search that defines where to start the search: whether to start in the folder or work area found to contain master documents and/or link sets, the folder or work area just above that, or several folders or work areas above. When you perform an Advanced search that goes up fairly high in the folder structure and set the option to scan subfolders and sub-work areas, you are ensuring that all neighboring folders and work areas of the selected folders and work areas are included in the scan.
-
On the
Reference File Proximity Search Options page:
Turn on Enable Proximity Search and continue with the next step.
or
Turn off Enable Proximity Search and skip to step 9.
or
If Enable Priority Search was off on the previous page, Enable Proximity Search is automatically enabled on this page and the option is disabled from changing; continue with the next step.
-
On the
Reference File Proximity Search Options page:
- (Optional) To include subfolders and sub-work areas in the proximity search, turn on Search Subfolders for References.
- Select Master File's Folder, Parent Folder, or Advanced as the starting point for the scan. If you select Advanced, also specify how many folders above the master file’s folder you want to go before the scanning starts.
- When finished, click Next.
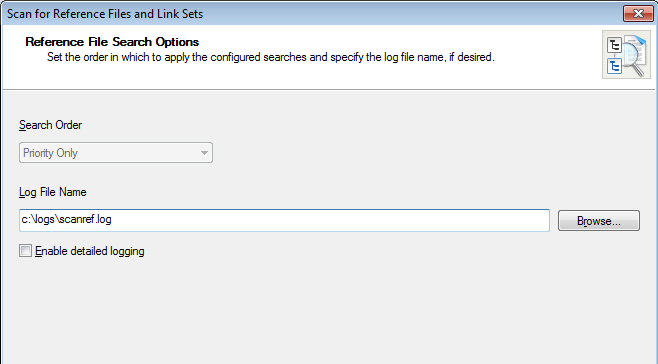
The Reference File Search Options page opens, which lets you set the order in which priority and proximity searches are performed (if both types have been configured). You can also specify a log file to which will record scanning information. If both priority and proximity searches are configured, you can select Priority Only, Proximity Only, Priority then Proximity, or Proximity then Priority. If you have only specified only one type of search to perform, that type displays in the Search Order list, and the option is disabled from changing.
-
On the
Reference File Search Options page:
- If both priority and proximity searches have been set up, select an option from the Search Order list.
-
If you want to save the results of the scan to a log file,
then enter the path to and including the name of a new or existing log file in
the
Log File Name field. If you need more than
just the basic logging, then also turn on
Enable detailed logging.
You can set the path to the log file by typing in the field or by clicking Browse and selecting a location and name for the file. You must specify an existing folder in which to store the log file. If you type the name of a log file that does not exist, it will be created when the scan is initiated. If you select an existing log file, the contents of the file will be overwritten with the new scanning results.
- When finished, click Next.
-
Click
Scan to start scanning.
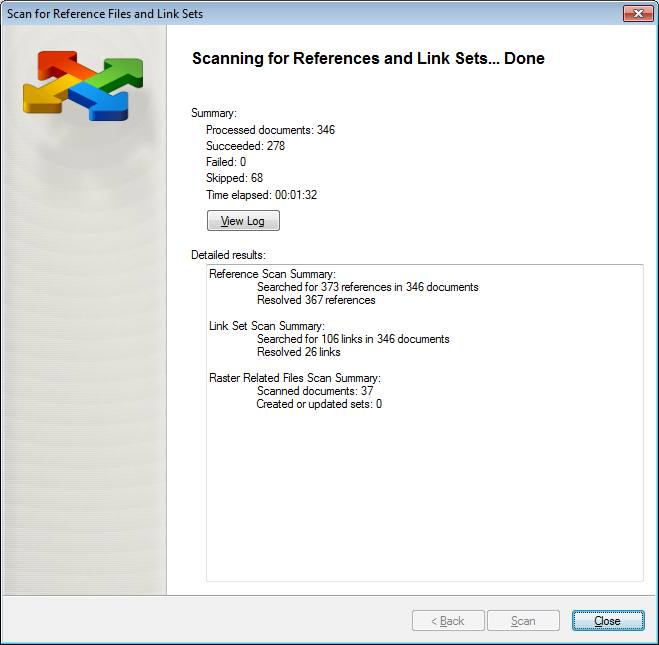
Progress of the scan displays in the wizard. When the scanning is finished, you are presented with a summary of what occurred in the scan.
- (Optional) If you specified to use a log file, click View Log.
- Click Close to close the wizard.