Data Entry Overview
Data can be imported into Operational Analytics either automatically or manually. Automatic data import will be handled by back end processes and the Operational Analytics data collector. These processes run in the background regardless of whether users are connected to Operational Analytics. Automatic data import is suitable for long term ongoing data collection where there is regular data available.
Manual data uses features within Operational Analytics to save the data. This relies on the user adding the data manually and is suitable for one of imports or imports of data that do not happen regularly.
Data Workbook
The Data Workbook is a tool which allows the user to view all or a selected period of data of a number of points in the style of a spreadsheet with timestamps and values. Data can also be entered manually against any point, or imported with CSV files. The Data Workbook provides an easy way to enter or view data into a database for multiple points at a time.
Note: to access all of the functionality in the Data Workbook, ensure that the options are selected in the Group’s Administration section.

The data workbook can be opened from the data tree or the selection tool. In the selection tool highlight the points and click on the data workbook icon.

The data workbook will open. Existing data values will be displayed.
Enter New Manual Data
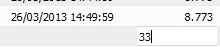
Select the last row of data and press Add Row button to produce a new row.
Enter the raw data under the Value column.
Enter the date in the first column by double clicking to bring up calendar, or inserting the timetag manually.
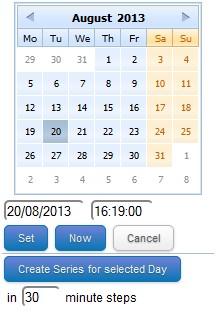
The Calendar allows the user to select a date and time and entering it by pressing the Set button; or entering the current date and time by pressing the Now button followed by the Set button.
When done, press the Save button to store the new entry. It will then appear on the list (at the bottom).
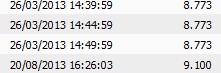
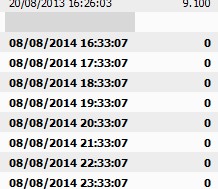
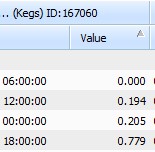
Time series data can be entered and the Calendar provides the option of entering the series timestamps to your liking for one day. Enter a Value for the incremental steps e.g., every 60 mins, and press the Create Series for a selected day button.
Below is an example of 60 mins intervals, only the data values need entering and then saved.
Copying New Manual Data and Errors

Data can be copied directly from a spreadsheet into the workbook by copying and pasting it.
Again, making sure that the date format is correct, then the data will be imported correctly.
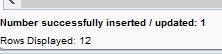
For any data that is newly entered, a message will be displayed at the bottom of the page indicating the success of import. A successful import will contain no errors:
While an import with errors will contain a list with the potential problems encountered:

These errors will also be highlighted in red in the Worbook.
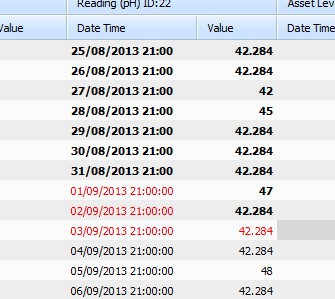
The errors found in the above indicate incorrect date formats and timetags already exist.
Importing Data into the Data Workbook
A way of entering data to the Data Workbook on a larger scale is to import that data from a CSV file only. For this functionality to work, the data needs to be in the correct format prior to importing (i.e., timetag and value columns). Data can only be imported to one point at a time.
Select the point in the treeview that you wish to enter data to and open the workbook.
Press the Show/Hide Options button and press the Browse button.

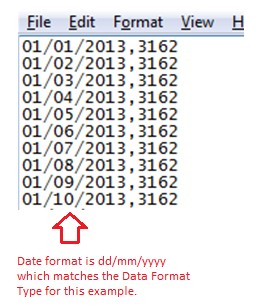
Select the CSV file that contains the data to be imported. The CSV file must not contain any header rows and the date format must match what is set in the data workbook.
If there are several points in the data workbook and have chosen to import data, highlight the date and time cell of the point you want to import the data to.
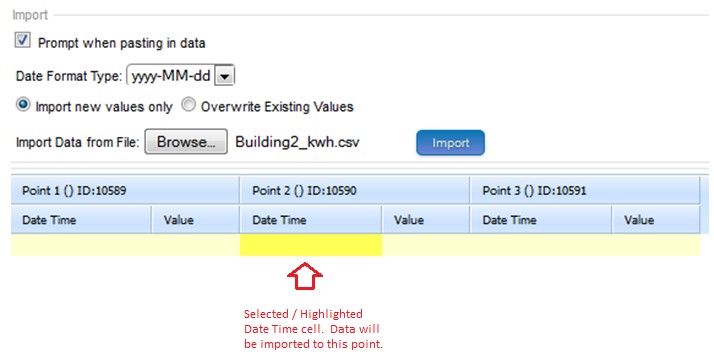
Failure to do so will result in a warning message.

When ready, press the Import button.
The data will be loaded and saved into the Workbook so long as the date format in the csv file is correctly set to that of the Workbook, like below.

When data is viewed, it can be sorted into ascending/descending order by clicking in any of the headers.
Exporting Data to Excel
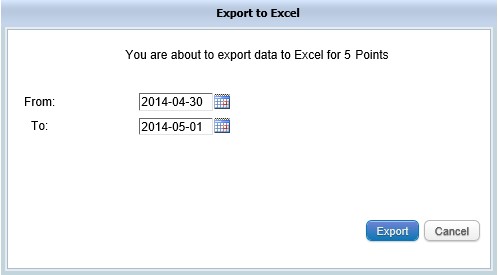
Data in the workbook can be exported to an Excel spreadsheet.
Click on the Export icon and follow the prompts for storing the file.
When the spreadsheet is opened, it will display all of the data in the Workbook, including the point names and IDs.
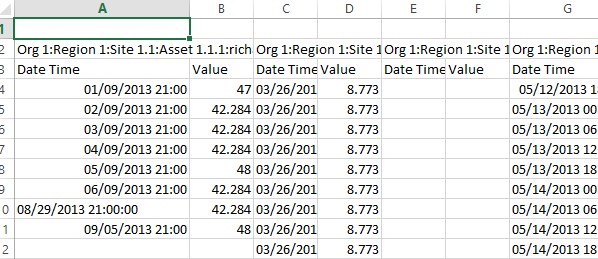

This allows the raw data from all selected points to be exported into a spreadsheet. Choose an appropriate date range, then right click and save the link as an .xls file.