Home Tab

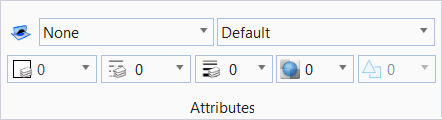
Attribute
|
Setting |
Description |
|
Allows you to lock the active element template when placing an element. When on, the icon is displayed with highlighting. |
|
|
Allows you to opens the Element Templates drop-down to set the active element template, and to manage element templates using the Elements Templates dialog. |
|
|
Allows you to open the Level drop-down to set the Active Level and the Active Level Filter, to manage levels and filters, to set the display of levels and apply filters, and to recall existing level filters. |
|
| Color |
Allows you to open the Active Color drop-down to set the active color, and change the colors of selected elements. |
|
Allows you to open the line style drop-down to set the active line style to the line style that is chosen. |
|
|
Allows you to open the line weight drop-down to set the active line weight and change the line weights of selected elements. |
|
|
Allows you to open the transparency drop-down to set the active element transparency. |
|
|
Allows you to open the priority drop-down to sets the active element priority (2D models only), which determines how an element is displayed relative to other elements. |
|
|
Allows you to open the element class drop-down to set the active class of element on placement. |


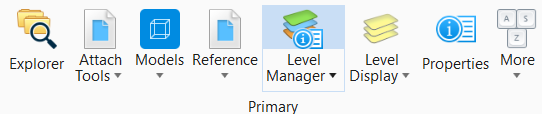
Primary
|
Setting |
Description |
|
Allows you to manage project data using the Explorer dialog. |
|
|
|
|
Models |
Allows you to displays the Models dialog, which allows you to create a new model, copy a model, edit model properties, delete and import models, create a sheet boundary, and list any filters. |
|
Allows you to turn levels on and off using the Level Display dialog. |
|
|
Allows you to turn levels on and off using the Level Display dialog. |
|
|
Allows you to review or modify information about an element(s), such as its type, attributes, and geometry. |
|
|


Selection

|
Setting |
Description |
|
Element Selection |
Allows you to select and deselect elements on a per element basis, by defining an area, or by drawing a line that intersects them. |
|
Select All |
Allows you to select all elements in the design. |
|
Select None |
Allows you to deselect all elements in the design. |
|
Fence Tools |
|
| Lock | Allows you to lock all elements in the design. |
| Unlock | Allows you to unlock all elements in the design. |
| Bring to Front | Allows you to bring front the selected elements in the design. |


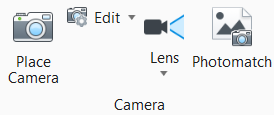
Camera
| Settings | Description |
|---|---|
|
Place Camera |
Allows you setup a view camera, in 3 point projection mode, by entering data points to define first the camera location, then the camera target location. |
|
Edit |
Allows you to set up a view for rendering, or to create saved views |
| Lens | Allows you to set perspective in a view to match an extra wide angle camera lens. |
|
Photomatch |
Allows you to known points in 3D space to corresponding points in a photograph, to determine the camera position, lens angle and target location. |
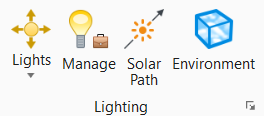
Lighting
| Settings | Description |
|---|---|
|
Lighting |
Allows you to set the light source type to a Point Light. |
|
Manage |
Allows you to control light setups and the settings for both global and source lighting. |
|
Solar Path |
Allows you to graphically manipulate the position of the sun in the sky within a view. |
|
Environment |
Allows you to access controls for environmental settings for Luxology rendering, as well as controls the visibility of these environment settings. |
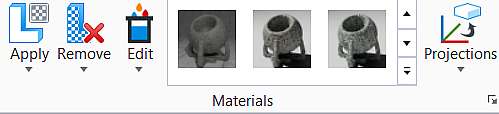
Materials
| Settings | Description |
|---|---|
|
Apply |
Allows you to attach a material as an attribute to an element in your model. |
|
Remove |
Allows you to remove a material that has been attached as an attribute to an element, a face of a SmartSolid, or a face of a Feature solid, in a model. |
|
Edits |
Allows you to create materials or modify a material palette. |
|
Materials |
Allows you access the material definitions including pattern maps, bump maps, or combinations of both. When expanded, you can select Open Palette to open a different material palette. |
|
Projections |
Allows you to attach a material mapping mode to an element. |
Rendering

| Settings | Description |
|---|---|
| Render Scene | Allows you to open the Luxology Render dialog, which is used to manage a rendering process. |
| Save Image | Allows you to
open
Save Image dialog, which lets you save a rendered image to
file.
|
| Save Multiple | Allows you to open the Save Multiple Images, which lets you build an image script file to save multiple images to files. |
| Save Panorama | Allows you to open the Save Panorama dialog,which lets you save an image as a panorama. |
Utilities

| Settings | Description |
|---|---|
| Populate | Allows to place cells or RPCs on any surface in a 3D design model. |
| Place RPC | Allows you to place Arch vision RPC cells in models. |
| Stencil 2D Elements on 3D Geometry | Allows you create renderable mesh geometry and place it on top of the underlying geometry. |
| Solar Lightning | Allows you to create a movie (or sequence of images) that shows the locations of shadows cast by the sun over a period of time. |
| Render Boolean Add | Allows you assign an element to cut the volume of any intersecting geometry, when the view is rendered. |
| Render Boolean Delete | Allows you unassign a render boolean element to render all the intersecting elements. |