Add User Defined Profile Cells
The
Profiles.cel containing default profiles located in
the cell library is amended with user created cells to be used as profile.
- Create a new 2D design model. Check the option.
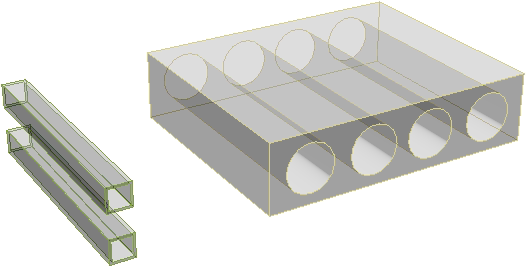
- Draw your own profile shape and select it. This shape is the intended profile to be added as a cell.
-
From the select
 (Define Cell Origin)
tool and apply to appropriate point on shape to determine justification.
This origin point will be the data point
selected when placing Profile.
(Define Cell Origin)
tool and apply to appropriate point on shape to determine justification.
This origin point will be the data point
selected when placing Profile.
-
Access the
 (Cell Library dialog).
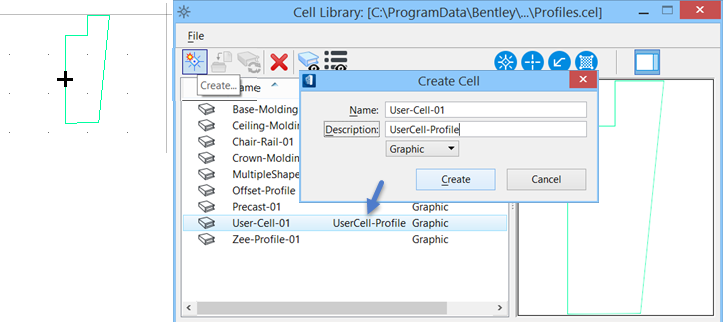
- Click File menu, and pick the Profiles.cel file from the list. If unavailable, select menu option and attach the Profile.cel from the Cell library folder.
-
Click
Create in the Cell Library dialog to open the
Create Cell dialog. Enter the name of the cell (Profile)
and optional description, and leaving the type as Graphics, click Create.
The Create Cell dialog closes and new cell appears in the Cell Library list.
-
Select
 (Catalog Editor).
The Catalog Editor dialog opens.
(Catalog Editor).
The Catalog Editor dialog opens.
-
View catalog items list by selecting
 > Show Catalog Items and highlight the
Profile item.
The available profiles list displays.
> Show Catalog Items and highlight the
Profile item.
The available profiles list displays.
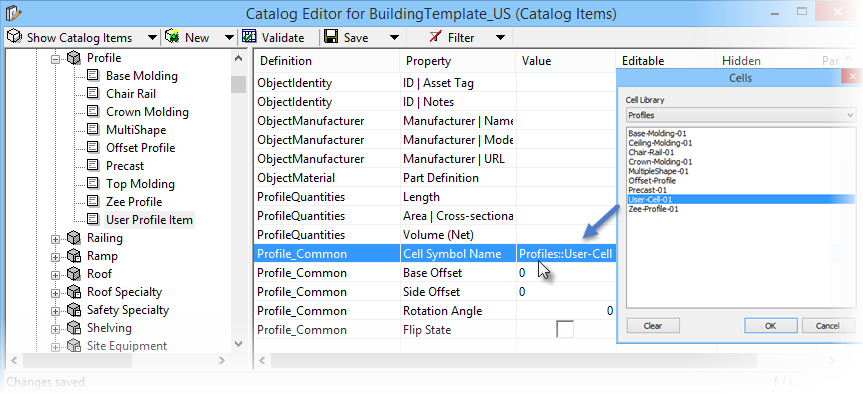
- Create new Item by selecting the and naming it, say "User Profile Item". The catalog item properties are listed in the right panel.
-
Keep the cursor in the
Value cell of
Cell Symbol Name and double-click or select
the
menu to open the
Cells list box.
Select
Profiles Cell Library; that also lists the
recently created profile cell.
Select the user defined profile cell (User-Cell-01, in our example) and click OK to apply it in the property. Save before closing the Catalog Editor.
-
Select
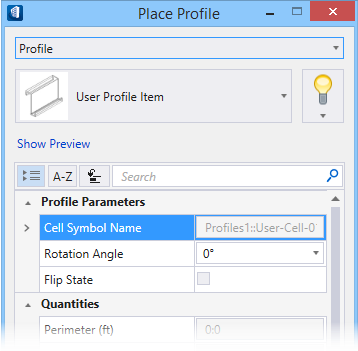
 (Place Profile). Select
User Profile Item from the catalog items list of
Profile type.
The Profile Parameters list the user created cell for selected
catalog.
(Place Profile). Select
User Profile Item from the catalog items list of
Profile type.
The Profile Parameters list the user created cell for selected
catalog.