To Place Mechanical Stacked Annotations
-
Select the
 Element
Annotation tool from the ribbon.
Element
Annotation tool from the ribbon.
The Element Annotation settings dialog opens.
-
Check the
Use Mechanical Stacked Annotation setting to
proceed with the Stacked Annotation (as opposed to a DataGroup annotation).
The triangular icon activates and you can expand the pan to view the attribute settings that can be applied for stacked annotation.
-
If you want to set newer attributes to leader, check the
Override Leader Attribute setting, and define
one or more of the Color, Weight, Style, and Level values.
If unchecked the current attributes would be taken for the leader annotation.
-
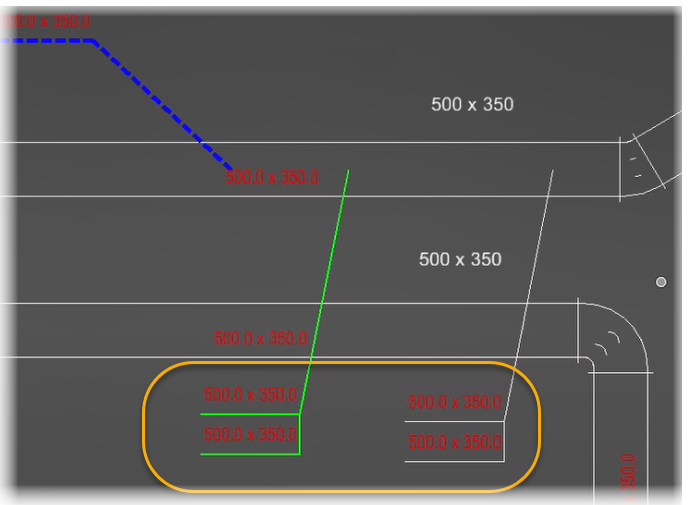
Select first mechanical component in the plan drawing and run over
by covering desired components in the selection path.
The selected components that have custom labels defined in the rule are attached to the leader tip, stacked in separate slots of horizontal lines.
-
Select the data point to place the annotation.
The custom annotations get placed in the drawing in a stacked manner, one below another in the order the elements were marked in the selection.