To Attach Tags (Association On)
-
Select the Attach Tags tool.
The contents of the tool settings window changes to a list box labeled Tag Sets.
- In the list box, select the tag set of which the tags are members.
- Select the element.
-
Accept the element.
The exception is if a default value is defined for each tag in the selected tag set and none of these values require confirmation. In this case, skip to step 10.
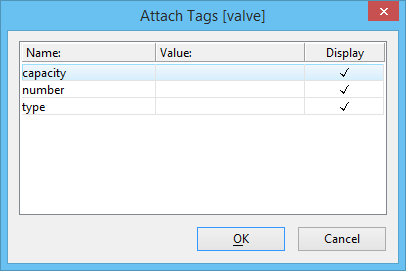
If tags exist in the selected tag set, the Attach Tags dialog opens.
If no tags exist in the tag set, select another tag set with tags or define some tags for the selected tag set.
- In the list box, select a tag.
- In the Value field, type the value for the tag (a default value, if defined, is supplied).
- (Optional) To prevent the tag value from being displayed, turn off its Display setting by clicking the check box.
- For each additional tag in the tag set, repeat steps 5-7.
- To confirm the tag values and Display settings, click OK.
- Enter a data point to position the tags.