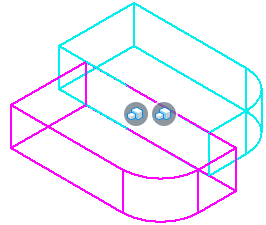
To Apply a Coincident 3D Constraint
-
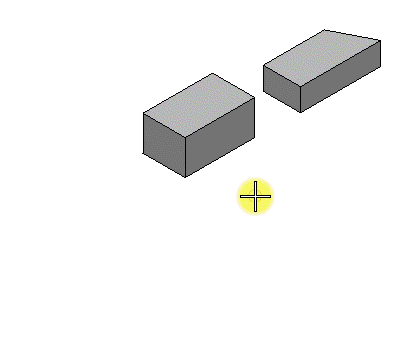
Select the
Coincident 3D Constraint tool (
).

- (Optional) Set the Orientation if required.
-
Select a 3D element (solid or surface).
The selected 3D element is highlighted.
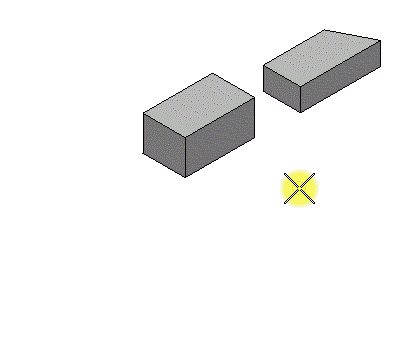
-
Select the face, edge or vertex of the 3D element you want to
constrain (reset if a face (or entity) is behind another face (or entity) until
the desired one is selected).
The selected face, edge or vertex is highlighted.
-
Select another 3D element and then select the desired face, edge
or vertex of this 3D element.
A preview of the constrained geometries is shown.
- Enter a data point to accept the previewed constraining.