Camera Front Clipping
To learn more about how to use camera front clipping, see this topic.
Camera front clipping allows you to quickly see inside objects as you navigate through the model. When camera front clipping is turned on, objects are clipped within a certain distance of the camera, including when you move the camera or use the walk tool.
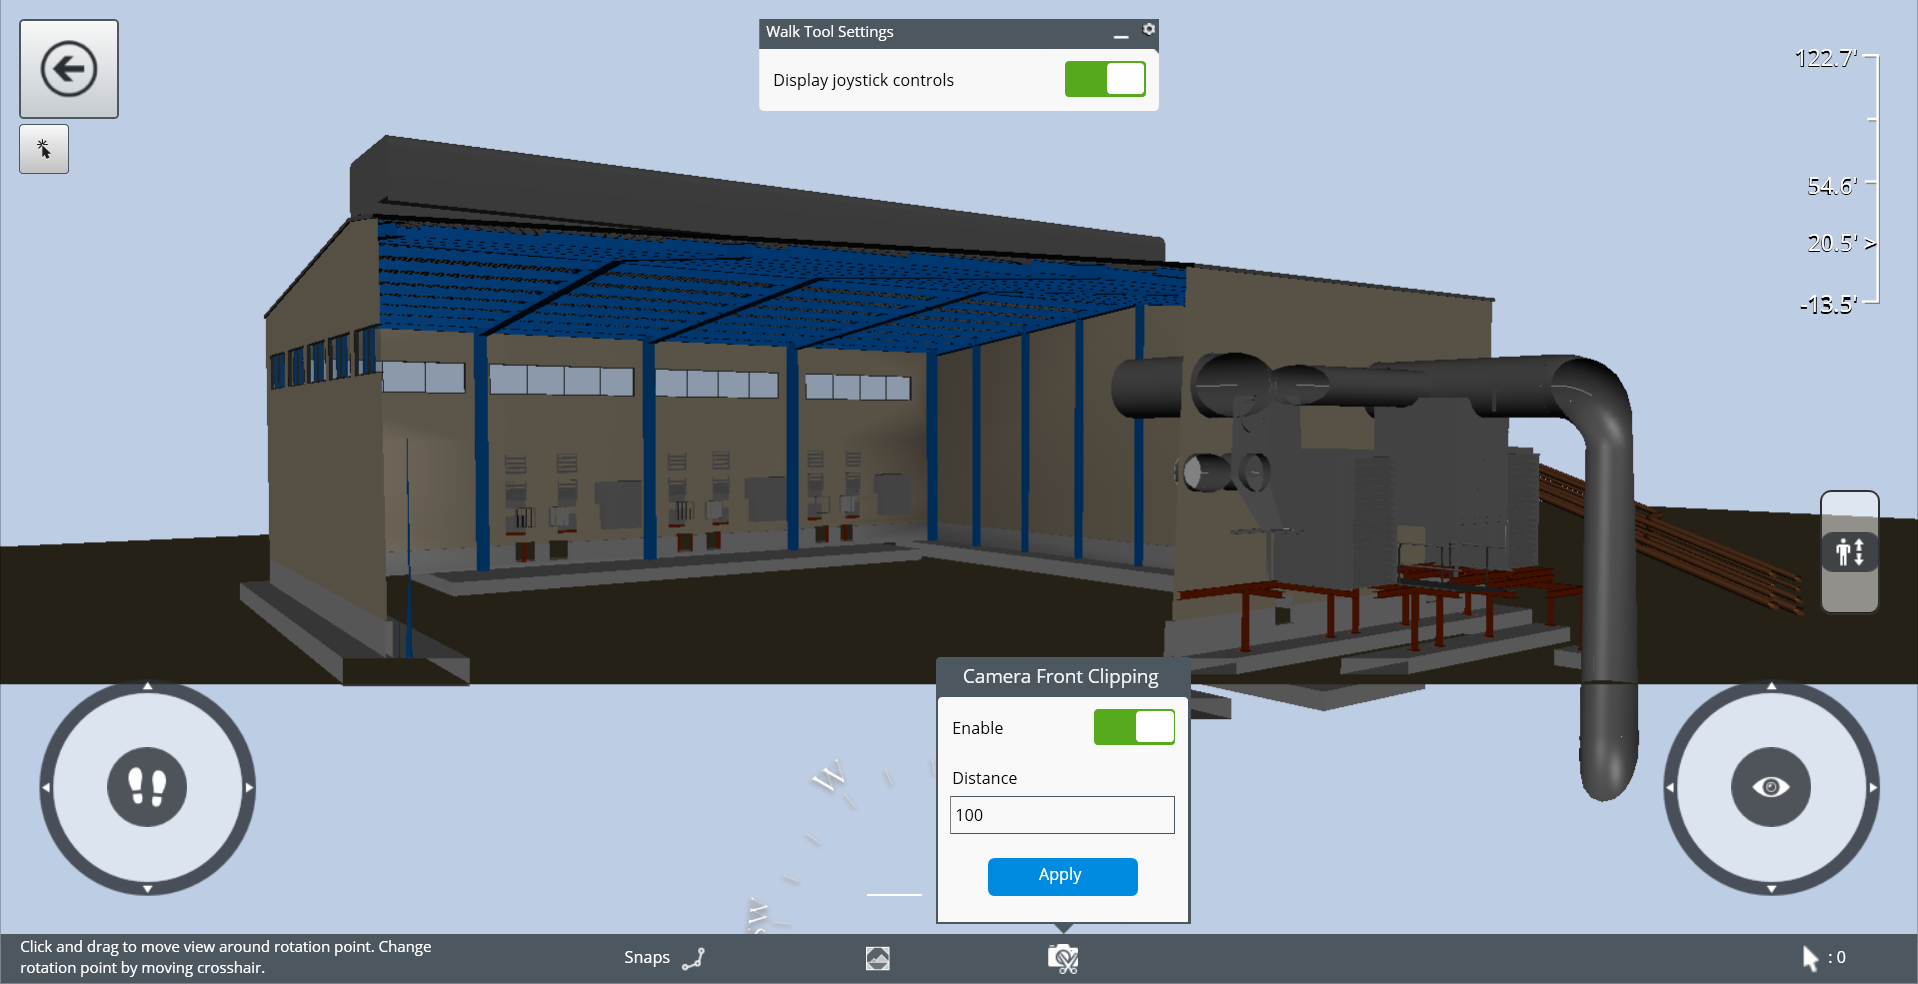
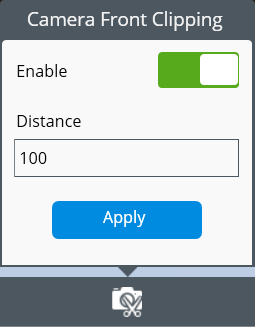
To turn on camera front clipping, select the camera front
clipping
 icon from the Status Bar on the
bottom edge. From the Camera Front Clipping tab that displays, turn on the
Enable toggle. In the Distance field, enter the distance where you would like
objects to be clipped. This distance is measured in the display units which are
chosen on the
Settings page.
icon from the Status Bar on the
bottom edge. From the Camera Front Clipping tab that displays, turn on the
Enable toggle. In the Distance field, enter the distance where you would like
objects to be clipped. This distance is measured in the display units which are
chosen on the
Settings page.
If a whole object is farther from the camera than this distance, the whole object displays normally. If a whole object is closer to the camera than this distance, the whole object does not display. If only part of an object is farther from the camera than this distance, but the other part of the object is closer to the camera than this distance, the part of the object that is closer does not display, but the part of the object that is farther does display. Since the nearer part of the object does not display, the user is able to see inside of the object.
In the following screenshot, the tank closest to the camera is outside of the Front Camera Clipping distance. Therefore, the tank displays fully.

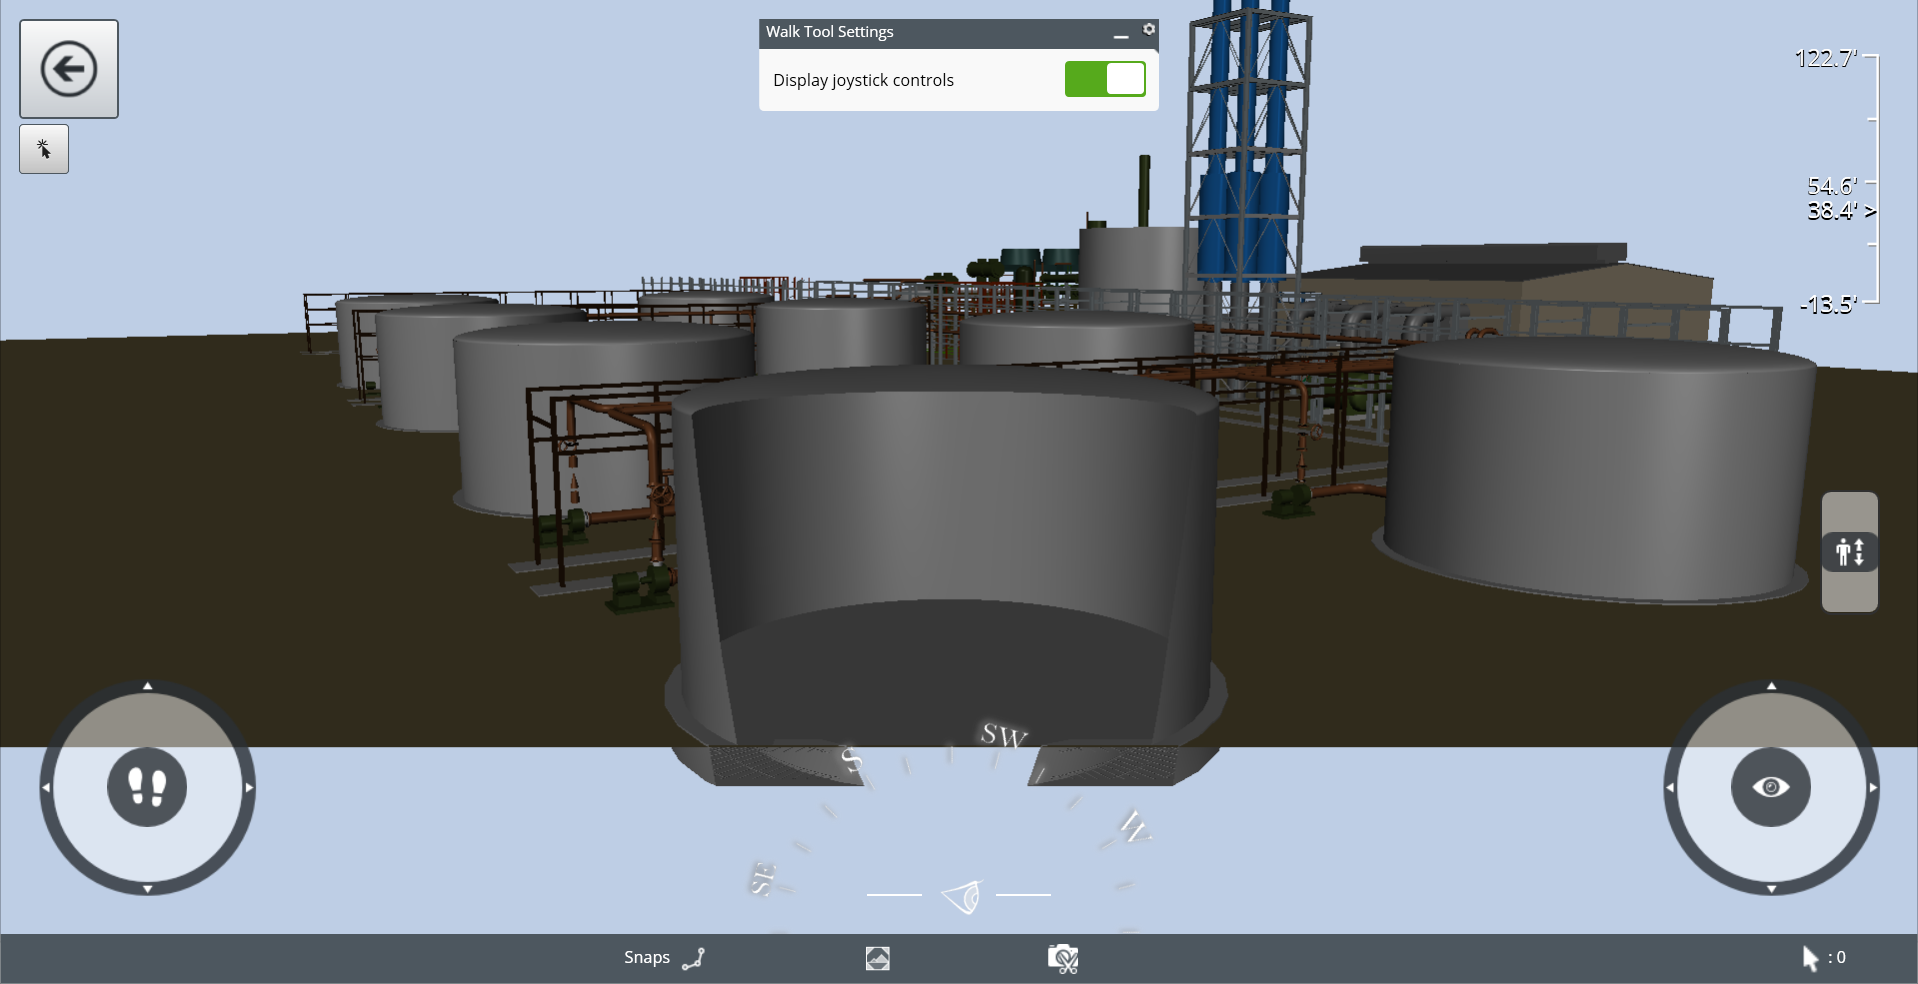
In the following screenshot, the tank closest to the camera is partly inside of the Front Camera Clipping distance and partly outside of the distance. Therefore, the nearest part of the tank does not display, and the inside of the tank is visible.
In the following screenshot, the whole tank is within the Front Camera Clipping distance. Therefore, the tank does not display.
