Adding Attachments
Navigator CONNECT Edition allows you to associate as many attachments as you want to an Issue to help document the issue and resolve the problem. An attachment can either be a screen capture of the view or when using Navigator Mobile, a photograph from the device's camera or from the device's gallery. Attachments can be added to a punch list item at any time but you cannot edit or delete an existing attachment. Selecting an attachment from the list opens the image in the application you have associated to a .PNG file.
Adding an Attachment
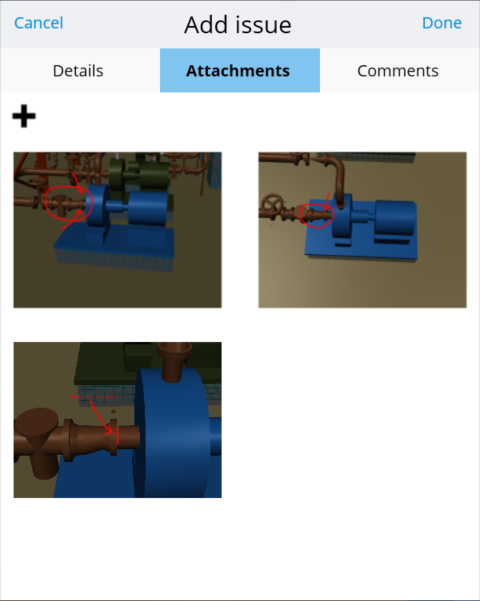
From the Add issue form, go to the Attachments tab and click the Add "+" button. If you are in Navigator Mobile, select whether you want to create a screen capture, take a photo using the camera, or use a gallery photo. The desktop version of Navigator takes you directly to the capture view screen. If you are in Navigator Mobile and you want to take a photo, allow Navigator to access your device's camera from any dialogs that may appear and then take the photo using your device's camera app.
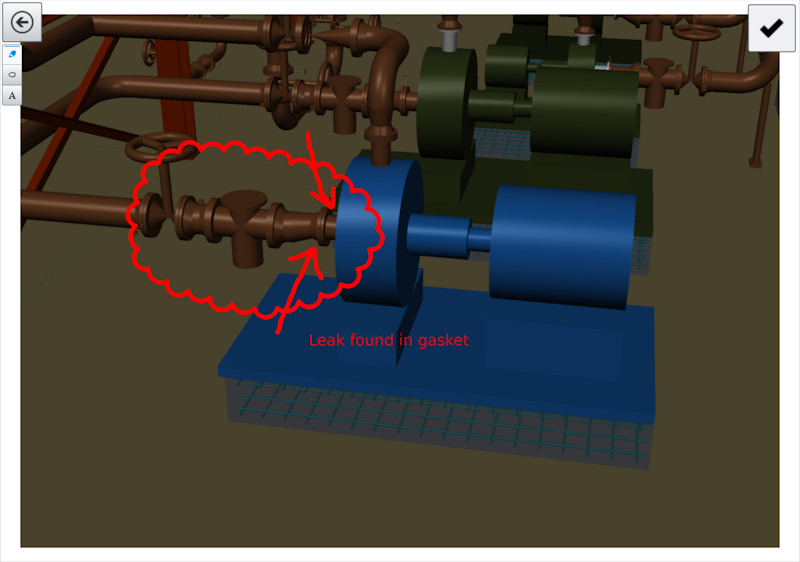
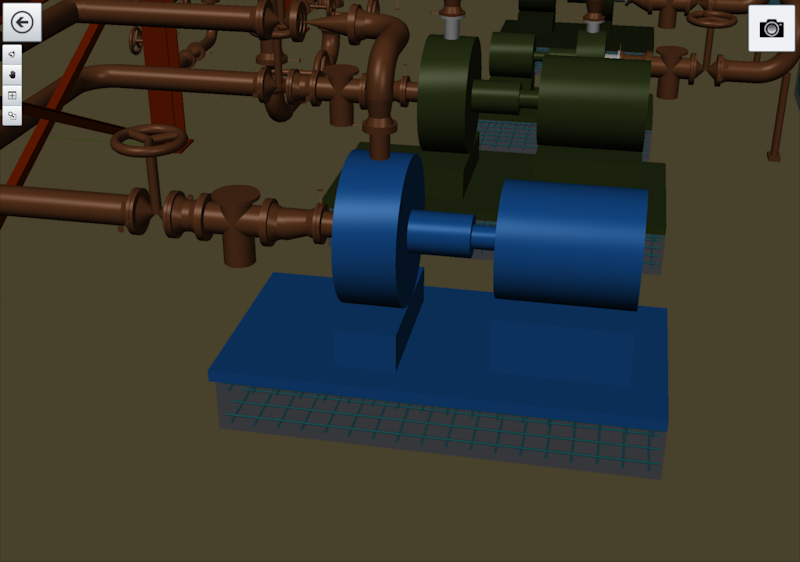
When creating a screen capture of the view, first you
need to orient the view for the capture. While in the Capture Screen mode, you
can orient the view by using standard mouse and gesture controls or by using
the tools in the Tools Menu. Once the view is oriented the way you want it,
select the Capture button
 in the upper right. Selecting the
Back button in the Tools Menu takes you back to the Add issue form.
in the upper right. Selecting the
Back button in the Tools Menu takes you back to the Add issue form.
 in the upper right to add the
attachment to the punch list item.
in the upper right to add the
attachment to the punch list item.