To Make Changes to a
Design File and Sync to iModel
Start
iTwin Synchronizer.
Select the desired project from the Project Name drop-down menu.
You will see the projects that you are added to by
the team coordinator. You can pick the one you wish to synchronize your changes
to.
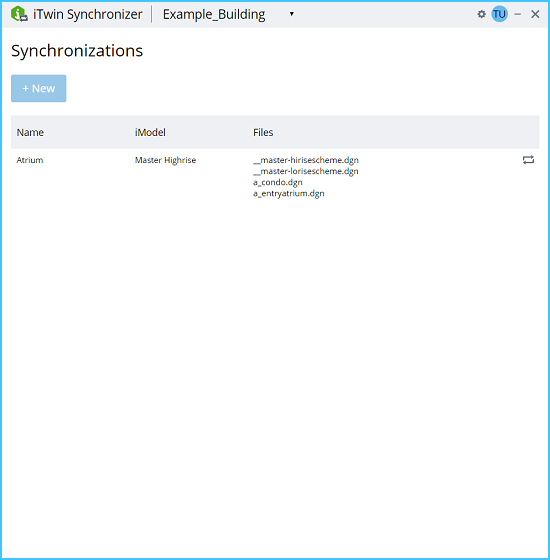
You will see the synchronization listed, along
with name of the associated iModels and files.
Click on the Synchronize icon corresponding to the
Synchronization.
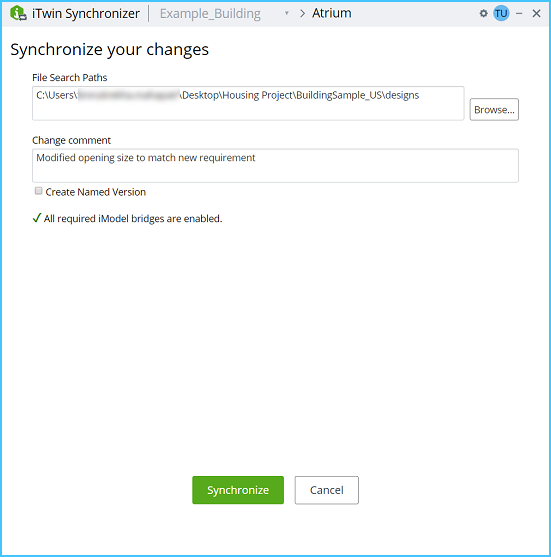
The
Synchronize your changes page opens.
Browse to the location of your file in
File Search Paths.
Add any comments you have for the change in
Change comment.
(Optional)
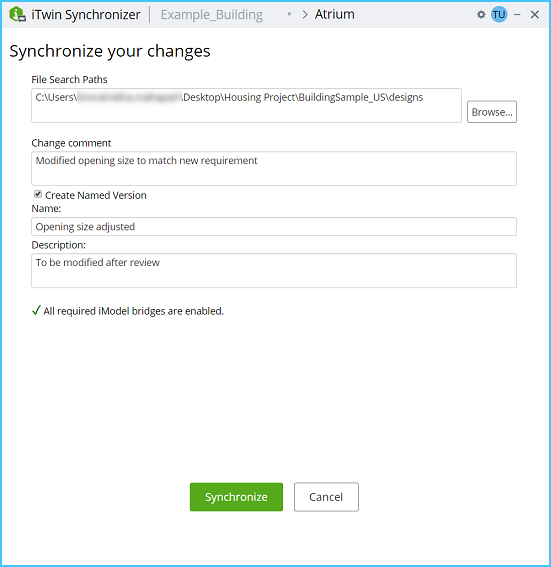
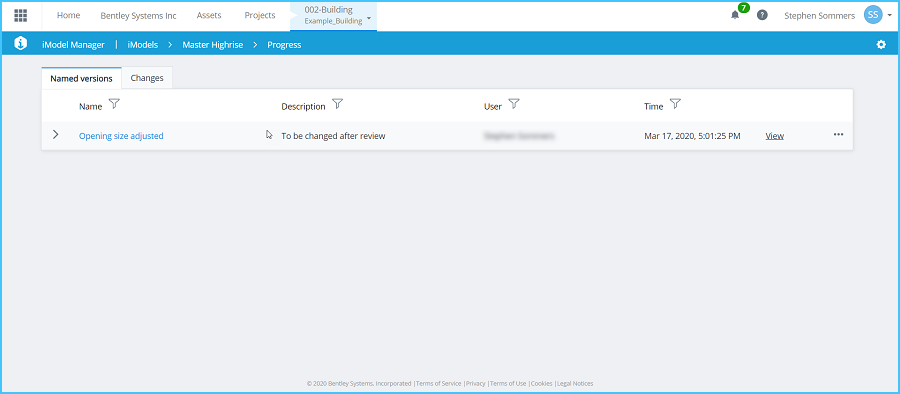
Optionally you can create a Named Version for the change. Select
the
Create a Named Version check box. Add a name
and description for the change.
Click
Synchronize.
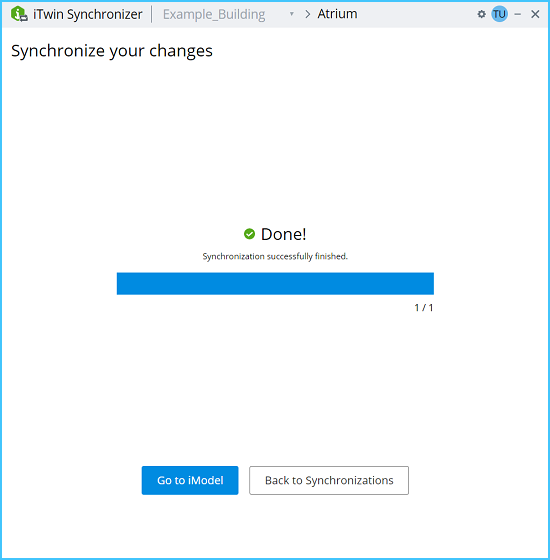
Synchronization starts. Once Synchronization
is complete, select the
Go to iModel button to navigate to the
corresponding iModel in the CONNECT portal.