-
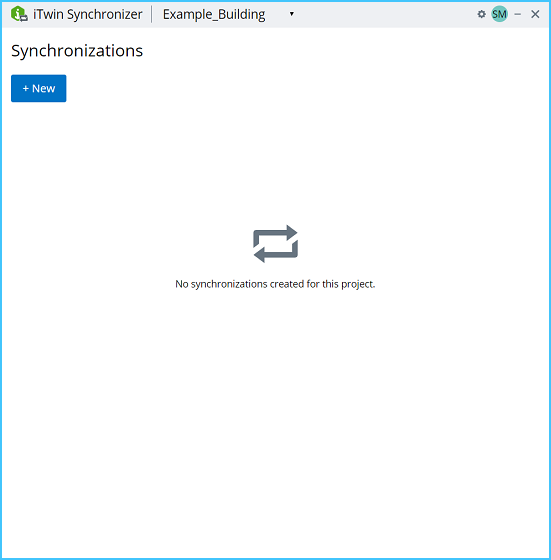
Start iTwin Synchronizer.
-
Select the desired Project from the
Project Name drop-down at the top of the
dialog.
-
Select the
New button.
The
New synchronization page opens.
-
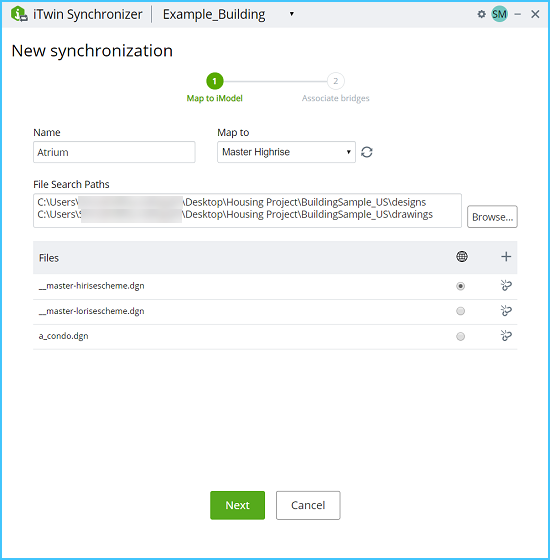
Specify a name for the synchronization.
-
Select an iModel to which the synchronization will be mapped.
-
Browse to the location containing files to be synchronized. You
can select multiple folders in a directory.
-
Add files to the Synchronization from the selected directory using
the
Add button.
 The list of files selected is displayed under
Files section.
The list of files selected is displayed under
Files section.
-
Select a file that defines the Geographic Coordinate System using
the corresponding radio button.
 You can remove a file using the
Unmap icon.
You can remove a file using the
Unmap icon.

-
Click
Next.
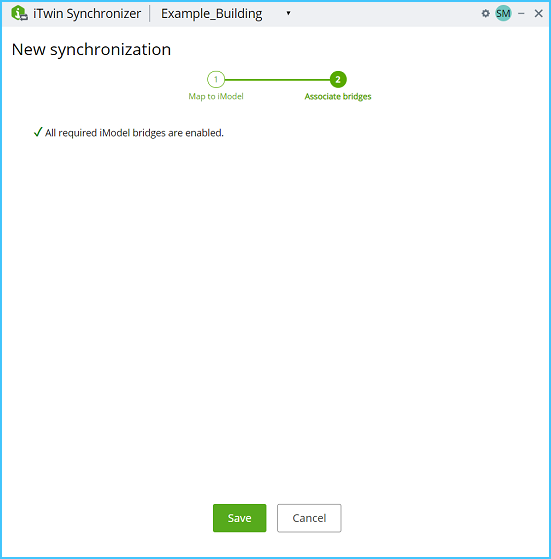
iTwin Synchronizer will check for required
bridges and enable them.
-
Click
Save to save the new synchronization.
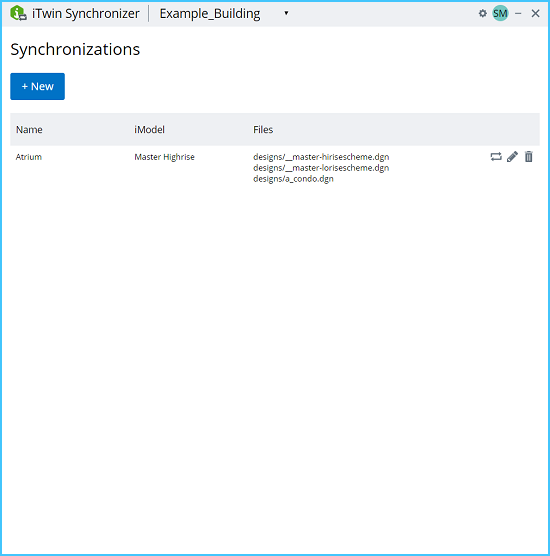
The newly created Synchronization is listed
along with information about the iModel and the files associated with it.
A new
Synchronization is created and will be added to
the list of synchronizations (if any are created already) in the project. You
can now synchronize changes to it, edit it to make any changes or delete it
using the
Synchronize,
Edit and
Delete buttons respectively, on the right.