To Install STAAD.Pro
In order for the STAAD.Pro application to run, it needs a number of system requirements known as prerequisites, to be in place. To ensure that the necessary prerequisites are installed and of a suitable version, the STAAD.Pro installer is bundled into a package installer. This means that you do not have to download the prerequisites separately.
The bootstrap installer will download and "silently" install any missing prerequisites.
Additionally, if one or more of the installations require a system reboot, this will be suppressed until all the installations have taken place. If necessary, you will be prompted to reboot once the installer package is finished.
-
In an Explorer window, double-click the
STAAD.Pro setup
executable.
The STAAD.Pro Installation Wizard opens.
- (Optional) To change the location where STAAD.Pro is installed, either:
-
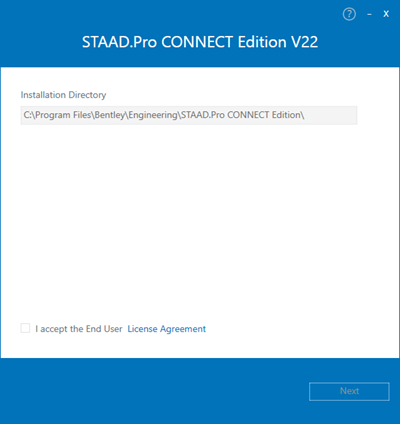
To read the End-User Licensing Agreement (EULA), click
the Licensing Agreement link.
The End-User Licensing Agreement opens in a web browser.
-
After reading the license agreement, turn on the
I accept the End User Licensing Terms check
box if you understand and agree to the License Agreement Terms and Conditions.
Note that agreeing to the license agreement is required in order to install the product. Checking this box displays the Install button at the bottom of the wizard.
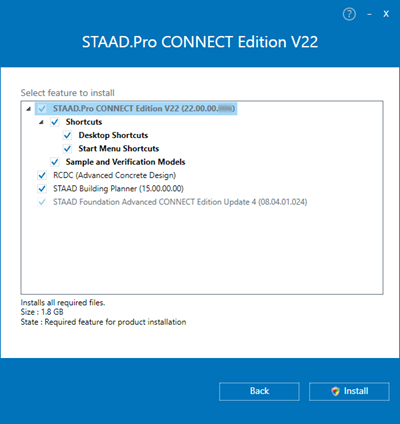
- (Optional) Select the features which you want included in this installation. By default, all features are selected. Some are required and may not be unselected.
- Click Install. The installer downloads and installs the selected component features.
-
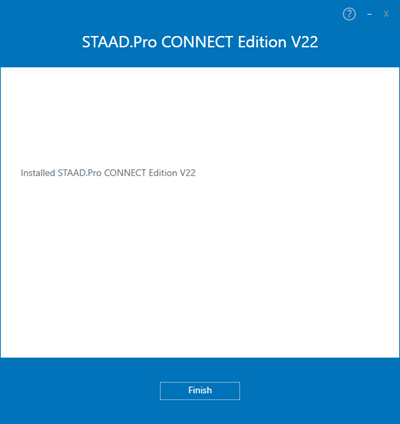
Click
Finish.
A program group is created for this product.