P. Plot Using the Take Picture Tool
-
On the
Utilities ribbon tab, select the
Take Picture tool in the
Utilities group.

- (Optional) Type a Picture ID
- (Optional) Type a Caption
- Click OK. This picture is saved for use in reports.
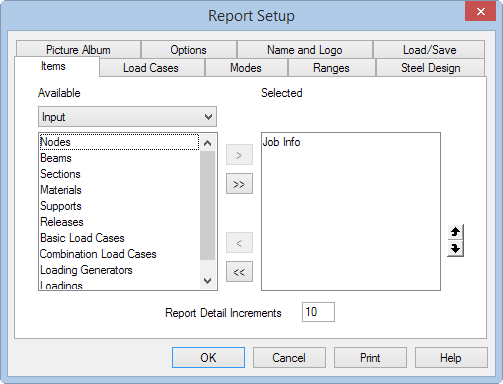
- Open the Report Setup:
- On the Items tab, select Pictures from the available list of items.
- Add one or more pictures to the Selected list by clicking [>].
- (Optional) Select the Picture Album
- (Optional)
Select the Full Page
- Click OK.
- Select . The diagram will be plotted.


Alternatively, Select to create a report you can print from Microsoft Word.
In the Save As dialog, specify a name for the file and click Save. In the template dialog, select the Normal template (or use any custom Word templates you have created).
Microsoft Office Word builds the file with the picture in it. Once this task is completed, the new file is opened in Microsoft Office Word.