T.1 Assigning load cases to members
Load item assignments are made using the Load & Definition dialog, which opens when most of the Loading tools are selected. If this dialog is not currently open, select the Loading page in the Analytical Modeling page control bar to re-open it.
You may notice that the load items in the Load &
Definition dialog are listed with an
 icon. This indicates that these
load items are not yet assigned to any model objects (i.e., beams or nodes).
icon. This indicates that these
load items are not yet assigned to any model objects (i.e., beams or nodes).
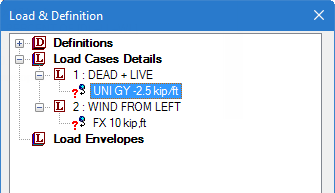
- In the Load & Definition dialog, select the UNI GY -2.5 kip/ft load item in the 1: DEAD + LIVE load case .
- Select the Use Cursor to Assign option in the Assignment Method group.
-
Click
Assign.
The mouse pointer changes to

-
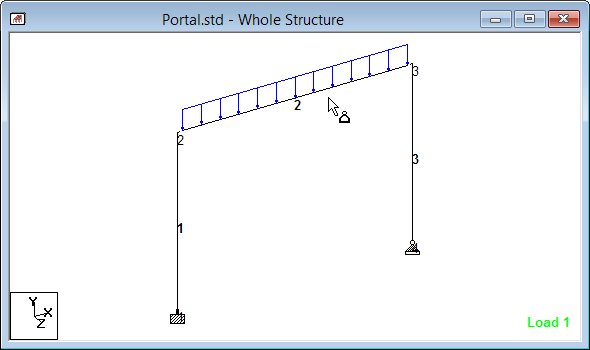
Click on member 2.
The uniform load is drawn on member 2 and the load item icon changes to
 in the
Load & Definition dialog.
in the
Load & Definition dialog.
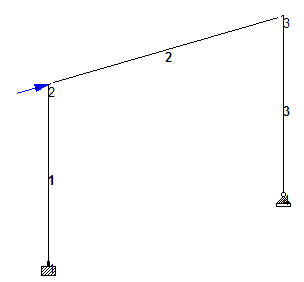
- Repeat steps 1 through 4, except to assign the nodal load item in the second load case (FX 10 kip, ft) to Node 2.
- To stop assignment load items: