M. To Create a New Building Plan
-
Select .
The New Plan dialog opens.

-
Specify the general details:
- Type a Plan name.
- (Optional) Select a Floor type
- Type the Height of Level Above (floor-to-floor height).
- Click the Assign Levels drop-down to assign plan names to each level of the building.
- Select the Create Plan Graphically (Do not import) option to create a new plan Optionally, you may import the plan from a drawing, a PlanWin file, or from another plan in this project (if there is another).
- Specify the plan details and source (i.e., CAD file, drawing an plan in STAAD, or PlanWin plan).
-
Specify the loads on this plan:
- Enter the Slab Loading Parameters.
- Enter the Beam Loading Parameters.
- Select the Concrete Grate and Steel Grade used in this plan.
-
Click Create Plan.
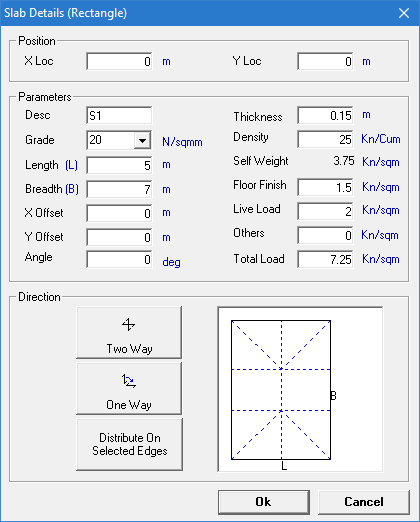
If the plan was not assigned to any levels in Step 2d, then a warning message displays. Click Yes to proceed. Otherwise, the Slab Details (Rectangle) dialog opens.
-
Specify the slab details:
- Type coordinates for the Position
- Type material, geometry, and loading parameters.
- Specify the direction the slab spans: Two Way, One Way, or Distribute on Selected Edges.
- Click OK. The slab is drawing in the graphical view.