EX. Create the slab layout
This procedure continues from the previous steps in which you created the model and plan details in building planner.
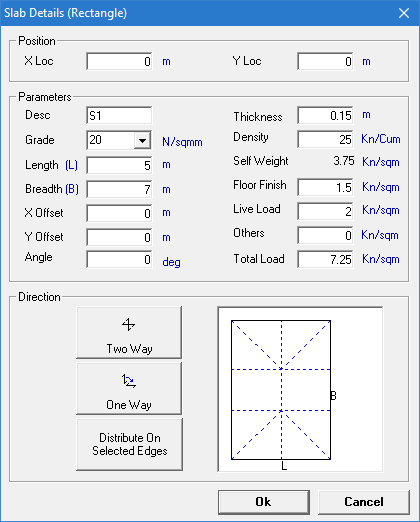
- In the Slab Details (Rectangle) dialog, type 7 (m) in the Breadth (B) field. This updates the slab loading direction diagram in the dialog. Leave all other fields and options their defaults.
- Click OK. A single slab section is added to the graphical view.
- Select .
- Click inside the existing slab near the top, left corner. A rectangular window is now pinned to the nearest corner and "rubber banded" to your mouse pointer.
- Click at a point near where you want the opposite corner of the slab section placed. This should roughly be in line with the existing slab edge. The Slab Details (Rectangle) dialog opens. The same parameters from your first slab are entered.
- Either: The new slab section is added adjacent to the existing slab edge.
- Repeat steps 5 and 6 to complete the 2 bay by 3 bay slab area.