Creating a Strip Footing Job
Now let us create a new job inside this same project to illustrate the process for designing a combined footing.
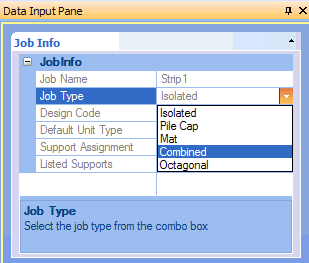
- Click on in the Main Navigator pane. The Job Info form opens in the Data Input pane.
- Type Strip1 in the Job Name.
- Choose Job type as Combined and design code as US.
-
Click the
 button to include all the Load Cases.
-
Click the Create Job button to create a new combined footing job.
The new Strip Footing job is added to the Main Navigator pane. The new job name also appears in the Job selection list in the Standard toolbar.
Additionally, strip footing controls appear in the Job Info form.
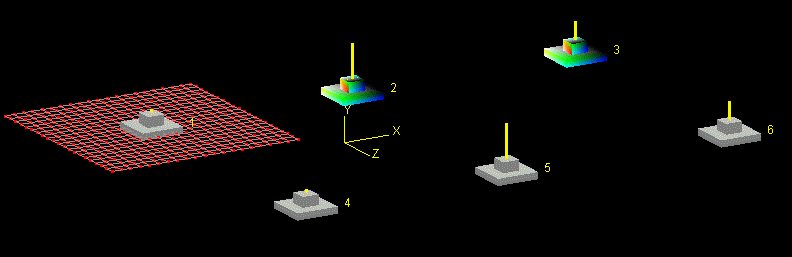
- Select node 2 and 3 in Main View window.
-
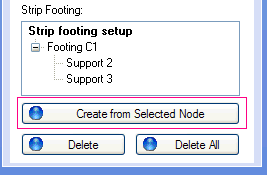
Click Create from Selected Node in the .
A tree view showing the support assignment will appear.
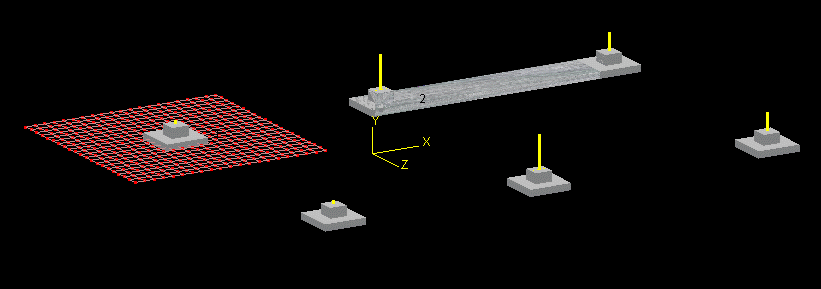
The strip footing is graphically added between the two selected supports.