Modifying the Design
Design wall group 3 in a similar fashion to Wall Group 1 by using the View/Update command. Notice that only the 2 user assigned section cuts are available for display.
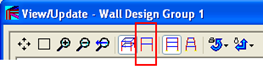
- Select the elevation view button in the toolbar above the 3D view window.
- Select a wall in the Wall Design Group to indicate the elevation view to display. Note that, just as in the main program, the zoom, pan and rotate commands can be used to adjust the view on the screen. See the Concrete Shear Wall manual for more details.
- From the mouse tool bar button, select Mouse Selects Section Cut
- Select horizontal section cut SC3H:2
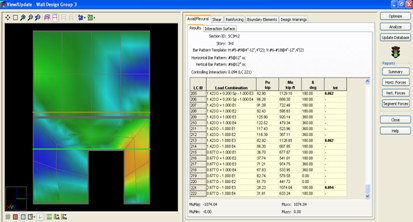
- Display the wall stresses for the controlling load combo, or display the reinforcing for the walls using the reinforcing button next to the show/hide mesh button.
- Select the Reinforcing tab.
- Change to Reinforcing select mode by using the drop down menu shown in the figure below.
- Select any of the vertical reinforcing bars in the upper wall section. It will be highlighted in light gray and the bar will be selected in the table on the right.
- Change the bar size to #11.
Note that the Section Cuts for the Wall Panel to which the bar belongs have turned yellow, indicating that the design is not current and needs to be run again.
- Make the same change in bar size to the next four cells directly below.
- Click [Analyze]


Review the Design Results
- Select the 3D View button from the toolbar.
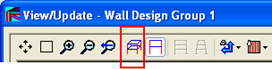
- Select Mouse Selects Section Cut
- Select horizontal section cut SC3H:2
- Click [View Summary] to review the design report. (Additional reports are available from the Reports menu).
- Click [Close] to exit View/Update
This completes the Tutorial for RAM Concrete. Proceed to the next section in order to work the RAM Foundation Tutorial.