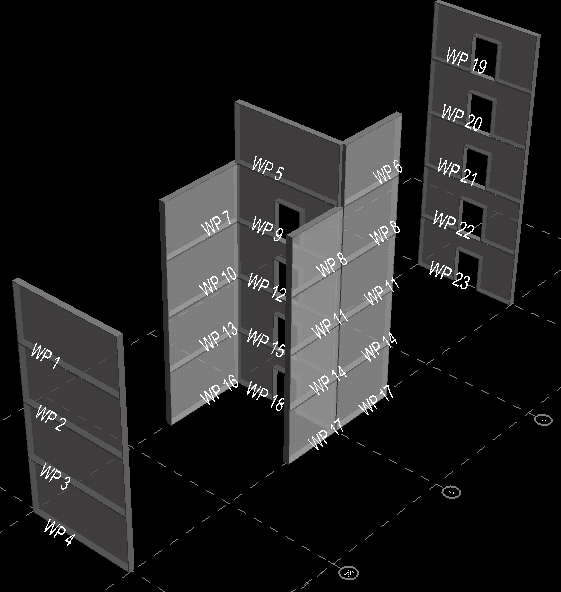
Assign Wall Design Groups
This dialog is used to group walls into Wall Design Groups. All design activities in RAM Concrete Wallare performed on walls that are in Wall Design Groups. That is, in order for a wall to be designed in RAM Concrete, it must be assigned to a Wall Design Group. There are no limitations placed on how walls may be grouped.
| Setting | Description |
|---|---|
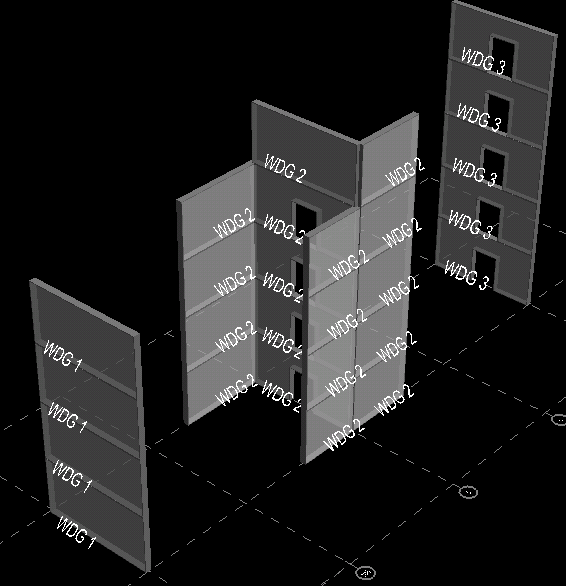
| Wall Design Group Number | When this dialog is first displayed, the next available unused Wall Design Group Number will be displayed in the list box, with "(new)" shown beside it. For example, if walls have been assigned to Wall Design Group numbers 1 and 2, then "3 (new)" will be displayed in the drop-down box. Clicking the drop-down box will display a list of Wall Design Group numbers that are currently in use. To select an existing Wall Design Group Number from the drop-down list, click to display the list and then click on the desired number. This will cause all walls in the Wall Design Group to be colored yellow in the 3D View for easy visual verification. |
| Assign Mode | To add or remove walls to or from a Wall Design Group one by one, use the 'Single' assign mode. The Wall Design Group number currently displayed will be the one added to or removed from. Clicking the Single button will close the dialog and the "select" cursor will be displayed. Click on any wall to add it to the design group. If you click on a wall that is already in the Wall Design Group it will be removed from the group. You may click it again to add it back to the group. Note that if you click on a wall that is in another group it will be removed from that group and placed in the current group. Clicking on it again will not put it back in its previous group. To add multiple walls to a Wall Design Group at once, use the assign mode. To remove multiple walls from a Wall Design Group at once, use the assign mode. Each of these commands will close the dialog and the "fence" cursor will be displayed. Fence a group of walls to add them to the specified Wall Design Group. Fencing walls already in the current group will not cause them to be removed from the group. |
| Remove All | Click the Remove All button to remove all walls from the specified group. The walls in the group will be removed from the specified Wall Design Group and will be unassigned. This is only enabled if the currently selected Wall Design Group contains at least one wall. |