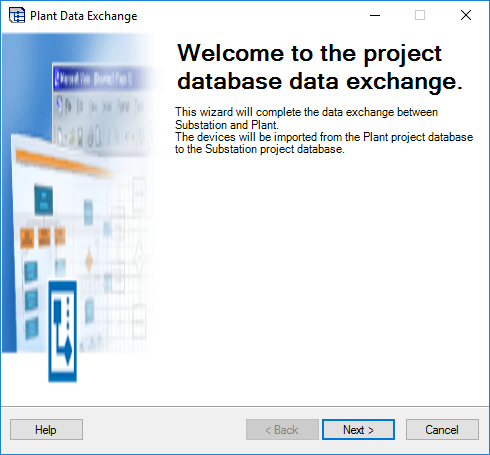
Plant Exchange
This option brings up a series of dialogs which lets the user import data from a AutoPLANT database:
Accessed from:
Preliminary Setup

Plant Project Database

| Setting | Description |
|---|---|
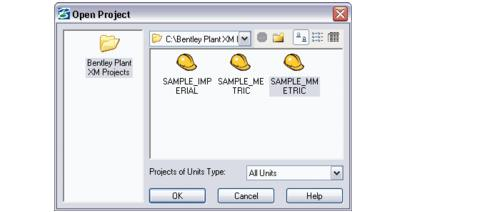
| Open a Plant Project |
Displays the Open Project dialog, listing any Plant projects that the software has found on your system. You can filter the listed projects by unit type by making a selection in the Projects of Units Type field. There are also buttons at the top of the dialog for selecting a different project folder and changing the way the projects are displayed. Click on the desired project and select OK to continue. |
Device Mapping
The Device Mapping dialog enables you define how the data fields from the Plant database will correspond to Promis.e attributes and also how IDs will be handled.

| Setting | Description |
|---|---|
| Device Type | Select the first Plant data type for which you wish to do mapping. |
| Use Temporary ID | Select the Use Temporary ID check box if you wish the IDs that the items receive in the BOM Explorer to be considered temporary IDs. A temporary ID is only used in the BOM Explorer; when you place the item in a drawing, Promis.e will assign a new ID based on the project settings. If you do not select this check box, the ID that is imported to the BOM Explorer will also be used in the drawing. The Plant tag may be mapped to a Promis.e symbol attribute. This will allow symbols and reports to show both the Promis.e and Plant tags. |
| Plant Field | Use the drop-down list to select the name of the first Plant data field that you wish to map. You can also enter text inside quotes in the Plant Field column. This text string will then be mapped to the selected Promis.e Attribute. |
| Promis.e Attributes |
Select the name of the desired symbol attribute from the drop-down list. |
| Delete | Deletes the selected row. |
| Delete All | Deletes all rows from the mapping list. |
| Save Mapping | Saves your mapping for future work sessions. |
| Device Tag Format |
Defines a format for the IDs that will be assigned
to the imported items in the
BOM Explorer. To do this, select from the
Plant field tags that are listed in the
PlantTagFields list. When you
double-click on one of these tags, it will appear in the
Device Tag Format field. You must also
select a delimiter character from the
Delimiters list to separate selected
tags.
|


Use Import Data
- BOM
Explorer - The imported data can be viewed in the
BOM Explorer.
You will need to assign a part number from the Promis.e parts database to each imported item so that the software will know what symbol to use when you place the item in a drawing.
If you do not yet know the final part numbers that will be used, you can create generic parts records that consist of a descriptive part number such as 50HP-MOTOR and information on the correct symbols to use for this part. You can assign the generic part number initially and change it later when the true part number is known. You can also add or change attributes on the imported items in the BOM Explorer (right-click on the ID and select Attribute from the menu), or you can do this when you place the symbol.
You can also add or change attributes on the imported items in the BOM Explorer (right-click on the ID and select Attribute from the menu), or you can do this when you place the symbol.
- Insert Symbol by Device ID - To place the imported items in a drawing, use the Design > Insert Symbol By Device ID function. A list of un-placed device IDs will appear from which you can select items and place them in a drawing. When placing the symbol, you can change the prompted device ID and symbol attributes.