To Install ProjectWise Gateway Service
-
Download
ProjectWise Server Setups
(https://softwaredownloads.bentley.com/en/ProductDetails/2547)
and run the installer (Setup_ProjectWise_Serverx64_<version>.exe).
-
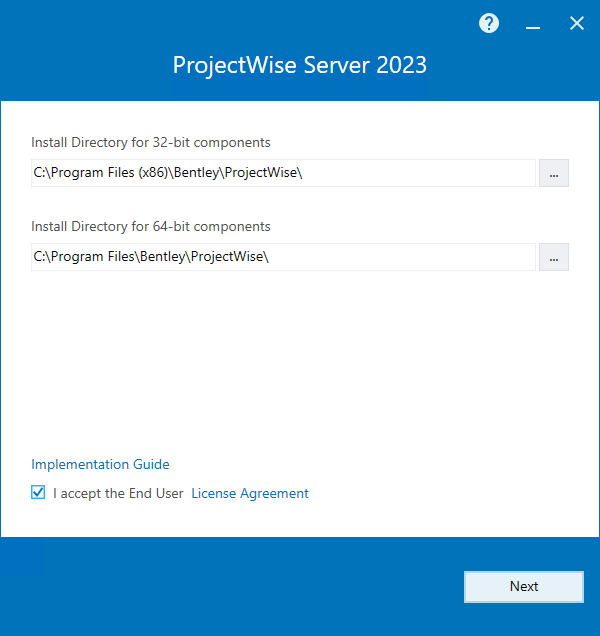
When the
installer opens, accept the license agreement, change the installation location
if needed (if possible), and click
Next.
The default installation location is C:\Program Files\Bentley\ProjectWise.
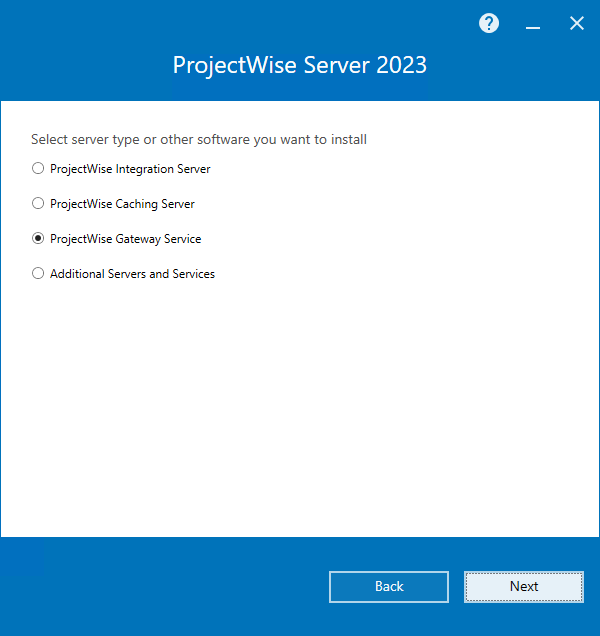
- On the Server server type page, select ProjectWise Gateway Service and click Next.
- On the Select feature to install page, click Next.
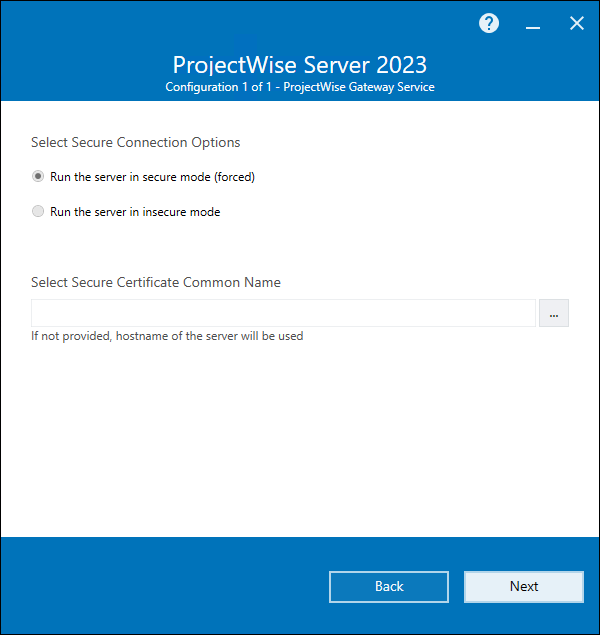
- On the Select Secure Connection Options page, Run the server in secure mode is pre-selected and cannot be changed. Click the browse button (...) to select a certificate or leave the certificate field empty to use the hostname of the computer, then click Next.
- On the Pre-installation summary page, review your selections, make any last minute changes if necessary, then click Install.
- When installation is complete, click Finish.
- When the Bentley Login Client window opens, sign in with your Bentley IMS account.
- After installation, you must manually start the ProjectWise Gateway Service in the Services window.