Viewing the History of Activities for a Document (Audit Trail)
Audit trail provides you with a list of all activities that have taken place for the selected document. Your administrator determines which activities are recorded, and also whether or not you have permissions to see the audit trail in general.
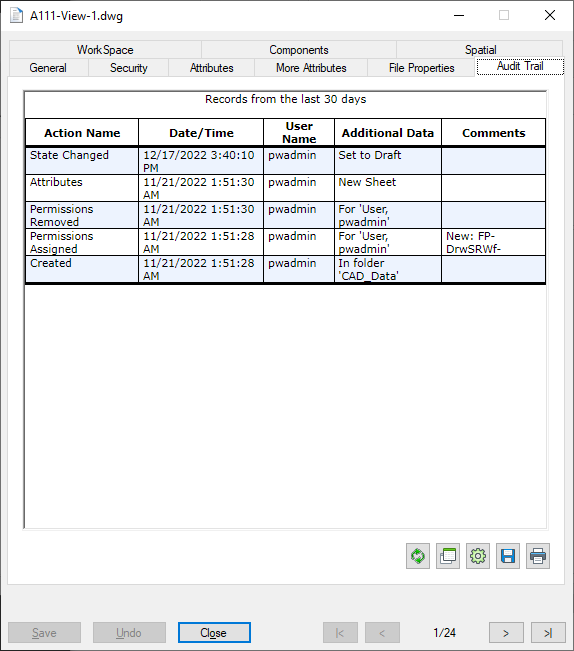
An audit trail record is created as an action takes place. You can view a document's audit trail report by selecting the Audit Trail tab on the Document Properties dialog. You can customize the report, print it, or save it to a file.
Customizing the Report
- On the
Audit Trail tab, click
Customize.
The Custom Report dialog opens with the Objects tab selected.
- On the Actions tab:
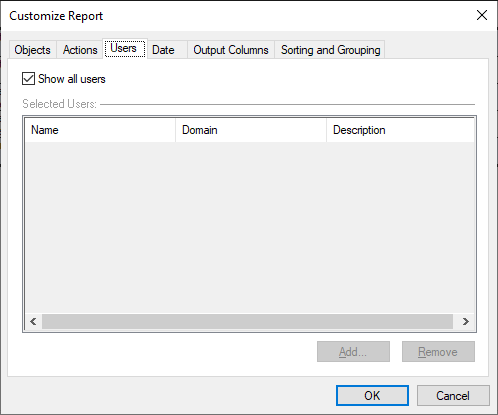
- On the Users tab:
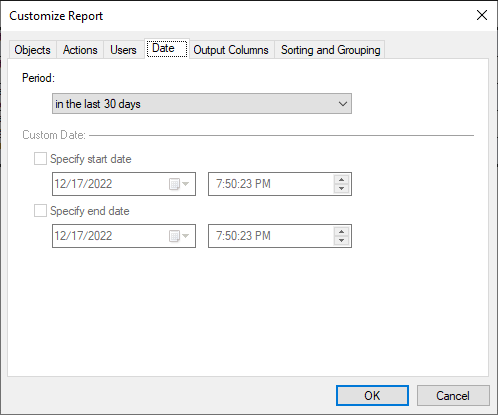
- On the
Date tab:
- From the
Period list, select the period of time for
which you want activity reported.
The choices are: anytime, custom, yesterday, today, in the last 7 days, last week, this week, last month, and this month.
- When
Period is set to
custom, turn on
Specify start date, to specify either the
start of a date range or to include only actions that have a start date equal
to or later than the specified date.
The start date and time fields are activated.
Now turn on Specify end date, to specify either the end of the date range or to include only actions that have an end date equal to or earlier than the specified date.
The end date and time fields are activated. Specify the action end date and time.
- From the
Period list, select the period of time for
which you want activity reported.
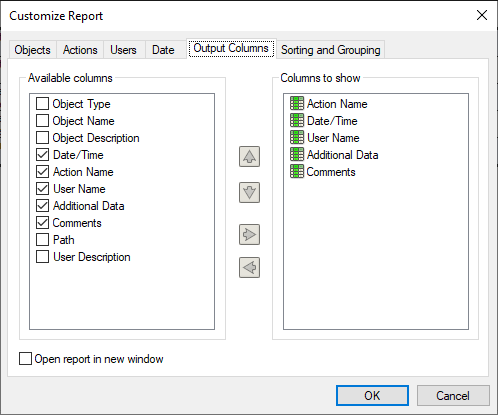
- On the
Output Columns tab:
- In the Available columns list, check the check box for each column you want to include in the report, and click the right arrow button. The selected columns are added to the Columns to show list.
- In the Columns to show list, change the order of the columns as necessary by selecting a column and clicking the up or down arrow. Select any columns you do not want to include in the report, and click the left arrow button (this removes the selected columns are removed from the list).
- Turn on Open report in new window, if you want to view the report in a separate, full-screen window. You can re-size the new window as needed.
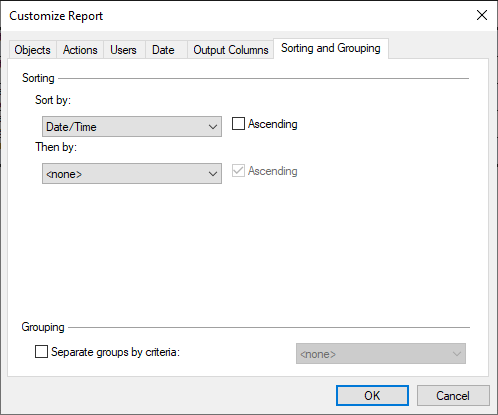
- On the
Sorting and Grouping tab:
Since the criteria that you select in the Sorting lists are used in conjunction with the Grouping options, it is probably better to decide on and select the sorting options first.
- In the Sort by list, select the criteria for the first or highest level of sorting, then set the Ascending option if you want the actions sorted in ascending order. For example, if you select Object Type, all records with the same document name are sorted together in ascending order (lowest to highest).
- If you want to sort the records further, in the Then by list, select the criteria for the second level of sorting, then set the Ascending option if you want the actions sorted in ascending order. For example, if you select Action Name, all records with the same Action Name are sorted first by the Object Type, then by the Action Name.
- If you want to sort
the records down to a third level, in the second
Then by list, select the criteria for the
third level of sorting, then set the
Ascending option if you want the actions
sorted in ascending order. For example, if you select User Name, all records
with the same Object Type will be sorted first by the document name, then by
the Action Name, and finally by the User Name.
If you want to sort the records by additional criteria, repeat this last step for each additional sorting criteria.
- Turn on
Separate groups by criteria if you want a
blank line between each group.
The Separate groups by criteria list is activated.
From the Separate groups by criteria list, select the criteria for grouping.
The Separate groups by criteria list contains only the criteria that you selected in the previous sorting steps. You cannot group the records by any other criteria.
- Click OK.