ProjectWise Issue Resolution Service Integration
ProjectWise Issue Resolution Service is a service available in each ProjectWise project in the CONNECT Center that lets distributed team members work together to identify, track, and resolve issues during a project's life cycle.
The administrator of the ProjectWise project sets up the forms that will be used to create issues. Team members can use the ProjectWise Issue Resolution Service interface (the Issues window) available in their integrated desktop applications to view and manage existing issues, or to create and assign issues to other team members. The ProjectWise Issue Resolution Service interface is basically the same in each integrated application (MicroStation, AutoCAD, and Revit). The only major differences are the requirements for opening the Issues window in each application, and where you open the Issues window from.
Requirements
| To open the Issues window in: | You must first do the following: |
|---|---|
| integrated MicroStation | Open a MicroStation document that resides in a work area that is associated with a ProjectWise project. |
| integrated AutoCAD applications | Open an AutoCAD document that resides in a work area that is associated with a ProjectWise project. |
| integrated Revit |
|
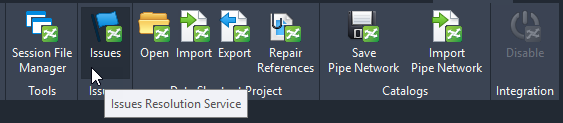
Open the Issues window
- When prompted, sign in to
the
CONNECT Center with your Bentley IMS
account.
The Issues window opens with a list of all the existing issues for the associated ProjectWise project.


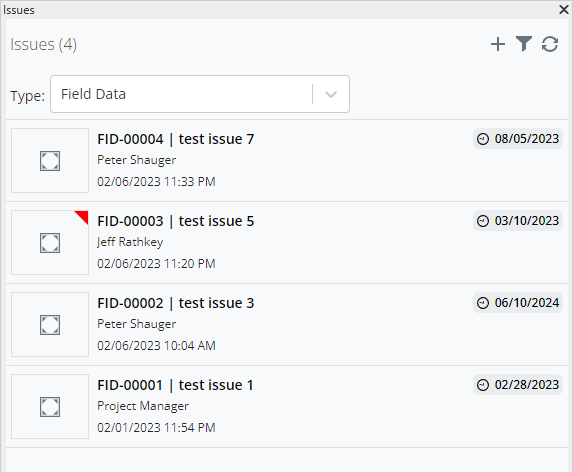
From the Issues window you can:
Use the Type menu to select which category of issues you want to display in the list.
Click the Filter button to select an option to further filter the list. You can select:
- Include Closed Forms - shows all closed issues of the selected type
- Filter to Assigned To Me - shows all issues of the selected type that are assigned to you
The date and time below an issue is the time the issue was created. The date to the right of an issue is the due date for the issue.
For some issues, you might see a triangle in the upper-right corner of the issue icon. This is only for issues whose underlying form has a workflow assigned to it. The color of the triangle indicates what state of the workflow the issue is in (note, these are not related to the ProjectWise workflows and states which are assigned to documents and folders):
Open an issue
You can double-click any issue in the list to open the issue. Once the issue is open, you can change the details, add attachments, add links to related documents, add comments, view the audit trail history, or add links to other issues.
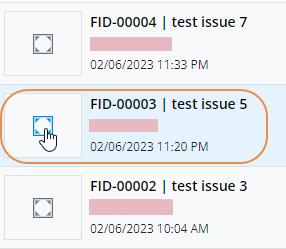
Zoom in to a linked object
For MicroStation, if an issue is linked to a particular area of a view in the open document, clicking the center of the issue icon will zoom in directly to the linked area.
For Revit and AutoCAD, if an issue is linked to an object in the open document, clicking the center of the issue icon will zoom in directly to the linked object.
Create an issue and fill out form details
- For
MicroStation: If you want to link a particular
area of a view to this issue, zoom in to the area first.
For AutoCAD or Revit: If you want to link an object to this issue, select an object in the document first.
- Click the
Fill Out a Form icon (
 ) in the upper right corner of the
Issues window.
) in the upper right corner of the
Issues window.
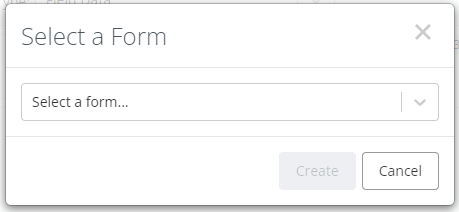
The Select a Form dialog opens with a list of forms available in the associated ProjectWise project.
The form you select determines which type of issue this will be.
- Select a form and click
Create.
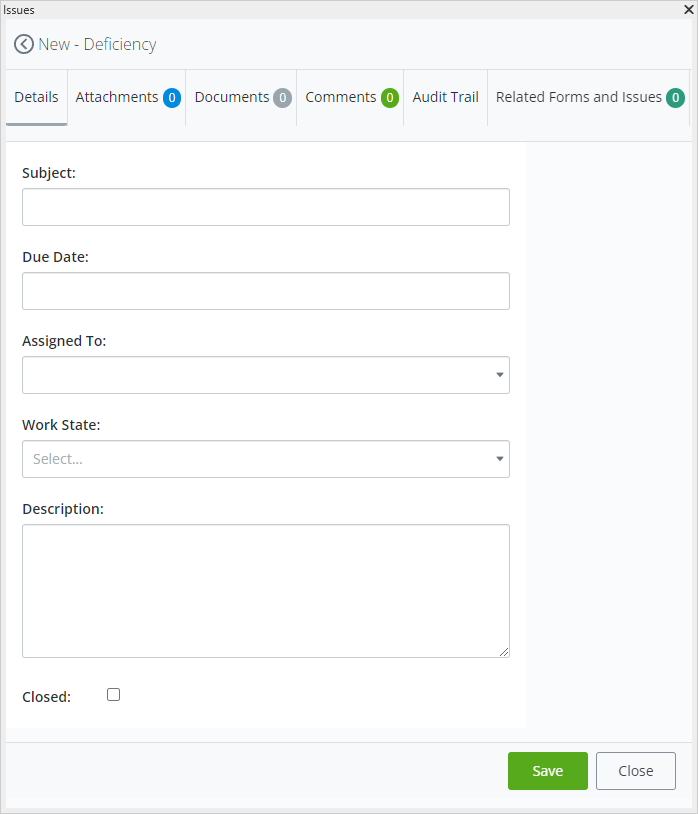
The selected form opens in the Issues window. The Details tab is displayed by default.
An issue can contain:
- Details
- Attachments
- Comments
- Links to documents
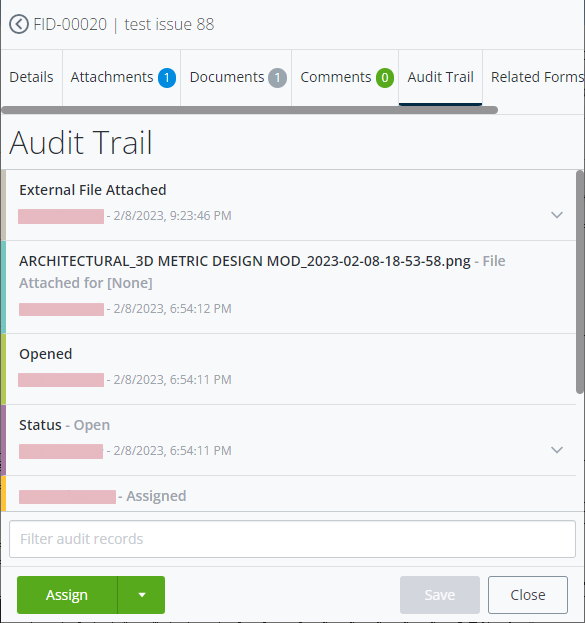
- Audit trail information (history)
- Links to other issues
There are no required fields on the Details tab. This means that you can click Save now and fill in the details later, if needed. If you click Save without filling in any details, the issue will be automatically assigned to you (the ProjectWise project team member you are signed in as).
Also, you only need to click Save to save any changes you make to the details. You do not need to click Save after adding attachments, comments, links to documents, or links to other issues.
- On the
Details tab, fill out the form:
- In the Subject field, enter a name for the issue.
- Set a Due Date that the issue should be closed by.
- Select whom you want
this issue
Assigned To.
You can assign the issue to yourself, or to anyone who is a member of the associated ProjectWise project. You can also assign the issue to a role instead of a specific person. For example, you can assign the issue to the Team Member role, so that everyone who is assigned to that role will get a notification about this issue, and can act on the issue.
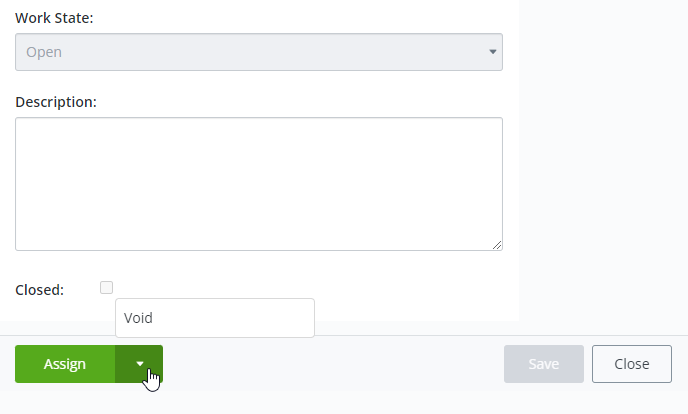
- If possible, set the Work State of the issue.
- Enter a Description of the issue.
- Click
Save when finished filling out the form.
The issue is created. If you go back to the home page of the Issues window (click the back button ( < )), you will see the new issue has been added to the list of issues for the associated ProjectWise project.
Add attachments to an issue
You can add attachments to an issue. An attachment is an image that is intended to show what the specific issue is. You can add as many attachments as needed.
You can attach an image of the current document, or you can upload an existing image file. You can also add markup to the image before you attach it.
- In the Issues window, create a new issue or open an existing issue.
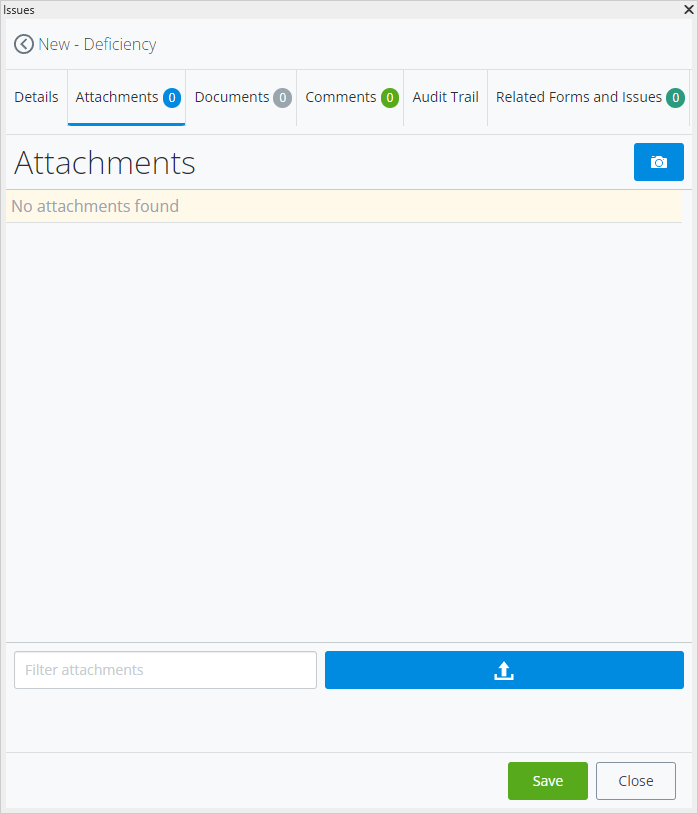
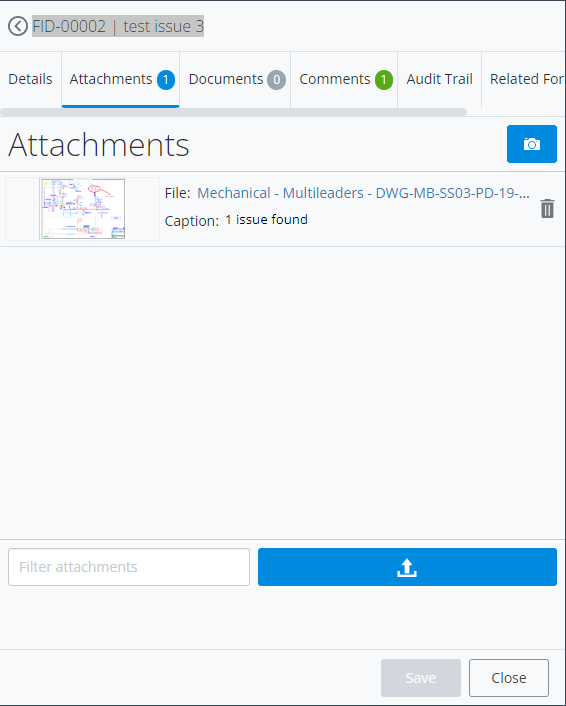
- On the
Attachments tab, attach as many images to the
issue as you need.
You can add attachments by taking a screenshot of the current view, or by uploading an image.
- Click Click to Capture View (camera icon, upper right) to take a screenshot of the current view. This creates a PNG image file and opens it in a new markup window.
- Click Upload an attachment (bottom right) to upload an existing image file. This opens the Upload Attachment dialog for you to select, drag, or paste a file from your computer or the network. The selected image opens in a new markup window.
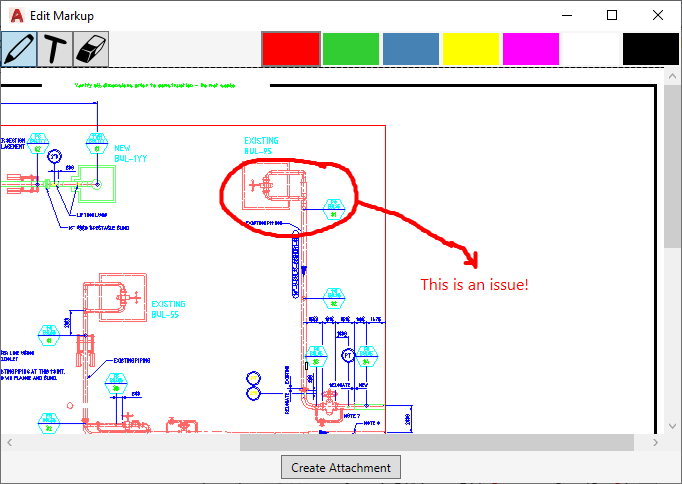
- In the markup window, mark
up the image as needed with the tools provided.
Note: The markup window is labeled Image Markup in MicroStation, and Edit Markup in AutoCAD and Revit. While the windows have a slightly different look, the tools are mostly the same, except that in MicroStation you have the additional capabilities of changing the font size and the stroke thickness.
Use the pencil tool to markup the image. Use the annotate tool (T icon in AutoCAD and Revit) to add text to the image. Select a color to set the color of the markup or text (clicking a different color does not change the color of markup or text already added). Use the eraser tool to erase any markup or text.
- When finished, click Save in the Image Markup dialog, or click Create Attachment in the Edit Markup dialog.
- For AutoCAD or Revit, the
Create Attachment dialog opens
next. Change the
Name if needed and enter an optional
Caption for the attachment and click
OK.
By default, the name of the attachment is the name of the open document or uploaded image.
The marked up attachment is added to the Attachments tab of the issue. You can repeat the steps above to add as many attachments with markup to the issue as you need.
You can change the caption after you add an attachment by clicking the text in the Caption field.
Add links to related documents to an issue
- In the Issues window, create a new issue or open an existing issue.
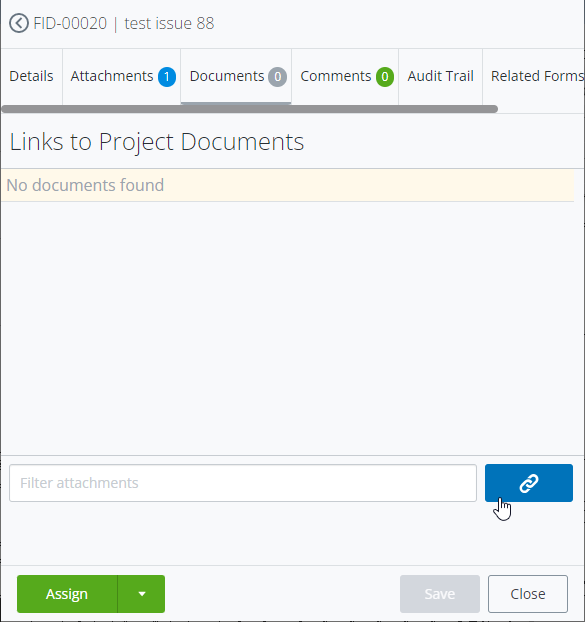
- On the
Documents tab of the issue, click the
Links to Project Documents icon (lower right).
The dialog that opens is connected to, and can only make links to documents in the ProjectWise Share portal of the associated ProjectWise project.
- In the dialog, select a
document and click
Select.
A link to the document is added to the Documents tab.
Once a link is added to the issue, you can click the link and it will open a new window and take you directly to the linked document in the ProjectWise Share portal.
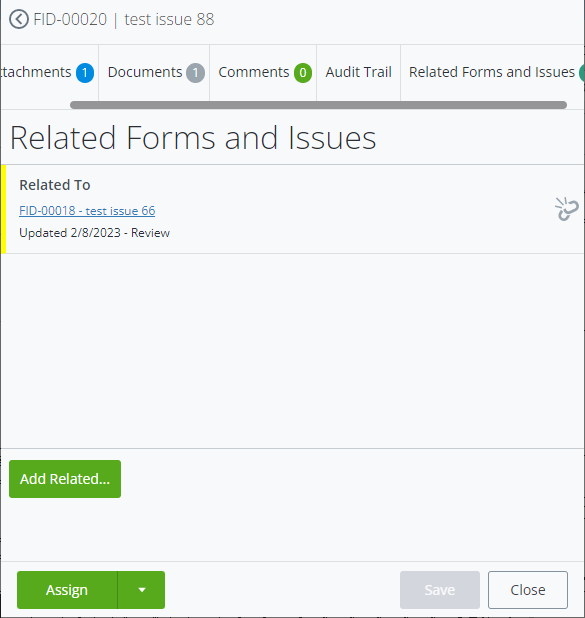
Add links to related issues
- In the Issues window, create a new issue or open an existing issue.
- Select the Related Forms and Issues tab of the issue.
- To add a link to an
existing issue, click
.
or
To add a link to a new issue, click .
- In the dialog that opens,
either select an existing issue and click
Link, or create a new issue and click
Create.
The linked issue is added to the tab.