Printing and Publishing from Integrated AutoCAD
From integrated AutoCAD you can print files that are stored in ProjectWise. You can also select files that are stored in ProjectWise and publish them to other formats and store the output back in ProjectWise.
Printing the Currently Open ProjectWise Document
When the currently open document is stored in ProjectWise, the Plot dialog (File menu > Plot or Output tab > Plot) can be used to send that document to a printer. You can also publish the document to another format and store the output either back in ProjectWise or somewhere on your file system. When Plot to file is on, you will be prompted to select a folder in ProjectWise where you want to store the published file as soon as you click OK in the Plot dialog. In the ProjectWise dialog that opens (Save Document As), either select a folder in ProjectWise, or click Save to disk if you want to store the published file on the file system.
Publishing Multiple Sheets to ProjectWise
Using the Publish dialog (File menu > Publish or Output tab > Batch Plot), you can publish multiple sheets to ProjectWise. The documents containing the sheets you want to publish can be selected from ProjectWise, or they can be selected from the file system, and they can be open, but they do not need to be open, in order to publish them. You can select what format you want to publish to, you can set the location in ProjectWise where the new files get stored, you can set how the new files get named, and you can set whether or not you want a new file created for each sheet that is published.
- Open the Publish dialog (File menu > Publish or Output tab > Batch Plot).
- In the Publish to list, select the format you want to publish to (for example, PDF).
- Click the
Add Sheets icon to select which
ProjectWise documents and/or local files you
want to publish.
The sheets contained in the selected documents are added to the list of sheets that will be published. You can remove any sheets from the list that you do not want to publish.
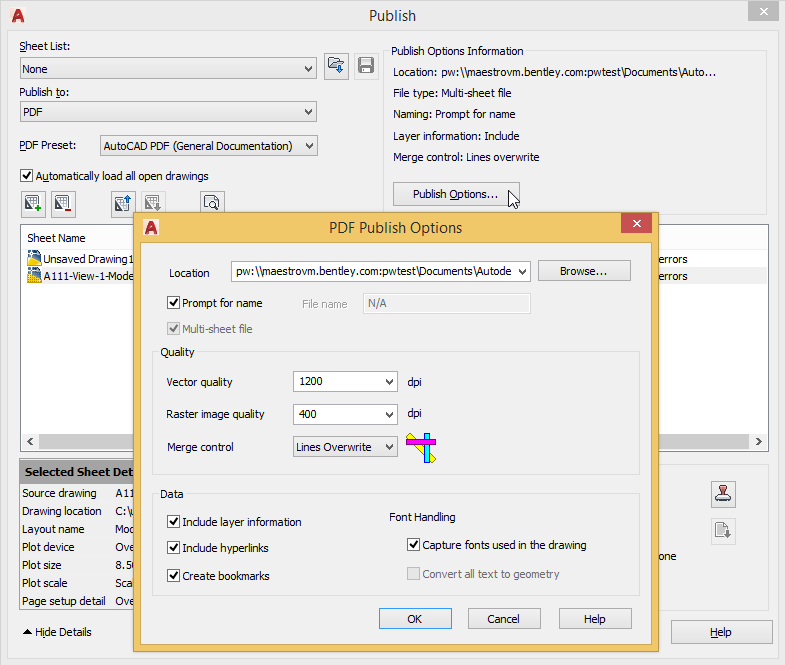
- In the Publish Options Information section, click Publish Options.
- In the Publish Options
dialog, set the following:
- Location - Click the Browse button next to the Location field to select the folder in ProjectWise where you want to store the published files.
- Prompt for name - Turn this on if you want to be prompted to manually name each ProjectWise document that gets created as a result of this publishing. When this option is off and Multi-sheet file is on, use the File name field to specify the name of the single ProjectWise document that gets created.
- Multi-sheet file - Turn this on if you want all sheets in the list published to a single file. Turn this off if you want each sheet in the list published to a separate file.
- In the Publish dialog, set other publishing options as needed, and click Publish.