Creating Folders
You can create new folders in ProjectWise Explorer by selecting , or by dragging a file system folder from Windows Explorer into ProjectWise Explorer.
To Create a Folder Using Folder > New Folder
- Select the Documents root folder, or any work area or folder under it.
-
Select
.
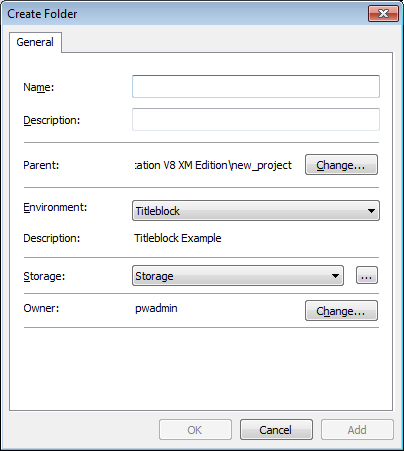
The Create Folder dialog opens.
- In the Name field, enter a name for the folder (up to 63 characters).
- (Optional) In the Description field, enter a description for the folder (up to 127 characters).
- (Optional) To change the location for the folder, click Change in the Parent section to open the Select Folder dialog. Select a different work area or folder to create this folder in, and click OK.
- (Optional)
From the
Environment list, assign an environment to
this folder.
By default, this folder's environment will be set to the environment of the parent folder. You can set the environment to <none>, or select from the existing environments in the datasource.
- From the Storage list, select the storage area that this folder will use.
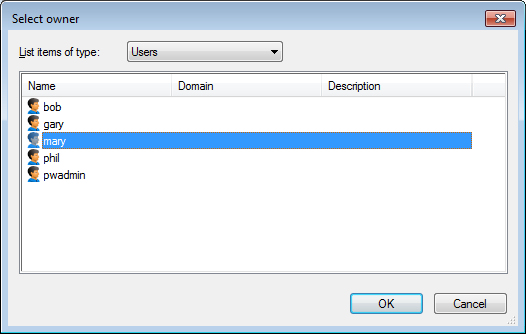
- (Optional) When the Create Folder dialog first opens, by default, you are assigned as the owner of the folder that you are creating. If you want to assign someone else as the owner, click Change in the Owner section. When the Select Owner dialog opens, select another user and click OK.
- To finish creating the folder:
To Create a Folder and Documents By Dragging in a File System Folder
-
Select a folder in Windows Explorer and drag it into the destination project or folder in ProjectWise Explorer. The destination can be any project or folder in the datasource, but not the Documents root folder itself.
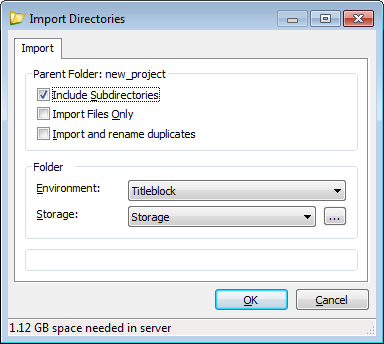
Once you drag and drop the folder, the Import Directories dialog opens.
-
To create the folder in ProjectWise, make sure Input Files Only is off.
If this option is on, the files in the folder will be imported, but the containing folder will not be created.
-
If the folder you are importing has subfolders and you want to retain the directory structure in ProjectWise, turn on Include Subdirectories.
If Input Files Only and Include Subdirectories are both on, ProjectWise will import the files from all of the subfolders, but none of the subfolders themselves will be created in ProjectWise.
- To rename duplicate files if they are found during the import, turn on Import and rename duplicates.
- Select the environment and the default storage area.
-
Click OK.
The folder is created and the files are imported.