To Perform a Managed Export of Selected Documents
- Select one or more documents.
-
Select
.
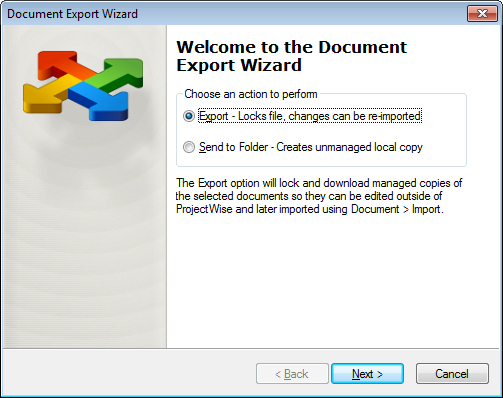
The Document Export Wizard opens.
-
Select
Export and click
Next.
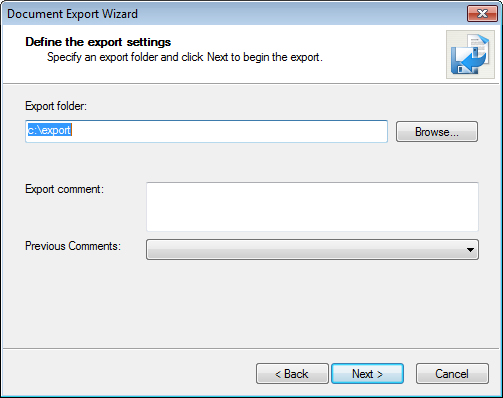
The Define the export settings page opens.
-
Click
Browse to select the export location, or type
the location to which to export the document(s) directly in the
Export folder field. If the folder name you
enter does not exist, it will be created upon export.
ProjectWise remembers the last location you exported to using this wizard, and displays the path to this folder in the Export folder field the next time you use the wizard. If you have deleted that folder, clicking Browse prompts you to create the folder again. Click OK to create the folder, or click Cancel to select a different export location.
- If available, enter some comment about the export in the Export comment field, or select a previous export comment from the Previous Comments list.
-
Click
Next.
Of the selected documents, those eligible for export are exported to the target folder, and the results are displayed in the wizard.
- Click Finish.
Note: Whether or not
change comments are optional or required (or possible at all) on export is
controlled by the user settings
and
.
When just the first audit trail setting is on, export comments are optional,
and when both audit trail settings are on, export comments are required. When
is off, the Export comment field and Previous Comments list do not display at
all.