Updating Document Attributes Using the Attribute Bulk Update Tool
The Attribute Bulk Update tool, which is available after you install ProjectWise Explorer, is used to populate the ProjectWise database with information within the title blocks of DWG/DGN documents. When this tool is run, each document is opened and its linked title block data is written to the appropriate attributes for that document in the database. This provides a quick, automatic mechanism for gathering document information without data reentry. You can instruct the Attribute Bulk Update tool which documents and folders you want to process.
- Open the Attribute Bulk Update tool.
- When the
ProjectWise Log
in dialog opens, select a datasource, enter a user name
and password (Password is case sensitive, User Name is not), and click
Log in.
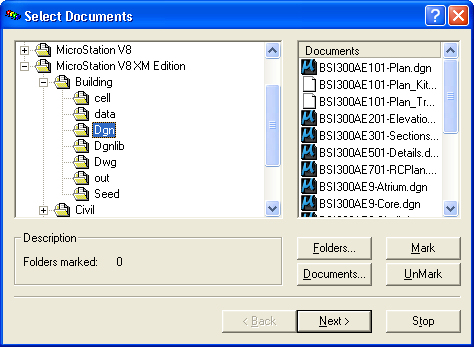
Once logged in, the Attribute Bulk Update wizard opens for you to mark documents for processing. You can mark individual folders and documents, or you can mark the entire datasource.
You can mark folders and documents in various ways. You can mark an individual folder by selecting the folder in the list on the left and clicking the Mark button. If the folder has subfolders, you will be prompted whether or not to mark them for processing also. You can mark an individual documents by finding and selecting the containing folder, then selecting the document in the list on the right and clicking the Mark button.
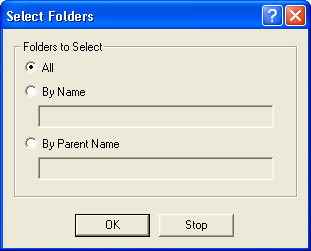
You can configure automatic selection of certain folders by clicking the Folders button, which opens the Select Folders dialog.
Setting Description All Enforces the selection of all folders. By Name Enforces the selection of only those folders whose names match the given character sequence. By Parent Name Enforces the selection of only those folders whose parent folder name matches the given character sequence. After you select an option in the dialog and click OK, folders are then marked based on your selection.
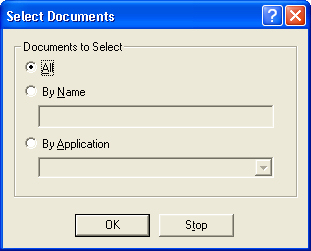
You can also configure automatic selection of certain documents by clicking the Documents button, which opens the Select Documents dialog.
Setting Description All Enforces the selection of all documents. By Name Enforces the selection of only those documents whose names match the given character sequence. By Application Enforces the selection of only those documents associated to the selected application. After you select an option in the dialog and click OK, documents are then marked based on your selection.
- When finished marking
folders and documents for processing, click
Next.
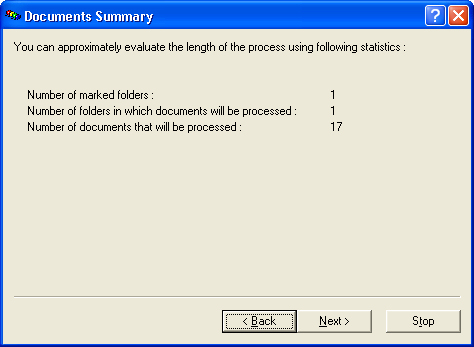
The next page of the wizard shows the number of documents and folders marked for processing.
- Click
Next.
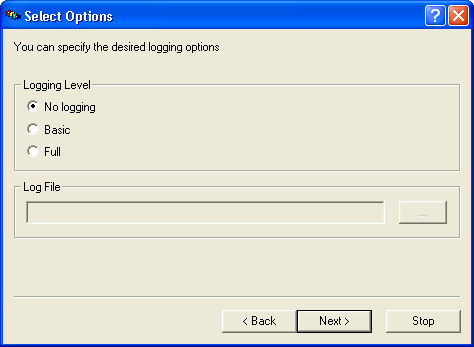
The Select Options page opens for you to set logging options.
- Select the level of logging you want performed, select a log file to write logging information to (if Basic or Full is selected) and click Next.
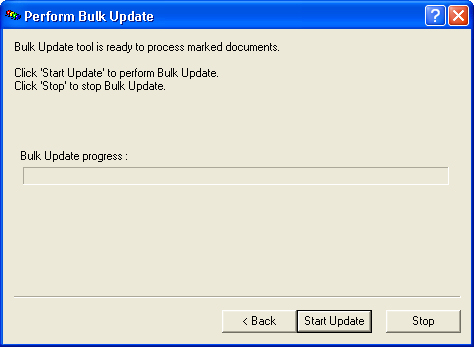
- When the Perform Bulk Update
page opens, click
Start Update.
The final page of the wizard displays the number of documents successfully or unsuccessfully updated.
- When processing is complete click Close, and review the log file if necessary.