Configuring the Attribute List for General Correspondences
A general correspondence is a type of package that is intended for managing various official project communications.
Each project contains a general correspondence template, which lets you create as many package types based on the general correspondence template as you need. For example, you might create a general correspondence package type named "Meeting Notes", and another named "Contractual Documents". A default, preconfigured general correspondence package type, simply named "General Correspondence", is also available which you can use as is or customize (or even delete if it is not needed).
The default General Correspondence package type contains the following default attributes for outgoing general correspondences:
These are the attributes that show up in the General tab > Details section of a new General Correspondence draft.

Creating a New General Correspondence Package Type
- In portal settings, go to
the
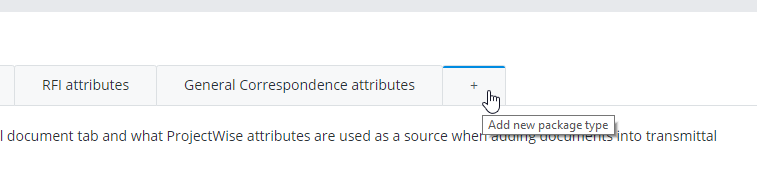
Package types
tab and click the + (plus) symbol to the right of
the default
General Correspondence tab.
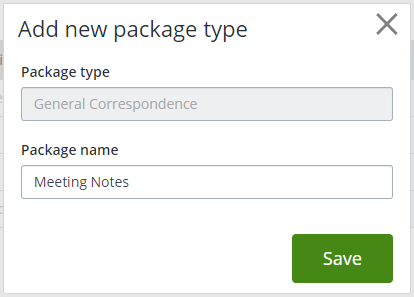
The Add new package type dialog opens. This lets you create a new package type, named whatever you like, based on the general correspondence template.
- Enter a name for the
package type and click
Save.
A tab for the new package type is added to the Package types page.
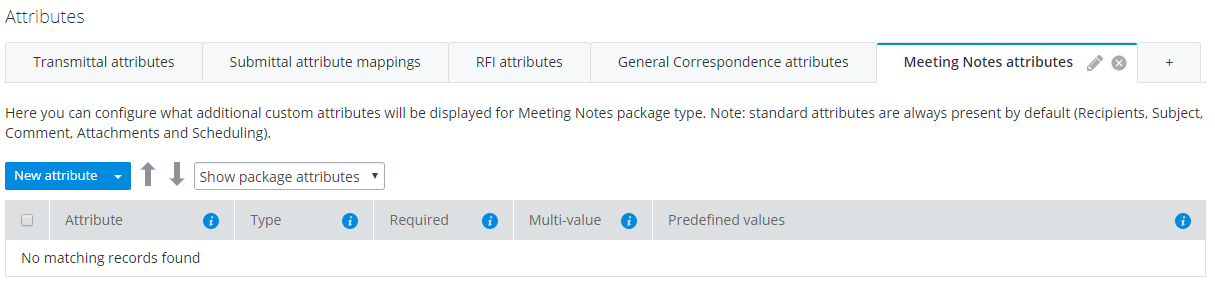
- (Optional) On the new tab for your new package type, add and configure custom attributes as needed.
Adding, Renaming, Removing, or Reordering Attributes
Any custom attributes that you add here will display in the Details section of the general correspondence packages that your users create.
-
Click the
Settings icon
 to open the
Settings page.
to open the
Settings page.
- Click the Package types tab.
- Select one of the general correspondence package types (either the default General Correspondence tab, or any general correspondence package type you may have created).
- Filter the list to either Show package attributes (custom attributes for the sender to fill out in the outgoing general correspondence) or Show response attributes (custom attributes for the recipient to fill out when they reply to the general correspondence).
- Do one of the following:
To change the display name for an attribute (which changes the name of the attribute in future general correspondences of this type):
- In the Attribute column, click in one of the attribute fields, change the name as needed, and press <Enter>.
To change the order of the attributes (which changes the order of the attributes in future general correspondences of this type):
- Click the check box next to the attribute you want to move, then click the Up or Down arrow to move the attribute up or down in the list.
To remove an attribute from the list (which means the attribute will not appear in future general correspondences of this type):
- Click the check box next to the attribute you want to remove, then click the menu next to the New attribute button and select Delete.
To add a new attribute to the list (which will appear in future general correspondences of this type):
- Click
New attribute.
A row is added for the new attribute.
- In the
Attribute column, click in the attribute
field, enter a name for the attribute, and press <Enter>.
You can name the attribute whatever you want, but it must be unique in this list.
- In the Type column, Text is set by default (Text is the only available type).
- Set the
Required check box to determine whether or
not this attribute is required.
When the Required check box is on, it means that the user sending or receiving the general correspondence must enter a value for that attribute. When off, the user can leave that attribute blank.
- Set the
Multi-value check box to determine whether
the user can select just one value, or multiple values, for this attribute.
When the Multi-value check box is on, it means that the user sending or receiving the general correspondence will be able to select more than one value for that attribute. When off, the user can only select one value from the list.
- In the
Predefined values column, add the values
you want your users to be able to select from.
The values in this column are comma separated. To the user, they will appear as separate items with a check box.