To Create an RFI
-
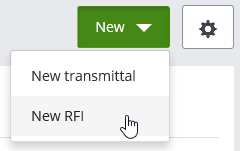
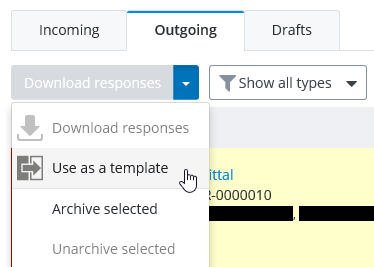
Select the type of RFI draft you want to create:
Draft type Do this Blank Click the New menu and select New RFI. From template Click the check box next to an RFI on either the Outgoing or Draft tab and select Use as a template. The RFI draft form opens.
-
On the
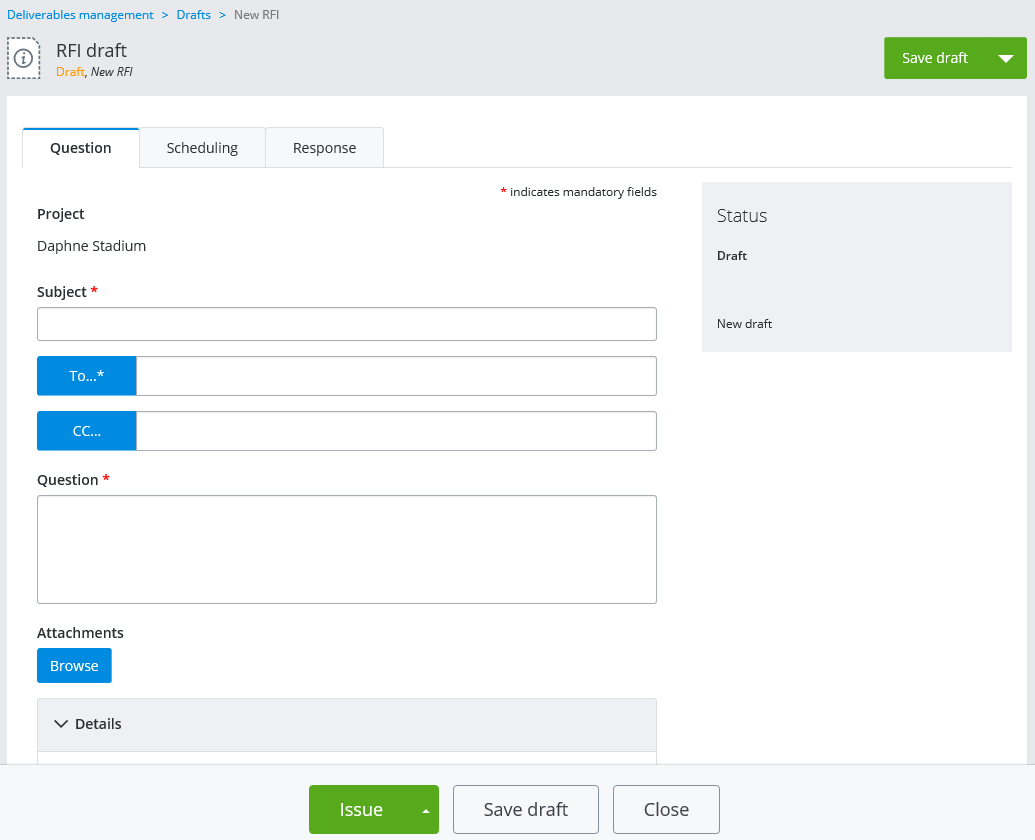
Question tab, do the following:
-
In the
Subject field, enter a subject.
-
Click the
To button to select the external or internal
participant you want to send the RFI to.
The Add recipient dialog opens.
You can use this dialog to select any one current internal or external participant to be the main recipient of the RFI.
You can filter the dialog to show only internal participants, only external participants, or both internal and external participants.
You can also use this dialog to invite new external participants to the project. Once invited, you can immediately add any one of the newly invited persons to be the recipient of the RFI (you do not have to wait for them to accept the invitation in order to issue the RFI).
You can only add one participant to the To field, but that person will have the opportunity to forward the RFI to another participant if needed (for example, if the RFI was sent to the wrong person, the recipient can forward it to the correct person).
To add a current external or internal participant:
To invite and add a new external participant:
- Click Invite new.
- In the Contact email field, enter the email address of the person you want to invite to this project.
- In the
Subject field, enter a subject for the project
invitation email.
A default subject is provided, which you can keep or change as needed.
- (Optional) In the Message field (not labeled), enter a short, personal message to the invitee.
- Click
Send.
An invitation is sent to the person, and they are added to the external participants list.
- Select the newly invited external participant in the list and click Add selected.
Tip: If you place your cursor over the warning icon next to a newly invited external participant, it says that the person has not accepted the invitation yet, and that they will only be able to view the package after accepting the project invitation. This warning will go away once the invitee accepts the invitation. - (Optional)
To send a copy of this RFI
to other participants, click the
CC button. In the Add recipients dialog,
select one or more participants and click
Add selected. The participants are added to
the
CC field.
You can add as many current external and internal participants to the CC field as you need, you just cannot add a participant to the CC field if they are already added to the To field.
-
In the
Question field, enter a message briefly
explaining the reason for the request.
- (Optional)
In the
Attachments section, click
Browse if you want to attach a file to this
request.
-
In the
Subject field, enter a subject.
-
In the
Details section of the Question tab, do the
following:
-
From the
Classification list, select a classification
to assign to the RFI.
Classification labels are used to categorize transmittals, submittals, RFI's, and general correspondences into the parts of the project they relate to.
Classification labels are completely customizable in each project and are defined by the administrator in the portal settings. The administrator can also decide whether to make assigning a classification required or optional. If the Classification list is not present at all, it means the administrator has not defined any classification labels for this project.
-
From the
Priority list, select the priority level you
want to assign to this request (Low |
Medium |
High).
- (Optional)
In the
Identified by field, enter the name of the
person to be associated with the request.
The name of the person creating the RFI is supplied by default, but you can enter anybody's name, or even leave it blank.
- (Optional)
In the
Date identified field, enter the date that the
request was first identified.
The data and time you began creating the RFI is supplied by default, but you can change the date and time or even leave it blank.
-
Additional details (question
attributes) - Enter values as needed for any additional RFI
question attributes that may be listed in this section.
Question attributes are defined by the administrator in the portal settings, and the administrator decides whether they are required or optional. It is also possible that your project does not contain any additional question attributes.
The following are the default RFI question attributes:
- Source (select a source)
- Purpose (select a purpose)
- Suggested Impact Assessment (select a potential impact)
If there is a Suggested Impact Assessment attribute, then for each value you select, a Justification field opens where you can explain why you selected that value. For example, if you select Cost, you can provide a reason why you think cost might have an impact. Also, keep in mind that when selecting a value for Suggested Impact Assessment, the user who responds to this RFI will be presented with a corresponding Final Impact Assessment attribute. So if you select Cost for the Suggested Impact Assessment, then the responder can provide a Cost justification when they reply with their Final Impact Assessment.
If the project is associated with an AssetWise community, then you will see these additional attributes, which you can add values for:
-
From the
Classification list, select a classification
to assign to the RFI.
-
On the
Scheduling tab, do the following:
-
Set the
Acknowledgement due date (the date by which
the recipient must acknowledge that they have received the RFI).
-
Set the
Response due date (the date by which the
recipient must send a formal response to the RFI).
For both due dates, you can either set a specific due date, or you can make the due date a certain number of days after the RFI was issued. You can also specify how many days (if any) before the due date that a reminder email will be sent to the recipient.
-
Set the
Acknowledgement due date (the date by which
the recipient must acknowledge that they have received the RFI).
-
Depending
on how complete the RFI is, click one of the following:
- Save draft - if you want to save your changes so far but leave the draft open for further editing
- Close - if you want to close the draft after saving it (you can open it for editing later)
- Send for review & issue - if you want to send the draft to another internal participant to review before issuing it
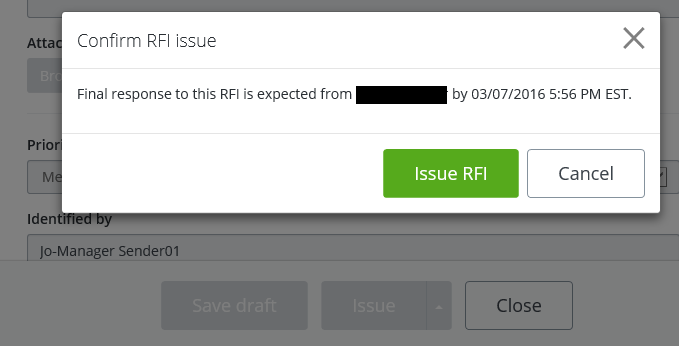
- Issue - when you are ready to send the draft to the selected recipients
- If you click Issue, you are prompted to confirm; click Issue RFI when prompted.