Configure Data Sources (Database Connections) and Upload Schedules
Use the ProjectWise Analytics Data Source Administrator application to configure data sources that connect to the ProjectWise databases you want to upload data from.
You can:
- configure new data sources
- re-configure data sources (change settings)
- remove data sources
- upgrade data sources to the current version
Opening ProjectWise Analytics Data Source Administrator and Setting the Account It Will Run Under
ProjectWise Analytics Data Source Administrator opens automatically when you turn on the option to Launch ProjectWise Analytics Data Source Administrator at the end of ProjectWise Analytics Data Upload Service installation.
You can also open this application from the desktop by going to .
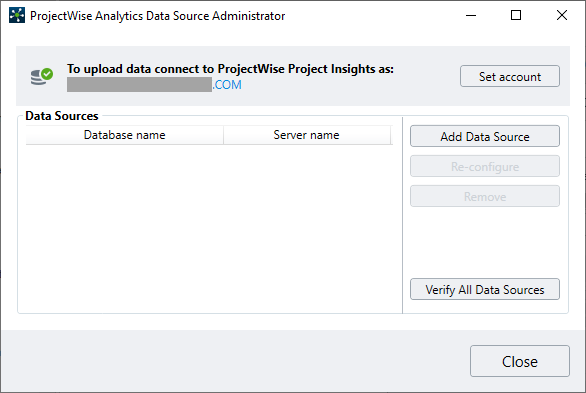
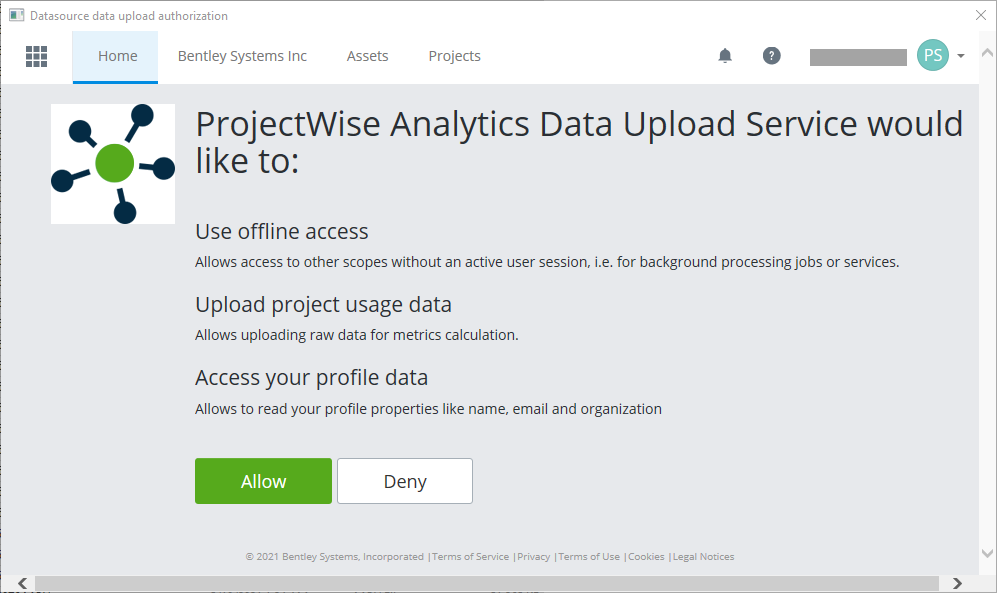
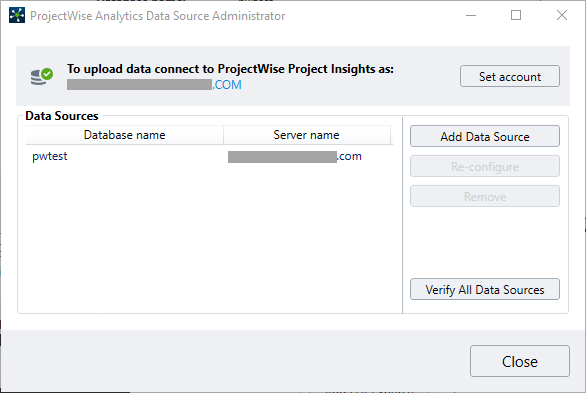
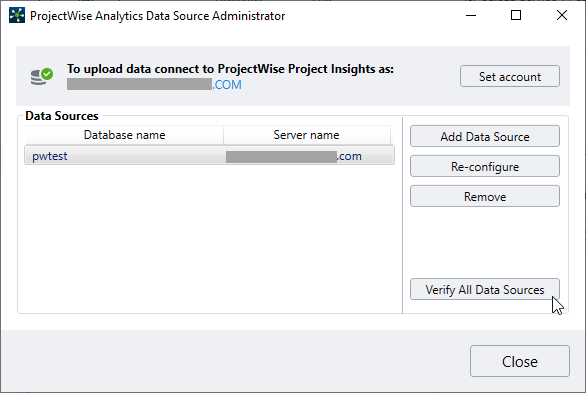
In ProjectWise Analytics Data Source Administrator, click Set account to sign in with your Bentley IMS account.
After signing in, review the permissions that the service is asking you to grant and then click Allow in the Datasource data upload authorization window.
Configuring a New Data Source
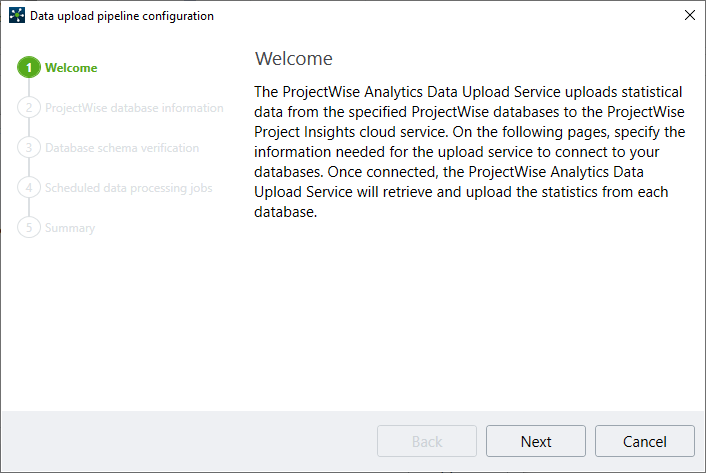
- In ProjectWise Analytics Data Source Administrator, click Add Data Source.
- When the Data upload pipeline configuration wizard opens, click Next.
- On the
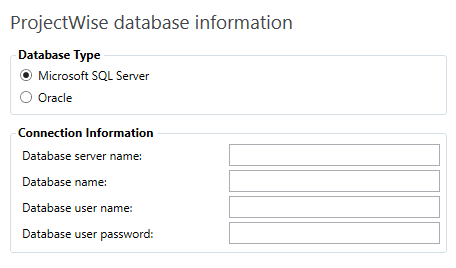
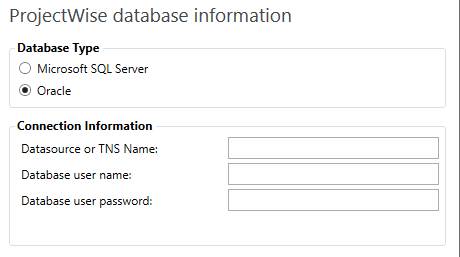
ProjectWise database information page, specify
which
ProjectWise database this data source will
connect to (which tells the upload service which database to upload data from):
- Set Database Type to Microsoft SQL Server or Oracle, depending on which database ProjectWise is using.
- Enter the
Connection Information of the specific
ProjectWise database you want the service to
upload data from:
- Click Next.
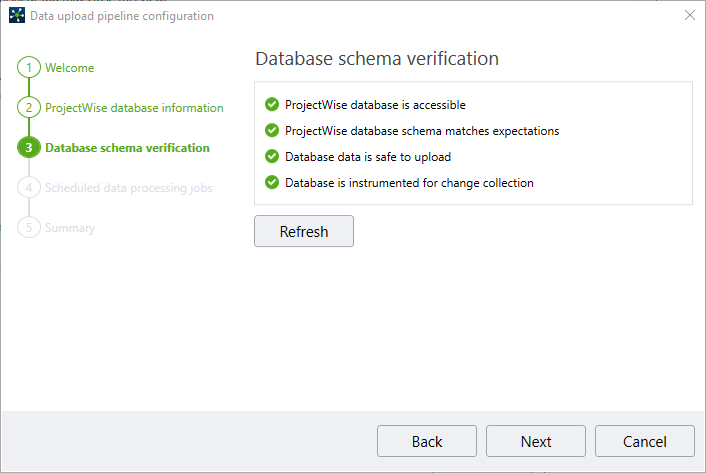
- On the
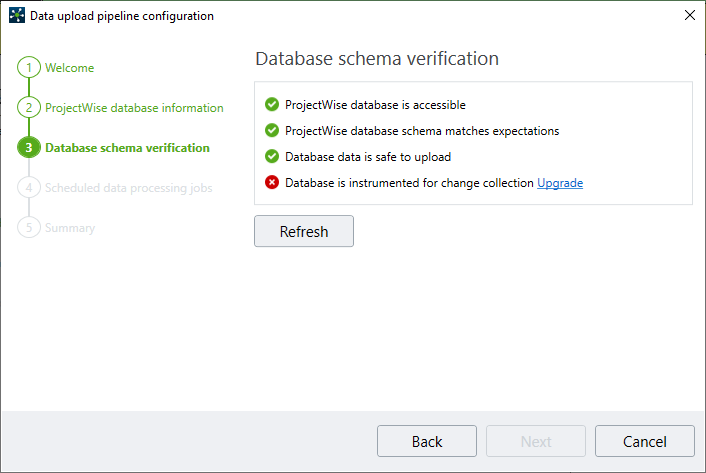
Database schema verification page, do the
following:
- Click the
Upgrade link next to
Database is instrumented for change
collection.
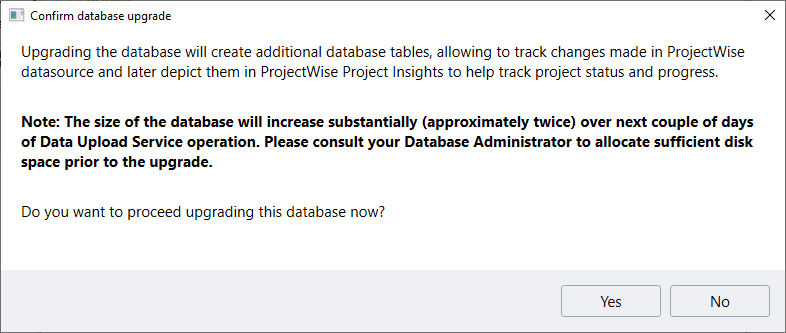
In order for the ProjectWise Analytics Data Upload Service to be able to collect data from the database, the database must first be instrumented for analytics data collection. Clicking Upgrade will add tables to the database that allow ProjectWise Analytics Data Upload Service to track ProjectWise changes and depict those changes in ProjectWise Project Insights.
- When the Confirm database upgrade dialog opens, click Yes.
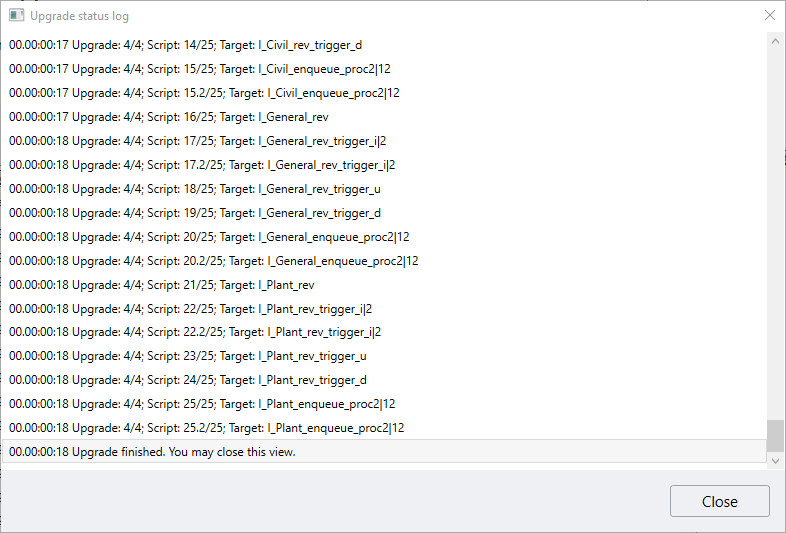
- When upgrade is finished click Close to close the Upgrade status log.
- Click Next.
- Click the
Upgrade link next to
Database is instrumented for change
collection.
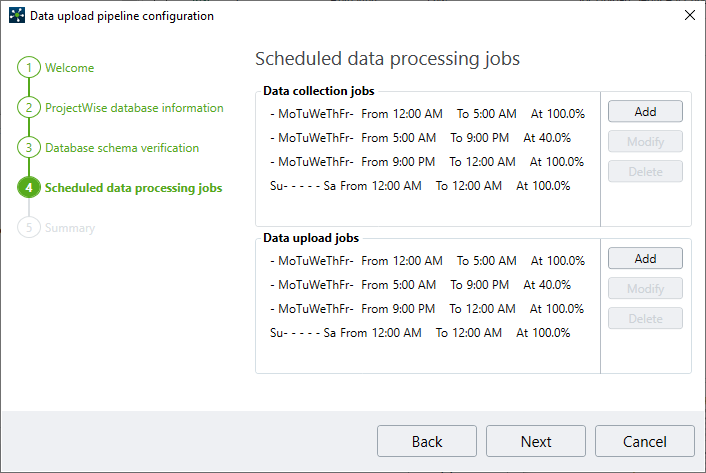
- On the
Scheduled data processing jobs page, configure
schedules for running data collection and data upload jobs (these are two
separate jobs) and click
Next when finished.
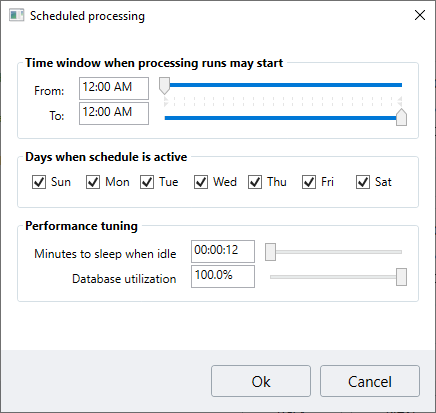
For data collection and data upload, each has a default schedule defined. You can edit the default schedules (select one and click Modify) or use them as is. You can also click Add to define new schedules.
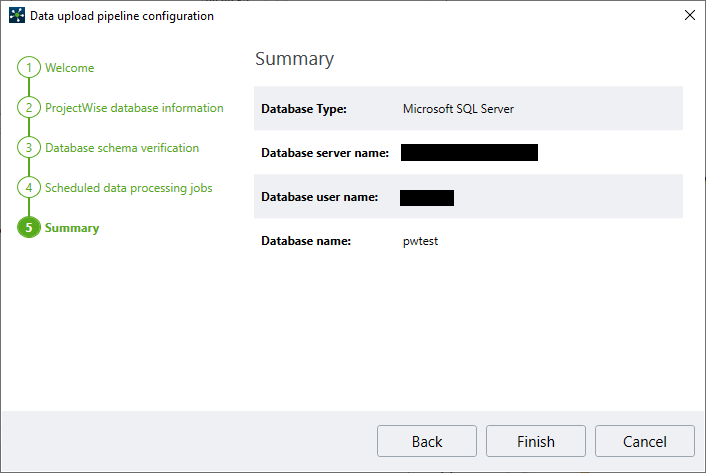
- On the Summary page, click Finish.
- Click Add Data Source and repeat the steps above if you want to create connections to other databases, otherwise click Close.
The ProjectWise Analytics Data Upload Service will begin collecting and uploading data to the project for display in the ProjectWise Project Insights portal according to the configured schedules.
- After you create a data source and the first run of the service, the transaction log can fill up quickly.
- Data upload and processing could take up to a few hours or more depending on the size of your database. Data will not be available in the ProjectWise Project Insights portal until data upload and processing is finished.
Configuring a Data Source That Connects to a Moved or Copied Database
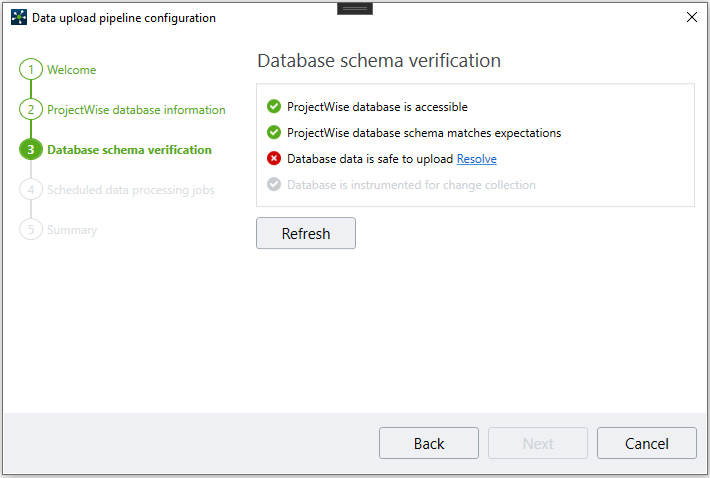
When you are creating a data source that connects to a database that was moved or copied, and that database contains ProjectWise Analytics Data Upload Service instrumentation from a previous connection, the database schema verification stage will detect this and will prompt you to select how you want to resolve the situation.
On the Database schema verification page, click the Resolve link next to Database is safe to upload.
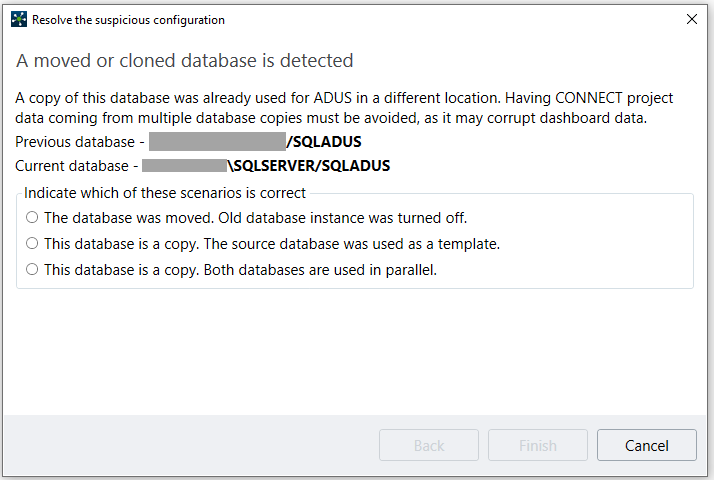
When the Resolve the suspicious configuration wizard opens, select the appropriate option based on whether the database was moved or copied.
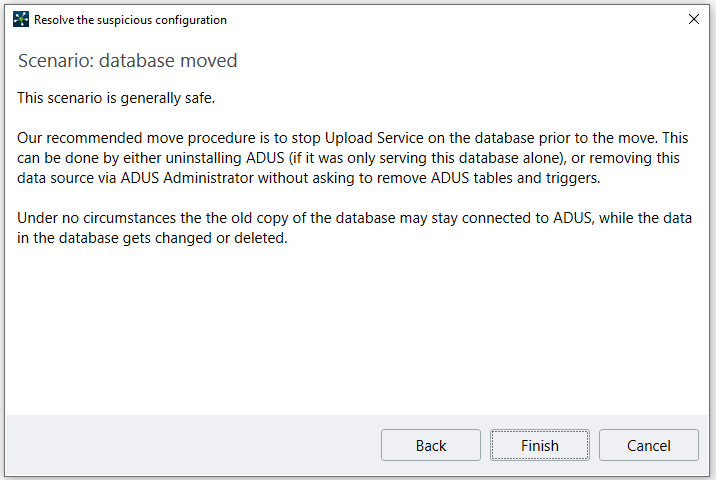
If the database was moved:
- Select The database was moved. Old database instance was turned off.
- In the Remove the suspicious configuration wizard, click Finish.
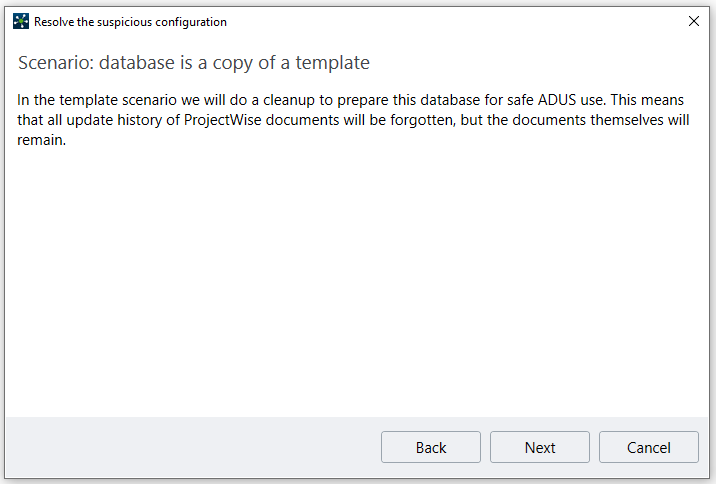
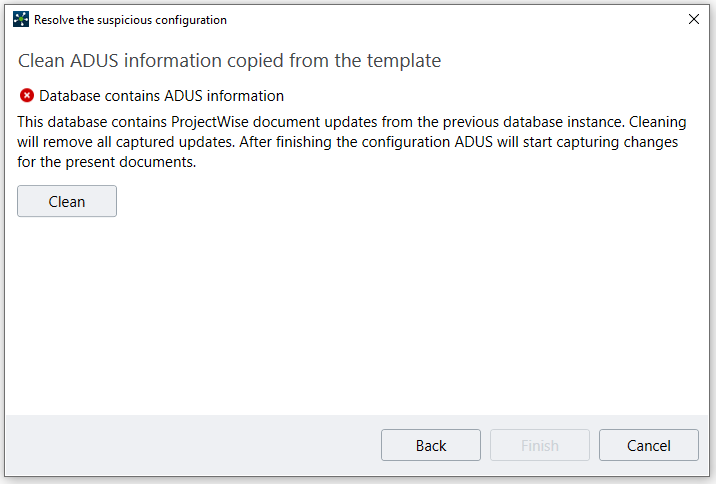
If the database was copied from a template database:
- Select The database is a copy. The source database was used as a template.
- In the Remove the suspicious configuration wizard, click Next.
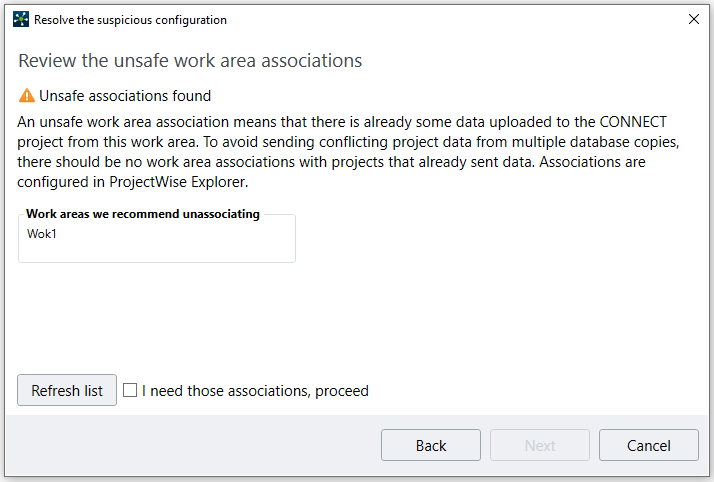
- If you want to upload data
from the work areas listed, turn on
I need those associations, proceed, and then
click
Next.
If you do not want to upload data from the work areas listed, go to ProjectWise Explorer and unassociate those work areas from the ProjectWise project, and then click Refresh list here.
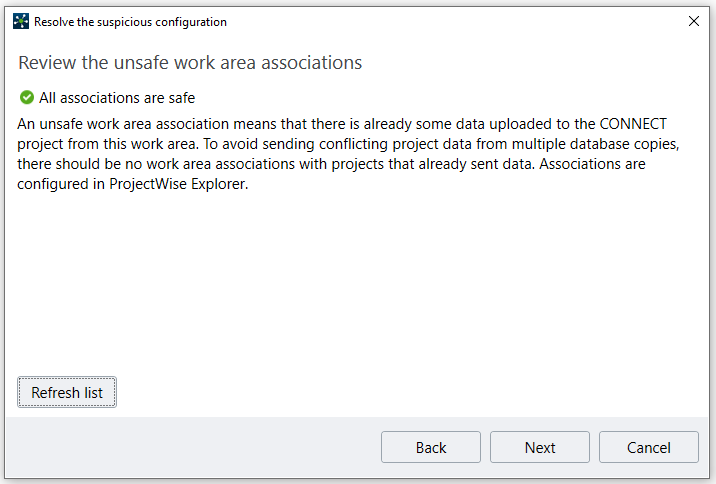
- Once there are no more work areas listed (only work areas with "unsafe" associations are listed), click Next.
- Click Clean. When that is complete, click Finish.
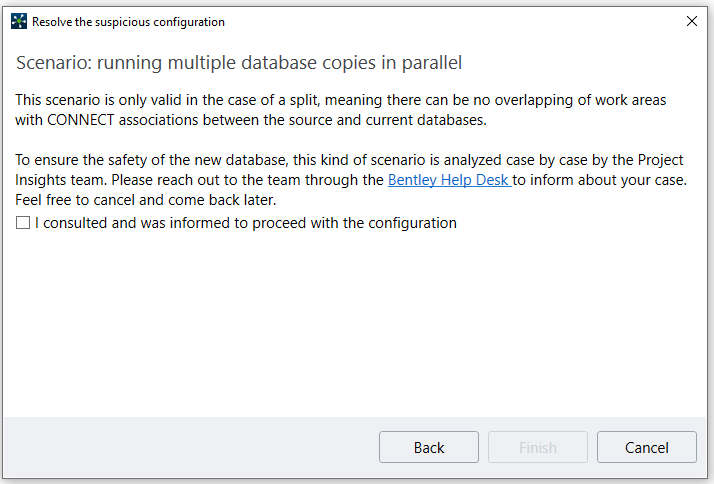
If the database is a copy and will be used in parallel with the original database:
Re-configuring a Data Source
If you need to change the settings of a data source, select the datasource from the list and click Re-configure. This reopens the configuration wizard and lets you change database connection settings and schedules as needed.
Upgrading a Data Source Created in a Previous Version
If you are upgrading from a previous version of ProjectWise Analytics Data Upload Service and you have data sources that were created in a previous version, you can quickly upgraded your data sources to the current version by clicking the Verify All Data Sources.
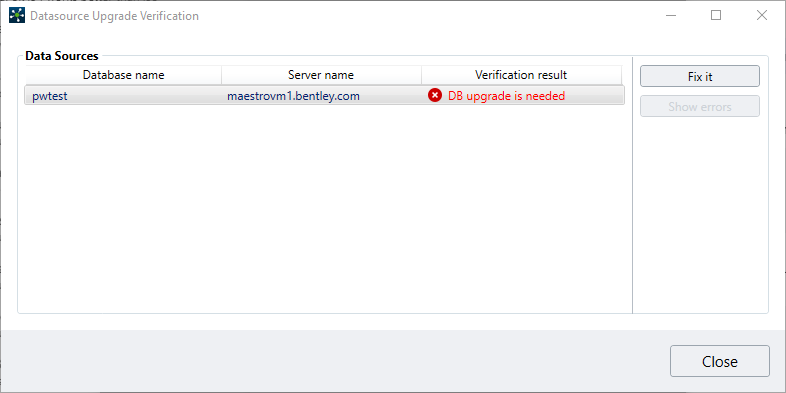
The Datasource Upgrade Verification dialog opens, and quickly checks each data source to see which data sources are ok and which ones need to be upgraded.
The ones that do not need to be upgraded are marked Verified, no issues in the Verification result column, and then removed from the list.
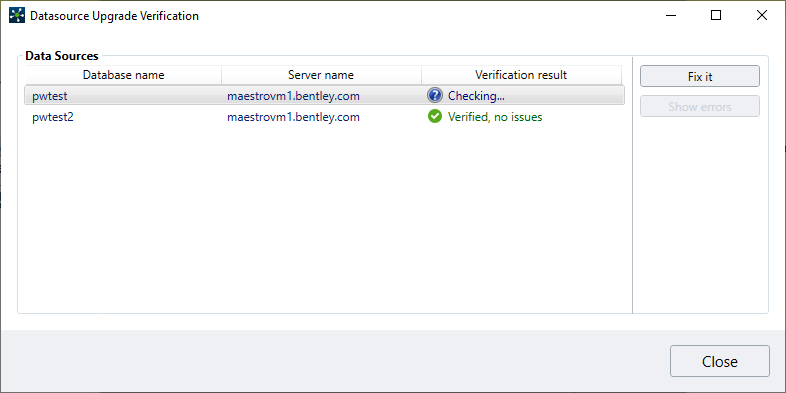
The ones that need to be upgraded are marked DB upgrade is needed in the Verification result column. Click Fix it to upgrade the selected data sources to the current version.
When the Confirm database upgrade dialog opens, click Yes.
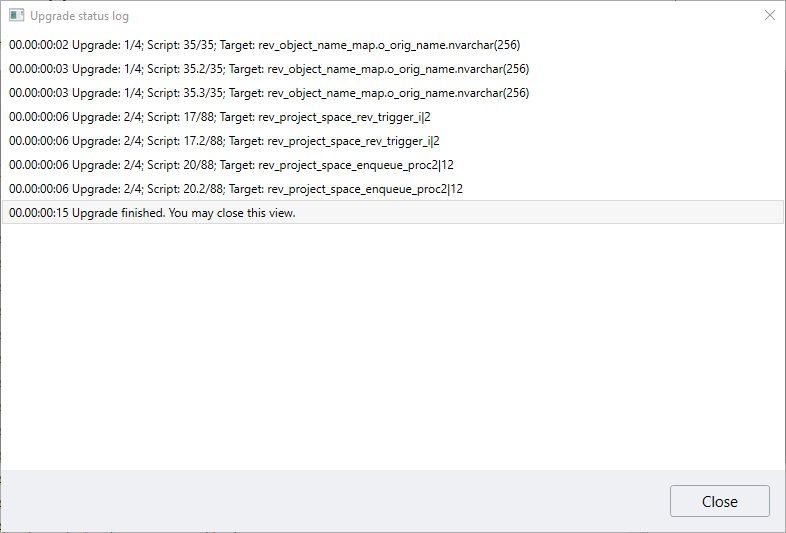
When upgrade is finished click Close to close the Upgrade status log.
In most cases the upgrade will complete with no issues. If there happen to be any errors that occurred while processing, these errors will be added to the service log and the Verification result column will inform you that the Service log contains errors. Note, having errors does not mean the data source was not upgraded.
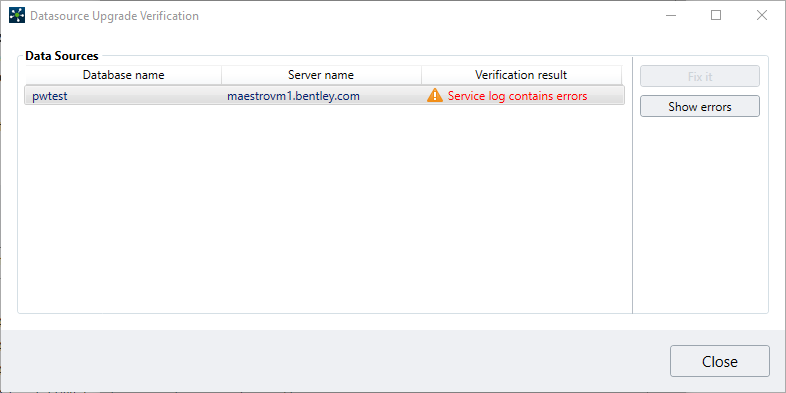
To see what the errors were, click Show errors. This opens the ProjectWise Analytics Data Upload Service log where you can review the errors.
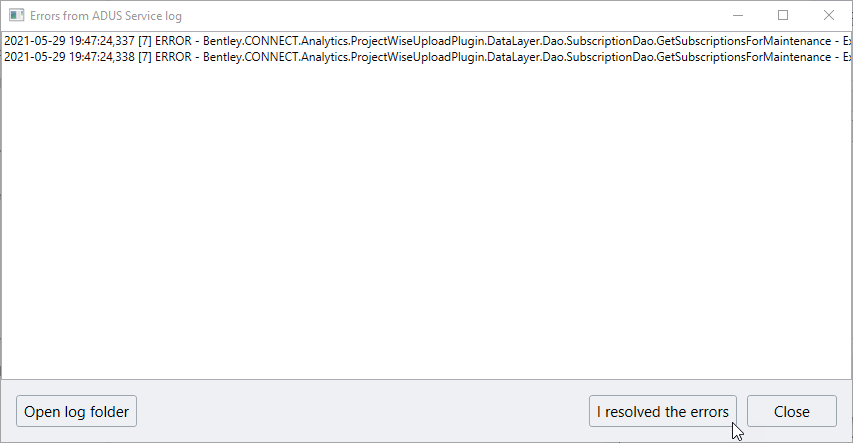
After reviewing the errors and you are sure everything is ok, click I resolved the errors.
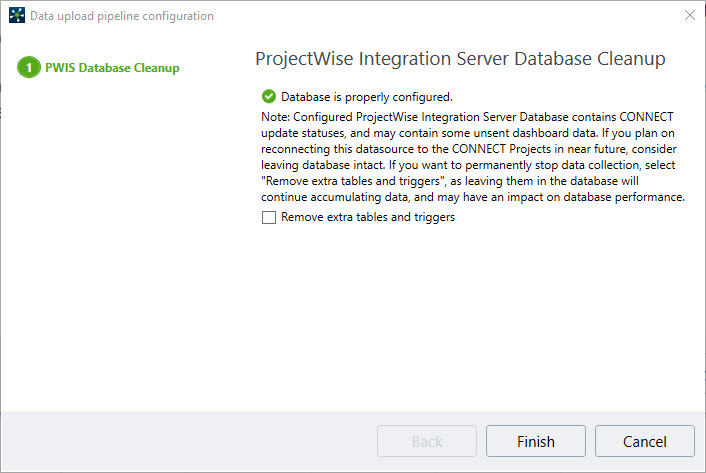
Removing a Data Source
If you want to remove a data source, select the data source in the ProjectWise Analytics Data Source Administrator and click Remove.
The Data upload pipeline configuration wizard opens.
If you want to remove all the instrumentation that was added to the database when the data source was created, which will permanently stop all data collection from this database, then turn on Remove extra tables and triggers.