To Configure Synchronizations to Run on a Schedule
-
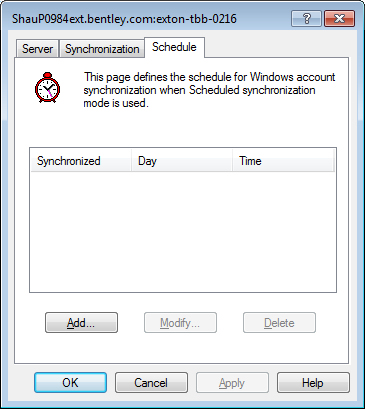
Right-click the User Synchronization Service node and select Properties.
The User Synchronization Service Properties dialog opens.
- Select the Schedule tab.
-
Click Add.
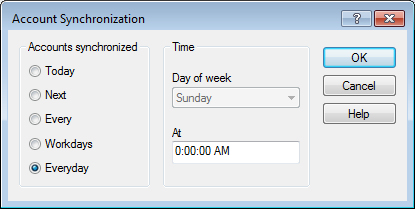
The Account Synchronization dialog opens.
- Select the required day option.
- In the At field, enter the required start time.
-
Click OK.
The Account Synchronization dialog closes and the schedule displays on the Schedule tab of the Properties dialog.
-
Click OK to close the Properties dialog.
Synchronizations will now occur automatically at the date and time specified in the schedule.