To Define a Document Code
- Expand the Environments datasource node.
-
Right-click the environment for which you want to define document code and select Define Document Code.
The Document Code Definition Wizard opens.
-
Click Next.
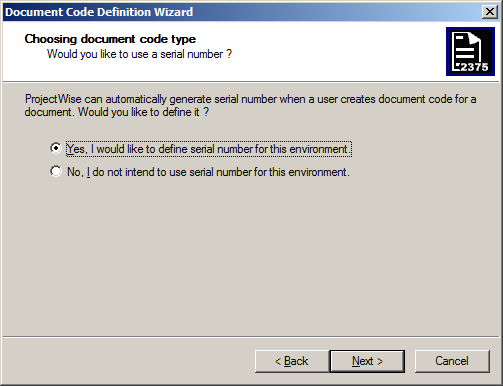
The Choosing document code type page opens.
-
Do one of the following:
If you want to define a serial number to be used every time a user creates document code for a document, select Yes, I would like to define a serial number for this environment. Continue with step 5.
or
If you want to use only a document number with no definition, select No, I do not intend to use a serial number for this environment and click Next. Skip to step 7.
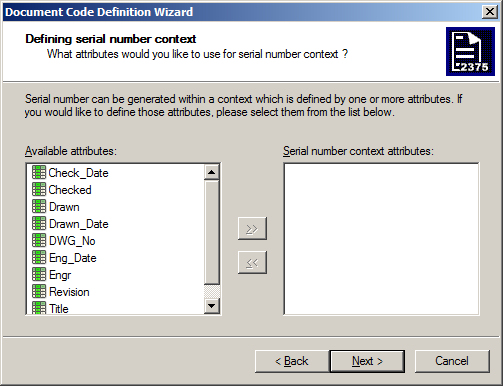
The Defining serial number context page opens.
-
Add the required attributes from the list on the left to the list on the right, then click Next.
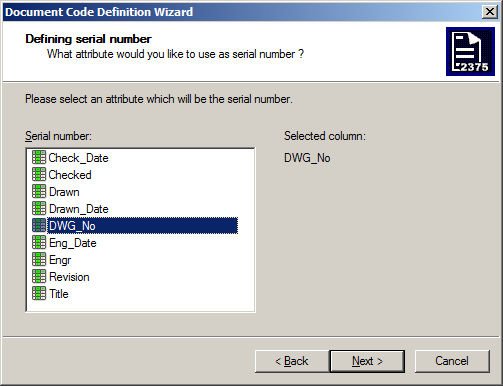
The Defining serial number page opens.
-
Select the attribute to be used as the serial number, then click Next.
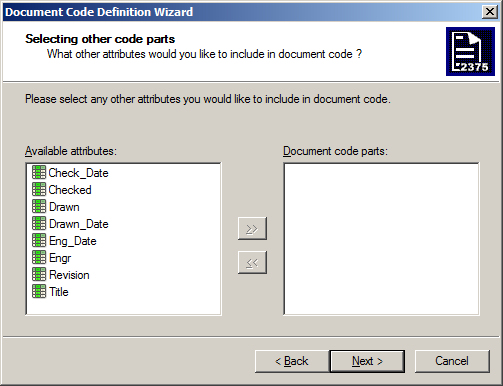
The Selecting other code parts page opens.
-
Add the required attributes to be used as other parts of the code from the list on the left to the list on the right, then click Next.
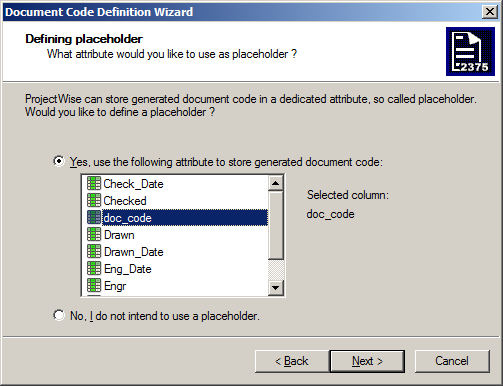
The Defining placeholder page opens.
-
Do one of the following:
Select Yes, use the following attribute to store generated document code, then select an attribute from the list and click Next. If there was no attribute field name allocated for the selected item in the creation of the environment table, you could use one of the extra fields, extra_a, extra_b, extra_c, or extra_d.
or
Select No, I do not intend to use a placeholder, then click Next.
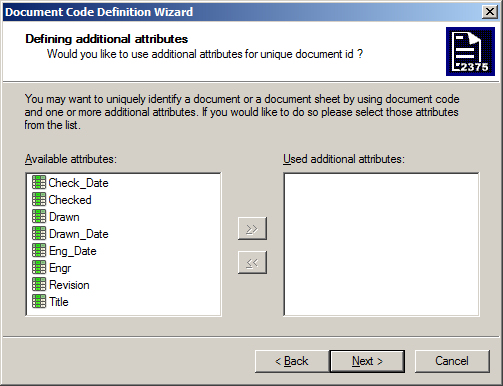
The Defining additional attributes page opens.
-
Add the required attributes from the list on the left to the list on the right, then click Next.
The Defining code formatting page opens.
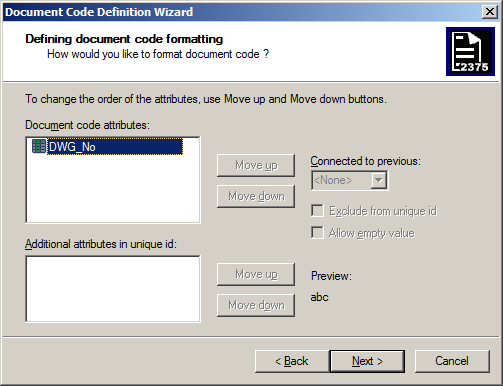
- (Optional) To change the order the attributes will appear in the document code, select an item from the document code attributes list, click Move up/Move down (for example, abc-abc-123 or abc-123-abc).
- (Optional) To change the attributes connection symbol, select an item from the document code attributes list, click the Connected to previous arrow to view available options. Select the required symbol (for example, abc/abc/123 or abc-abc-123).
- (Optional) To change the order of the attributes for the additional document parts that will appear in the document code, select an item from the additional document parts attributes list, click Move up/Move down.
- (Optional)
Turn on Allow empty value, then click Next.
This allows the user to leave any of the document code fields that are not automatically generated empty.
Any changes you make are displayed in the Preview field.
-
When finished on the Defining code formatting page, click Next.
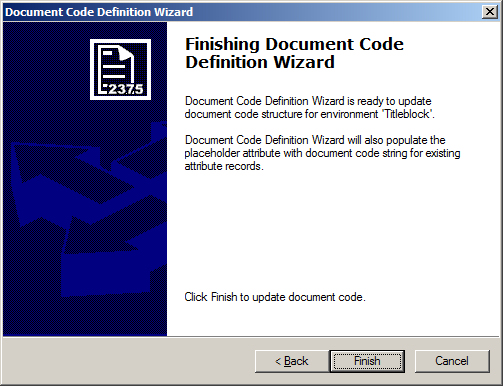
- When the Finishing Document Code Definition Wizard page opens, click Finish.