Manually Configuring the List of Applications
You can manually add new applications to the list, modify existing applications, or delete applications.
To Create an Application
- Right-click the
Applications
node and select
.
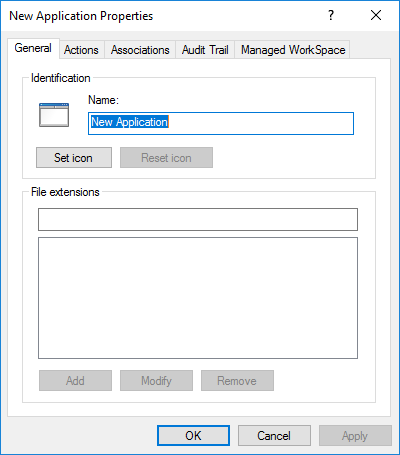
The New Application Properties dialog opens.
- In the
Name field, enter a unique name for the
required application.
The application name you select does not have to be the application's exact name, but it should be a name that your users can easily recognize.
- Click
Set icon to select the program icon you want
to display next to documents when they are associated to this application.
If you do not set the program icon now, you can modify it later, or your users can modify it later through ProjectWise Explorer. When no icon is set for an application, a generic program icon will display in ProjectWise Explorer next to documents associated to this application.
- In the
File extensions field, type the letters of a
file extension to be associated with the application name.
For each application you can add as many file extensions as required, however once you add a file extension to one application, you cannot add that file extension to any other application in the datasource. For example, you can have an application called 'MicroStation' and another called 'AutoCAD', but you can only assign the extension DWG to one or the other, not both.
- Click
Add.
The file extension displays in the extension list window. Repeat steps 4 and 5 to add more file extensions.
- On the Actions tab, create action associations for this application.
- Click OK.