Editing a Work Area Property
- Expand the Work Area Types datasource node and select a work area type.
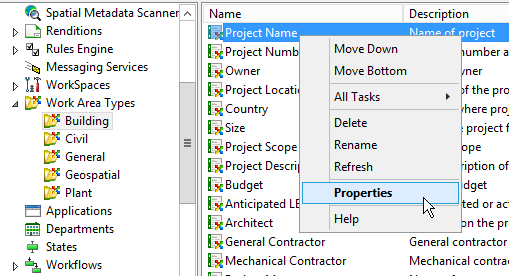
- In the right-hand pane, right-click a work area property and select Properties.
-
In the Properties dialog, do the following:
- Edit the Name and/or Description as needed. The name field is required, the description field is optional.
- The Data type fields are set during creation of the property, and cannot be modified. The data type can be Long Integer, Double, String, or Date. Depending on the data type set for a property, users will only be able to enter up to the maximum number (length) of characters allowed for their property value. Long Integer, Double and Date have fixed maximum character lengths of 4, 8, and 25, respectively. String has a default maximum character length of 255.
- In the Default value field, enter the value you want to display by default for this property. Users can change the default value for this property in ProjectWise Explorer. When Date is the Data type, the default value is set to today's date. If the data type is Long Integer, Double, or String, the default value is blank.
- Value — If you want users to be able to select from a list of values for this property, in the Value section set Type to either Pick List or Select. If you set Type to Pick List, click the Format button (...) to either select an existing pick list or create a new pick list). If you set Type to Select, click the Format button (...) to create a SQL SELECT statement that populates the list of available values for the property using existing information from the database. When Type is set to Pick List or Select and Limit to list is off, users will be able to select a value from the list or enter their own. If Limit to list is on, users will only be able to select values from a list. If you do not want to use any lists, set Type to None.
-
Click
OK.