To Create a Storage Area That Resides on the ProjectWise Design Integration Server or ProjectWise Caching Server Computer
-
Right-click the Storage
areas node and select .
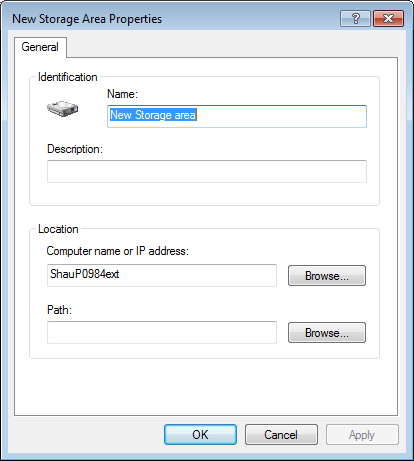
The New Storage Area Properties dialog opens.
- In the Name and Description fields, enter a name and optional description for the storage area.
-
In the Computer name or IP address field, enter the name or IP address of the computer on which ProjectWise Design Integration Server or ProjectWise Caching Server is installed and running. This is the computer on which the storage area will reside. You can also click Browse to search for the computer name.
If the ProjectWise Administrator you are working from is installed on the same computer as your ProjectWise Design Integration Server or ProjectWise Caching Server, then the local computer name will be displayed by default in the Computer name or IP address field.
- In the Path field, enter the full path to the folder you would like to create and establish as a ProjectWise storage area. For example, C:\pw_storage.
-
Click
OK.
The storage area folder is created on the specified ProjectWise Design Integration Server or ProjectWise Caching Server computer, and the new storage area is added to the list of storage areas in ProjectWise Administrator.