Detail Center - Insert tab
Used to add detail cells to your 2D drawings.
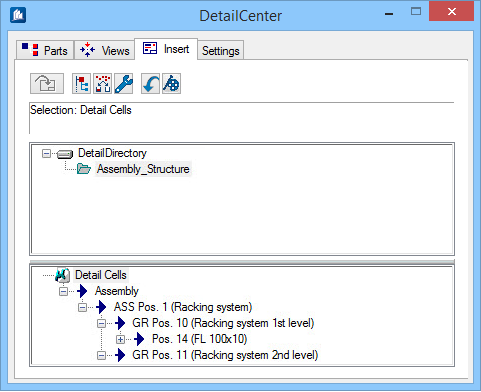
If you have detailed all of the parts you can then insert the generated detail cells into the workshop plans. You will see the saved detail cells in this last work level, the insert list.
Since most of the important points have already been discussed under Component Overview, here are just a few special commands of this work level.
 Insert Detail Cells
 Recursion Toggle
 Display Settings
 Special Settings
 Reload
 Insert Assistant
Delete Detail Library
To delete a detail library, click on the corresponding list entry and use the context menu to select the entry Delete Detail Library. All detail cells including the folder are then deleted.
Preview
Before inserting the detail cells, you can display a preview. To activate the preview, just select the corresponding entry and then select the entry Preview via the context menu.
A new drawing window opens displaying the result of the detailing in the form of a preview. This detail cell can be processed as well.
In case of modification, you mustn’t change the name of the drawing on any account. Otherwise the detail cell cannot be identified any more.
Delete Detail Cells
Click on the corresponding list entry and select the Delete Entry.. via the context menu to delete a detail cell. Then, the selected detail cell will be deleted in the detail library and will not be available any more.
Insert Detail Cells
To insert detail cells just drag the desired details onto the action button using drag&drop. The button will then temporarily turn red so that you know it is active. Let go off the mouse button and you can start inserting cells. You can also highlight the parts and click on the action button with the mouse or select the entry 2D-Insert via the context menu.
Insertion
Every inserted detail cell first appears in the current target drawing in its origin and can then be moved to the desired position within the drawing ("sticking to the checkmark). You can open several drawings and click on a drawing to set it as the active one before inserting the cells. Any details will then be displayed there.
You can track the parts you have just inserted if you have opened the info window. You can ignore this part insert or cancel the entire insertion process.
Target Drawing
In order to activate the modification mechanism the program has to know, into which drawing you are inserting the details. You cannot insert parts until the drawing has been saved. You should refrain from making any subsequent drawing name or folder changes as well.
Although the Detail Center has a verification function for lost drawings or details, you will save yourself a lot of time and effort by just leaving the plans where they are. The location for saving the plans should be considered beforehand.
Revisions
Once the details have been inserted into the drawing you can manually revise the drawing. Please remember that the single parts and groups are intelligent details. For further information please read the comments in the corresponding chapter of this manual.
Ideally, you should optimize the detail style of the detailing in such a way as to eliminate any revisions. Only then the modification mechanism can function correctly, since subsequent changes in the details are otherwise lost if you select the modification function. It is however true that there are modifications which are automatically kept, too.