Purlin
 Used to create a purlin course
within a specified plane. Select the area to be filled by clicking on the left
lower and the right upper corner. The purlins are then inserted into this area
with their lower edge flush with the plane of the current user coordinate
system.
Used to create a purlin course
within a specified plane. Select the area to be filled by clicking on the left
lower and the right upper corner. The purlins are then inserted into this area
with their lower edge flush with the plane of the current user coordinate
system.
You can insert secondary beams (joists) on two main girders. To do this, press <Esc> for the first point. You are then prompted to enter the first main girder, then the second one. The dimensions for the purlin course are defined by the end points of the main girders. You can also connect them with each other by means of a template.
Accessed from: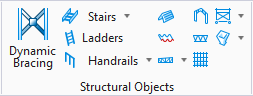
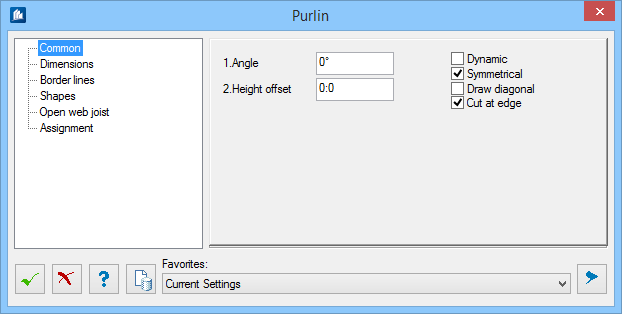
The Purlin dialog is where you set the specifications while verifying your input directly and immediately on the screen. The spacing of the purlin course can be changed at a later time by modifying the (yellow) object frame using its handles. Diagonals are possible as well.
Dialog Controls
| Setting | Description |
|---|---|
 OK OK
|
Closes the dialog and save your changes. |
 Cancel Cancel
|
Closes the dialog without saving changes. |
 Help Help
|
Opens online help. |
 Template Template
|
Saves and retrieve (Using Templates) settings to be used on other projects. |
  Show /Hide
Preview Show /Hide
Preview
|
Opens or closes, respectively, a flyout panel to display an illustration based on the tool. |
| Favorites |