To Create a User Part
- In your model, draw the object(s) that you want to save as a cell.
-
Select
 (User Part
Center) from the ribbon.
(User Part
Center) from the ribbon.
The User Part Center dialogs open.
- In the Navigation dialog, browse to the folder where you want to create the use part.
-
Right click on the desired folder, and select
Create New User Part.
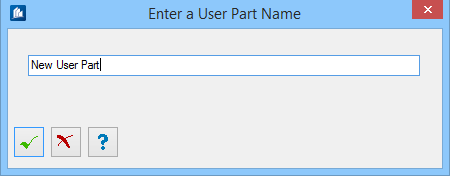
The Enter a User Part Name dialog opens.
-
Enter a name for the part, then click
 .
.
- In your model, select the objects to save as a part.
- Reset (right-click) to accept your selection.
- Enter a data point to select the main insertion point for the user part.
-
Enter data points to establish the X and Y planes relative to the
user part or press <Enter> to use the current ACS plane.
Note: When you insert the cell later, the user part is automatically aligned based on the models' ACS.
The part displays in a new drawing window.
-
Click
Close (the
X in the upper right of the window) to close
the part drawing.
The user part is saved, and it previews in the User Part Center.